Materials Needed
- WD-40
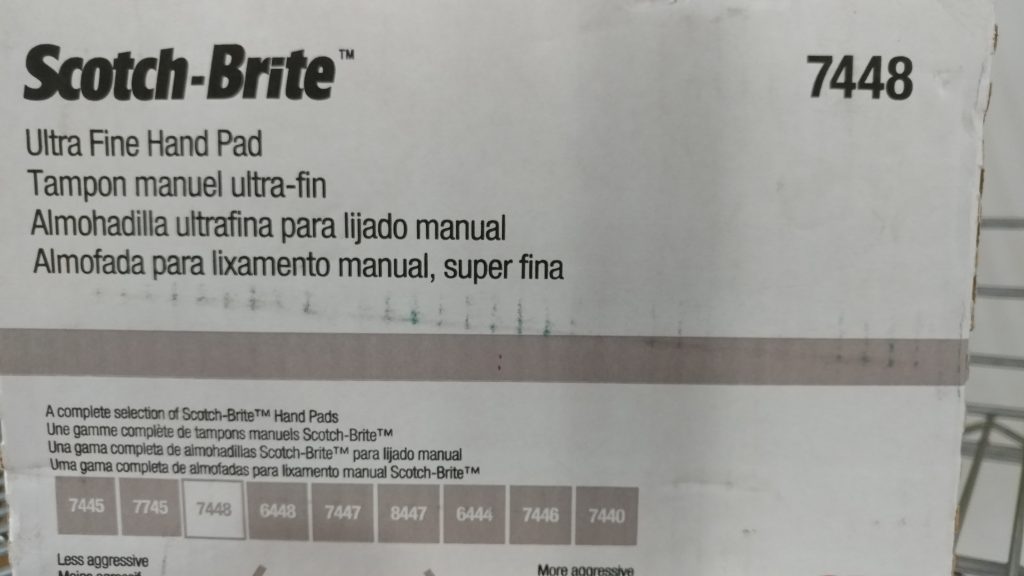
- Grey Scotch-Brite Pads (7448)
- Some sort of treatment such as…
Optional
- 0000 Steel Wool (instead of the Scotch-Brite pads)
- Denatured Alcohol
- Bag Of Rags
- Blue Painters Tape
- Blue Shop Towels
- Hand Pad Holder or Sanding Block
Setting Up
Cast iron gets rusty. Period. You can take steps to help prevent it but you’ll still have to deal with it eventually.
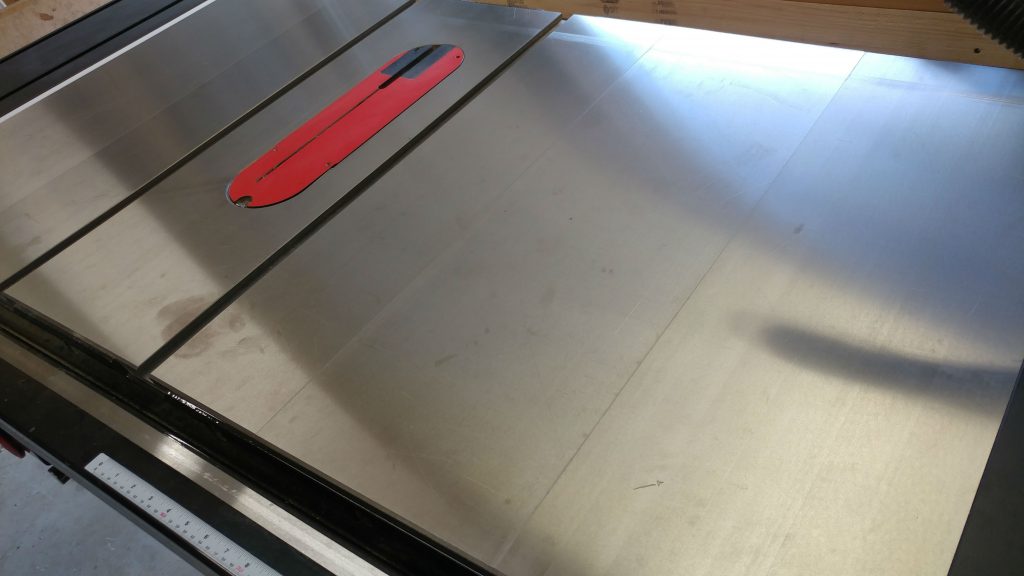
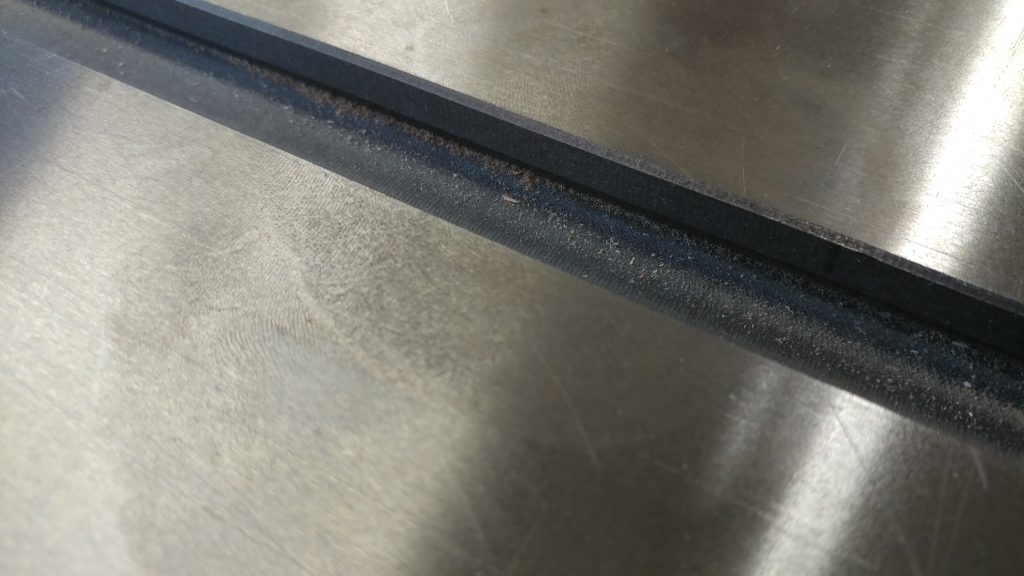
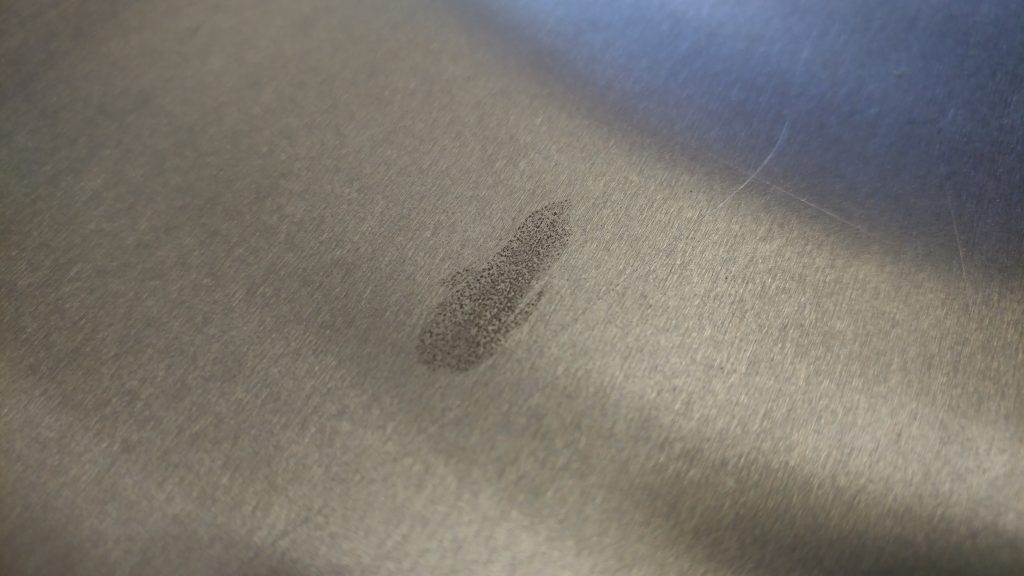
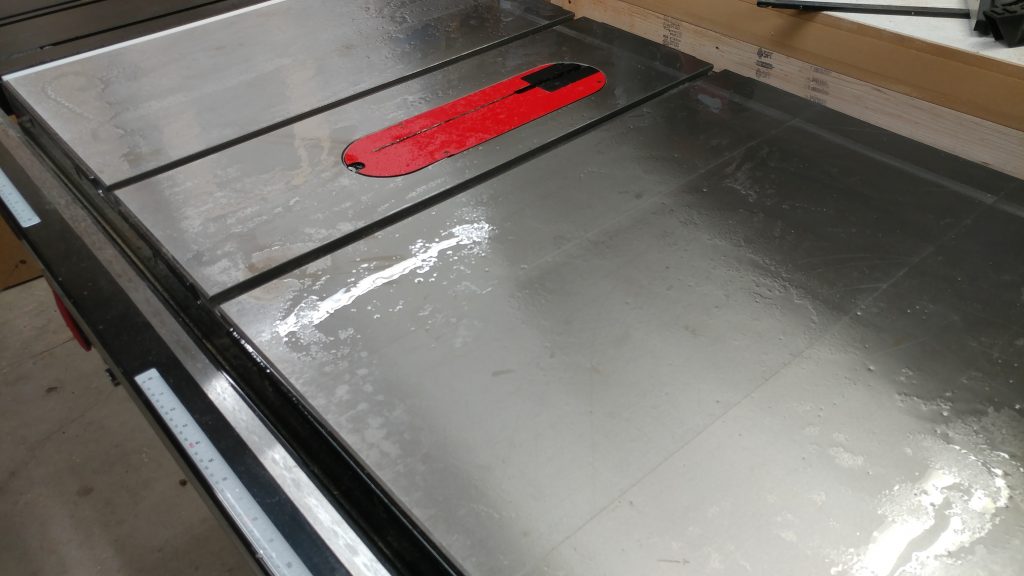
In my case, I have a SawStop Industrial Cabinet Saw with an additional 10″ cast iron wing that has some rust forming on it. It’s not too bad but I should definitely do something about it. You can see a big greasy hand print right on my right miter slot. (How that happened is a long story but rest assured, our lights work now.)
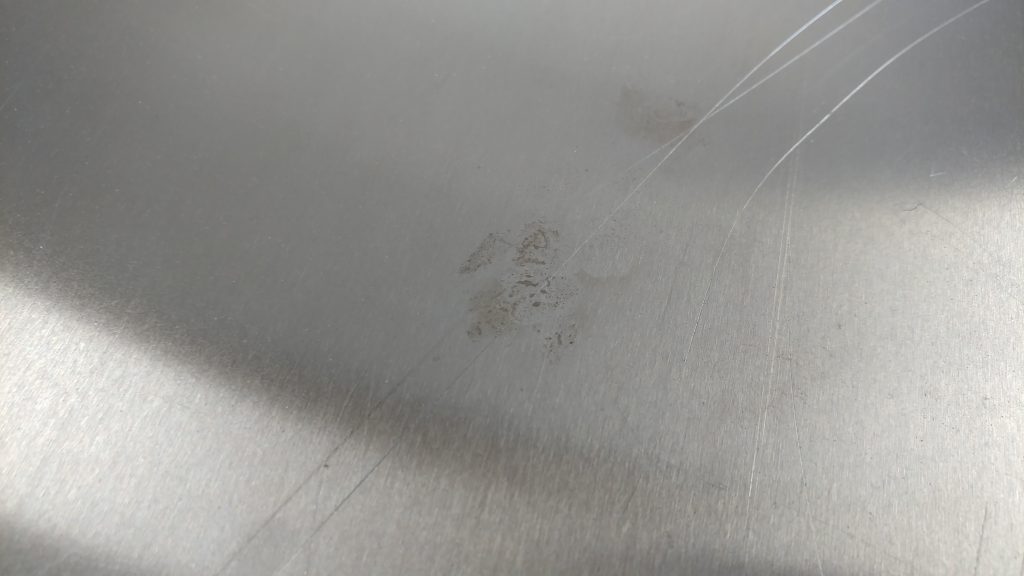
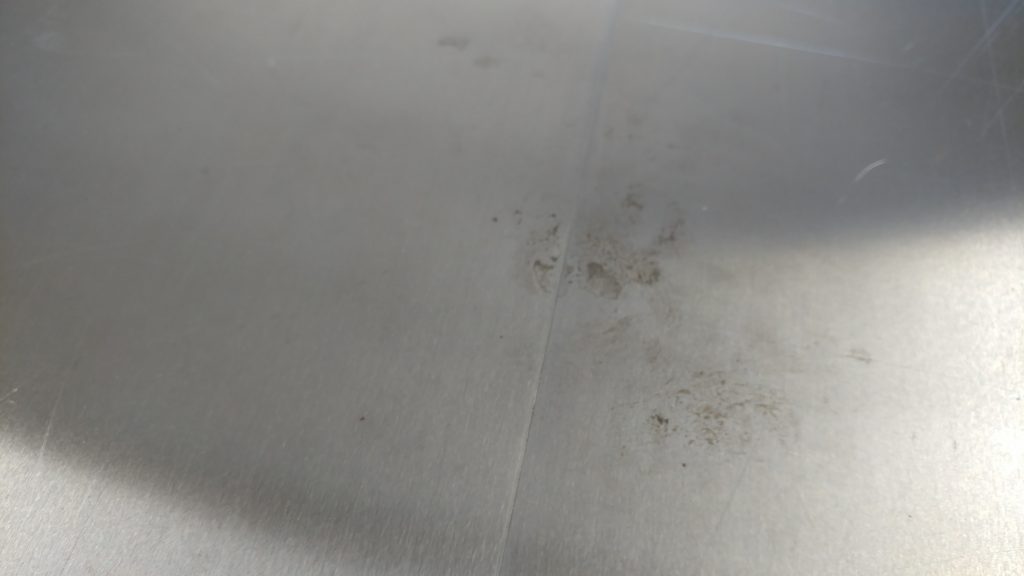
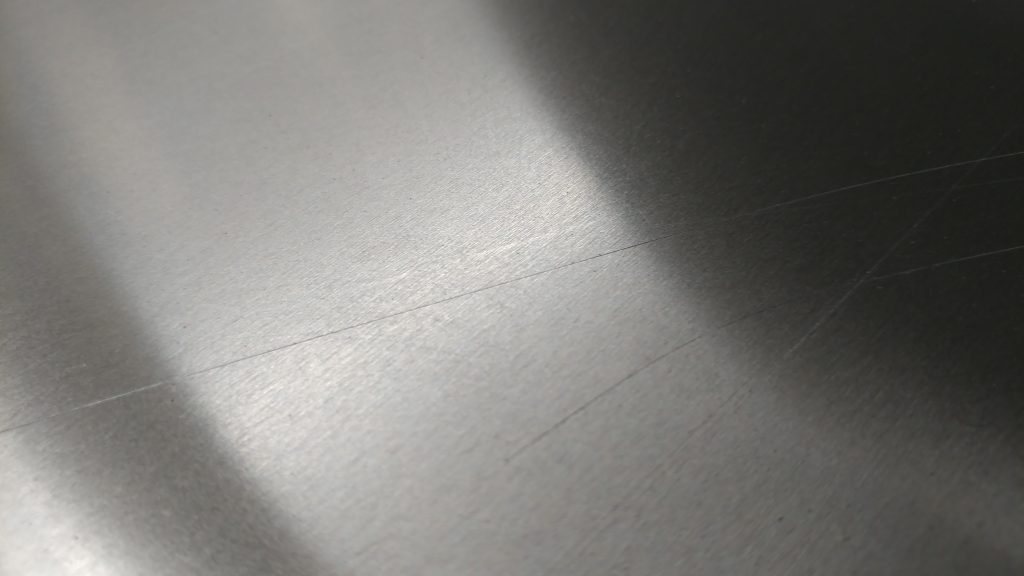
The paw prints are a bit more severe. I don’t see any pitting but I won’t know for sure until I scrub it away.
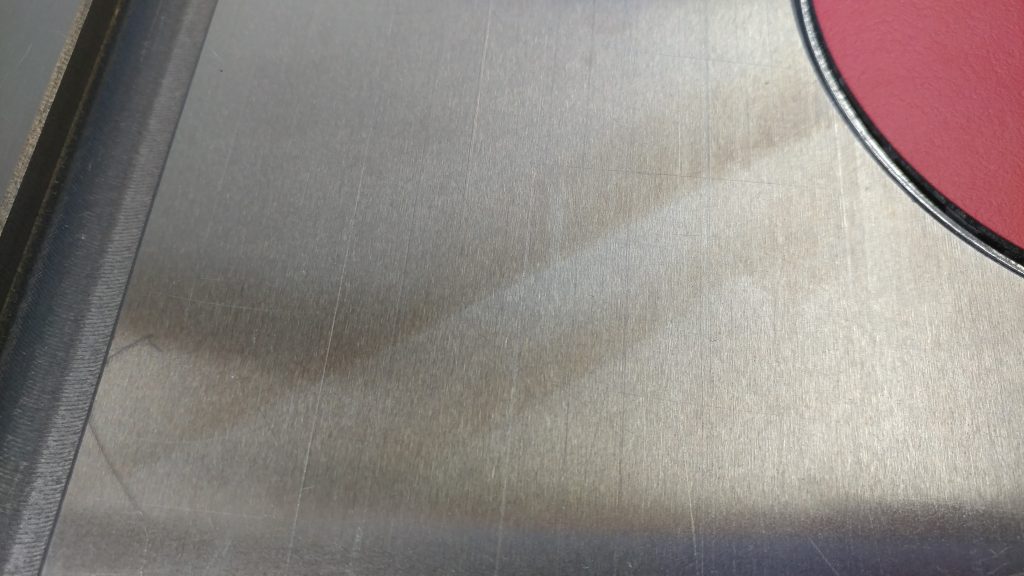
I don’t know exactly what caused these rust bands but I am assuming that this is from moisture being locked under boards that sat on the table top for a day or two. This is why you shouldn’t leave wood sitting on cast iron overnight, especially during the summer.
Removing The Rust
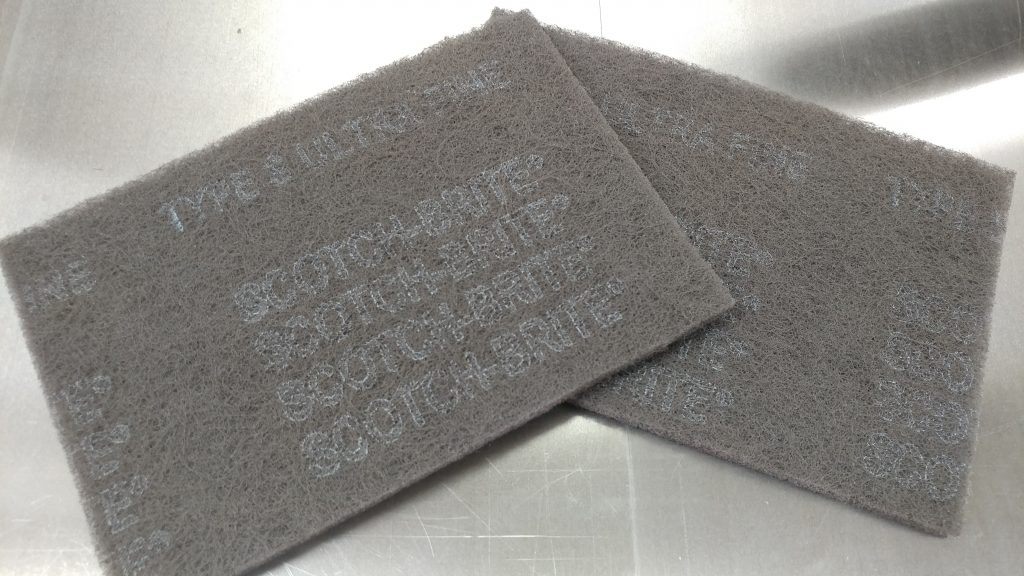
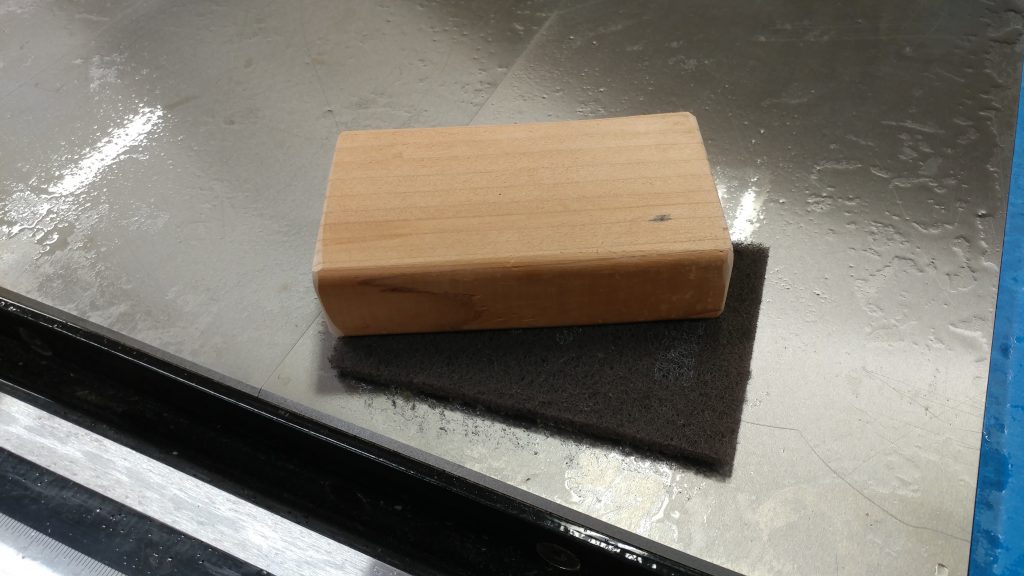
Some people prefer to use 0000 steel wool to remove rust, and it will do a pretty good job. Personally, I prefer to use Scotch-Brite 7448 pads. These are the grey pads, not the green ones you use in your kitchen. They are the same grit as 0000 Steel Wool but you can use a sanding block to apply even pressure over the entire pad. This is a lot harder to do with steel wool.
The grey Scotch-Brite pads are pretty big so I prefer to cut them in half. A box of these will last a long time and can be used on pretty much any tool with a cast-iron top. I also use them for woodturning in place of steel wool.
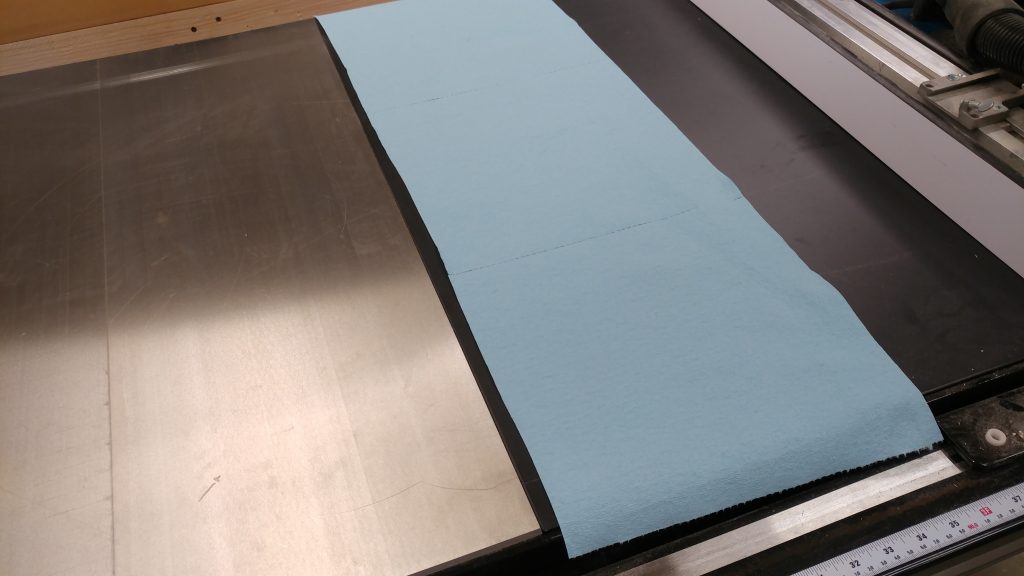
I’m going to be applying WD-40 and it tends to splatter. I’m not a big fan of getting that gunk off of my wooden extension table so I am going to tape it off to protect it. I start by laying down some blue shop towels along the edge of the extension table.
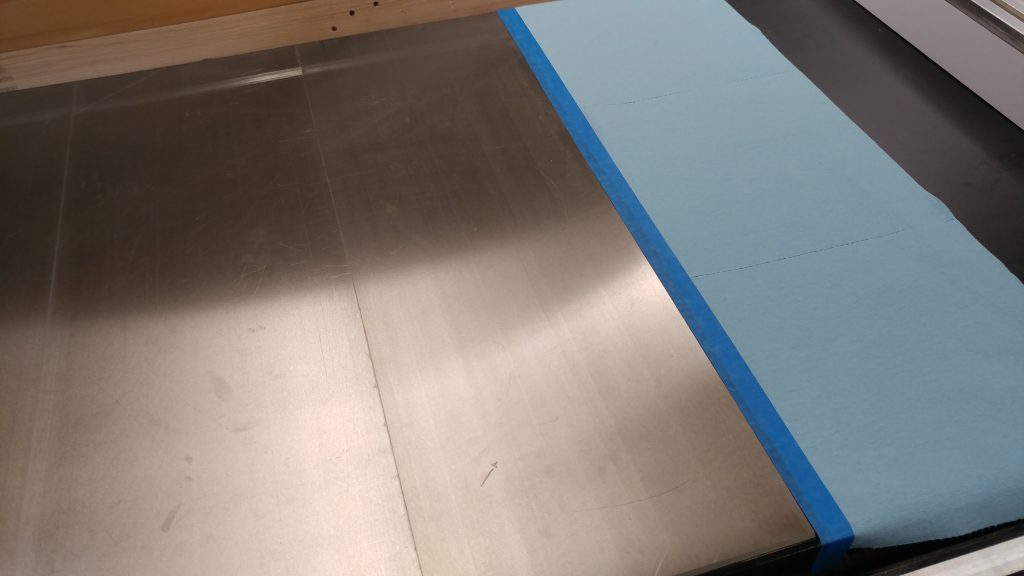
I then use some blue painters tape to mark off the end of the extension table and secure the shop towels down. This should help protect it during the next step.
Next, I apply a generous coating of WD-40 to the entire table top. You want to let it sit for a while so it can penetrate the iron and start to break apart the rust and even some of the slight discoloration that cast iron can sometimes get. I will typically let it sit for at least 15 minutes but in this case I let it sit for about an hour and a half.
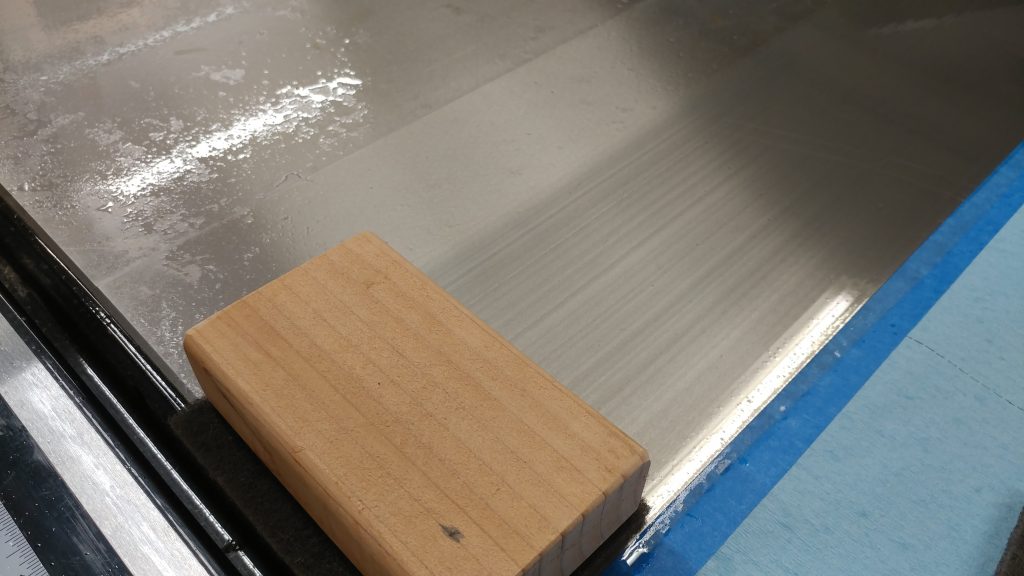
After it has sat like this for a while, I take my grey Scotch-Brite pad and a hand pad holder, or in my case I just use a scrap block of 2 X 4 and start scrubbing.
You should scrub in a front-to-back-to-front motion. Try not to focus on one little spot since that will lead to an inconsistent shiny spot. Instead, use some elbow grease and cover the entire depth of the cast iron.
I like to scrub until I at least get a dark slurry started. It will typically require more scrubbing if your table top is as rusty as mine was.
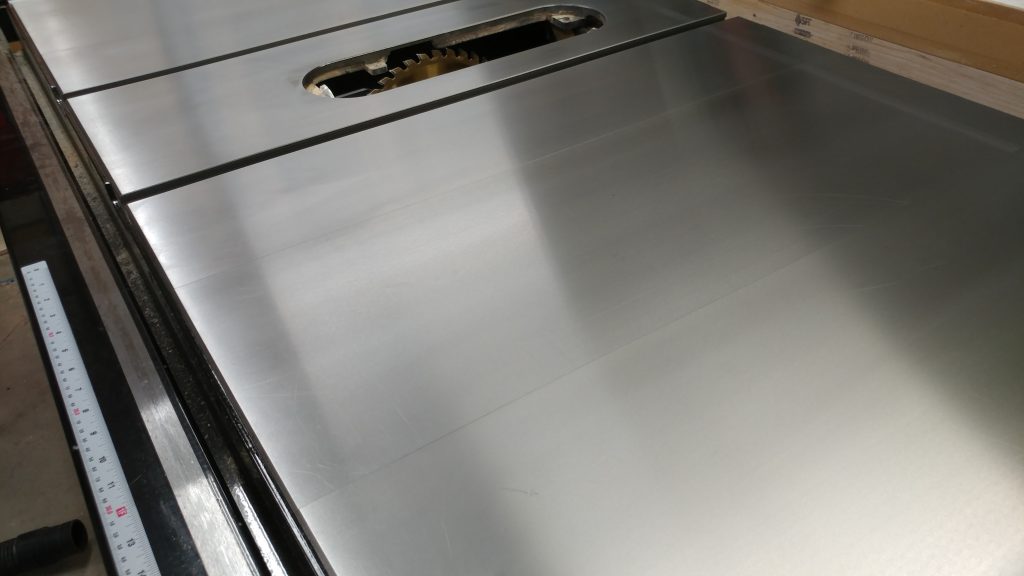
After tackling the entire table top, I do the bulk of the clean-up with blue shop towels. The table top should look a lot better at this point.
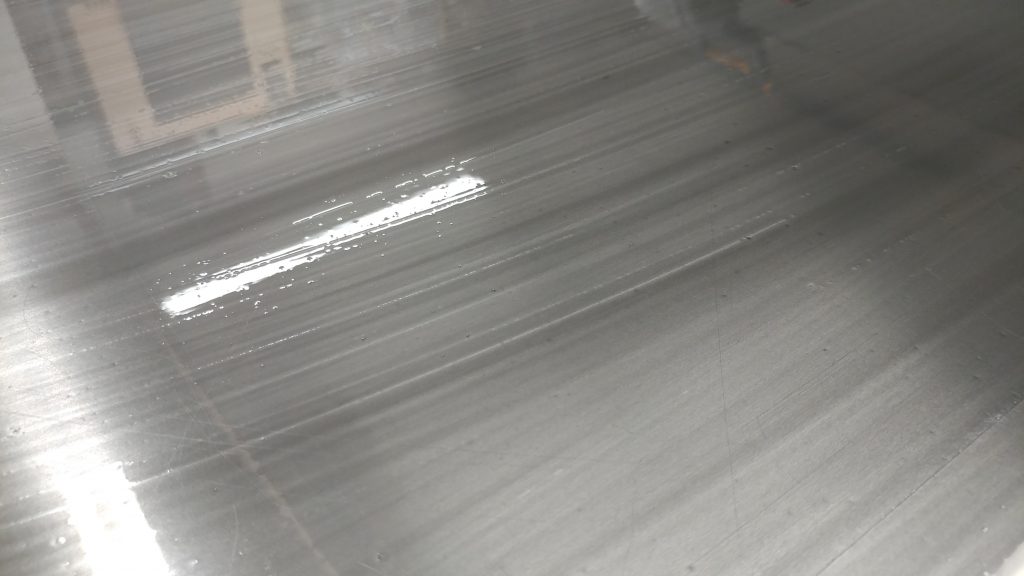
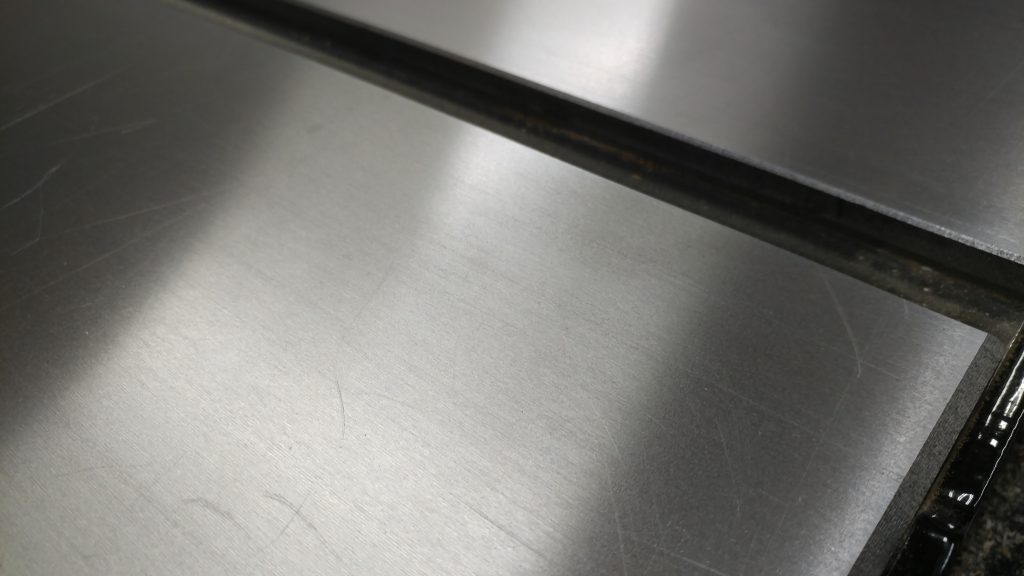
If rust sits for a while it can permanently discolor the cast iron. You can see this here. The rust is gone but the iron is stained. Personally, I’m cool with this. It doesn’t affect the usability of the saw.
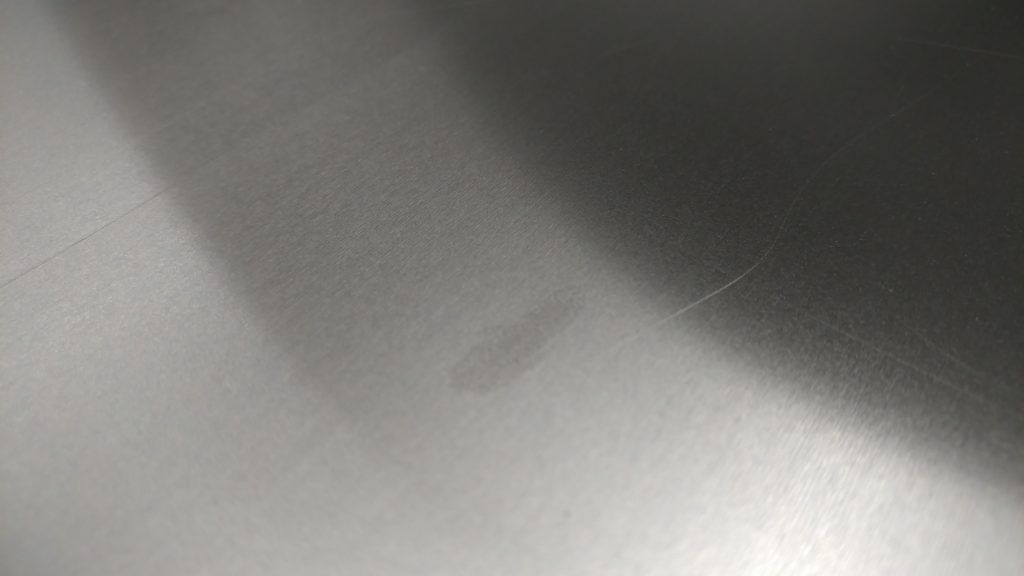
The hand print is mostly gone. I can still see a slight shadow but you have to know it’s there in order to see it.
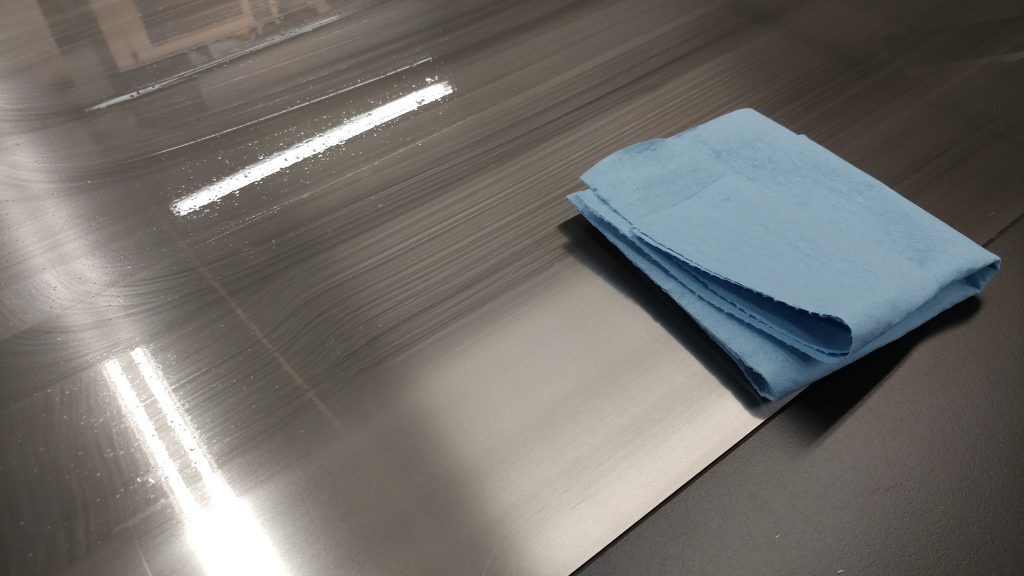
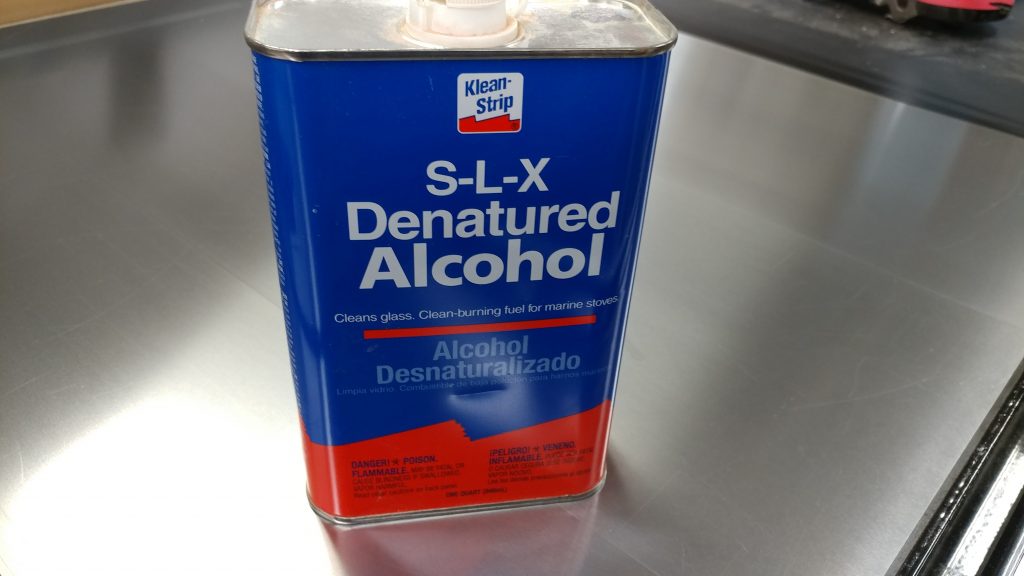
Technically, you can stop here. I find that no matter how much I scrub with shop towels I can never quite get all the WD-40 up. This leaves a slightly greasy feeling to the table top which can transfer to the material you are cutting. I find that the best way to clean this up is with denatured alcohol.
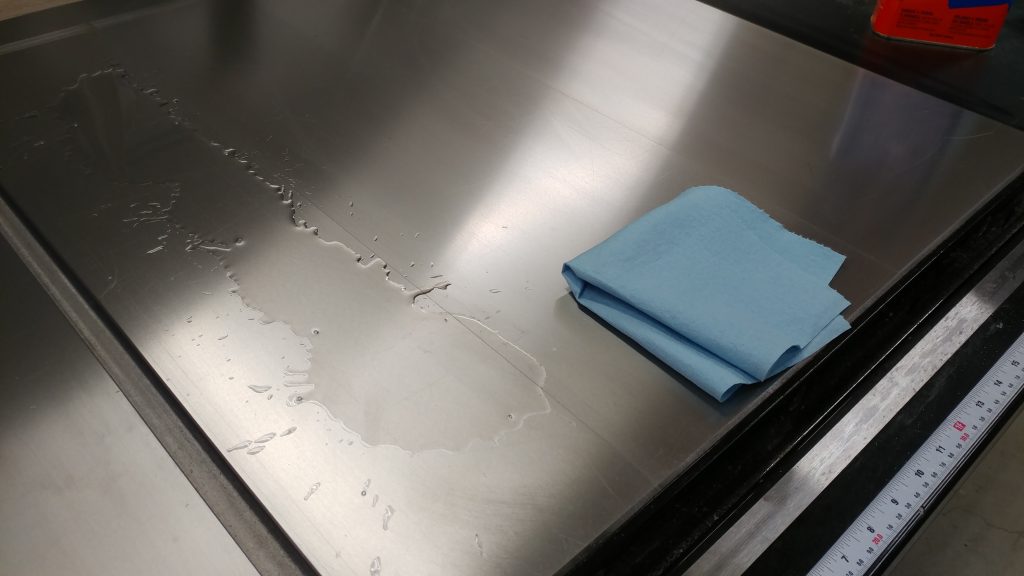
I start by pouring some denatured alcohol on the table top. This picture may be cringe-worthy but worry not. This won’t cause your table to get rusty at all. Then, use a shop towel to wipe it all up. This should get the rest of the WD-40 off the cast iron.
Protecting The Surface
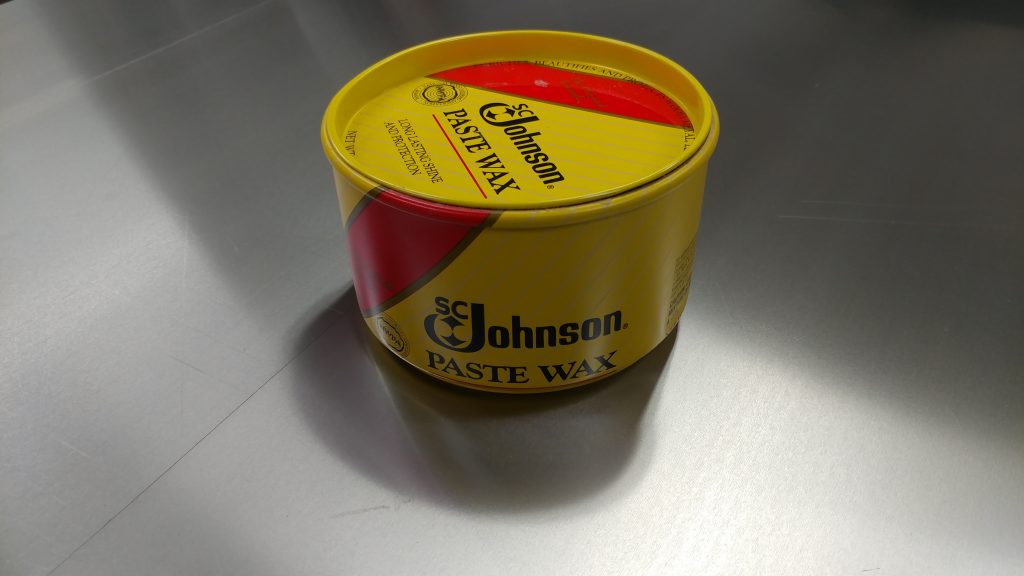
There are many ways to protect the surface of cast iron tools. I’ve had good experiences with T-9 BoeShield or GlideCote, but I personally prefer using a furniture wax like Johnson Paste Wax, although MinWax and Renaissance Wax will work as well. I like Johnson Paste Wax since it is softer, which means it applies easier and also buffs out a LOT easier than either MinWax or Renaissance.
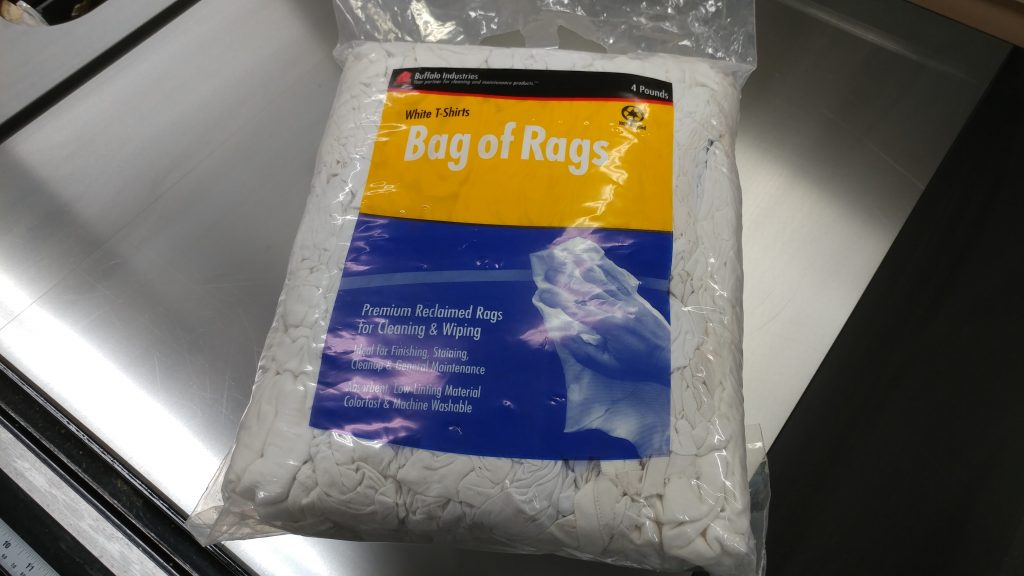
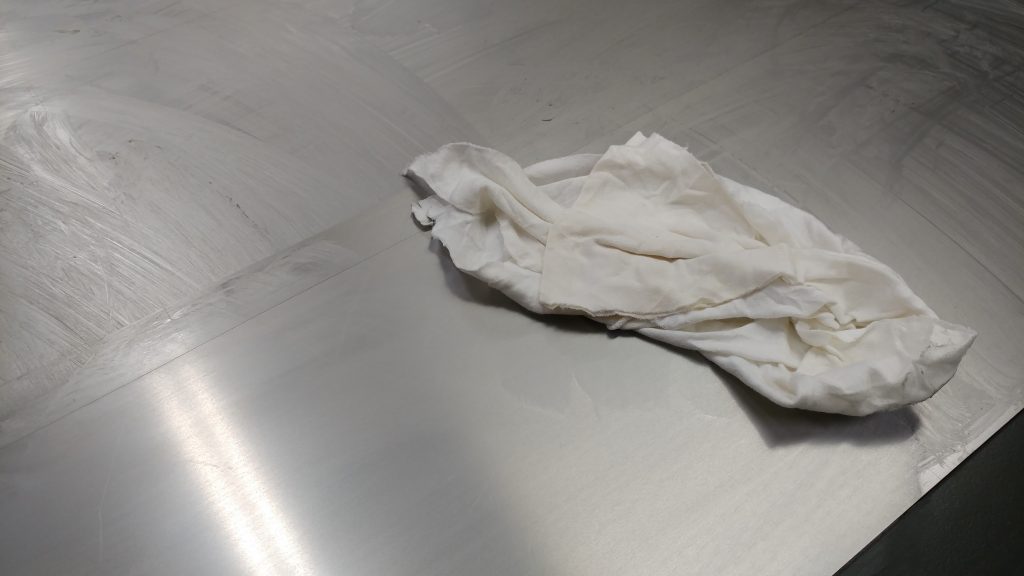
You can use shop towels to apply the wax but you’ll have better luck with a cloth rag. I try to always keep a Bag of Rags on hand. These are just scraps of white tee shirts so if you have any shirts you’re just going to throw out you can use them for this instead.
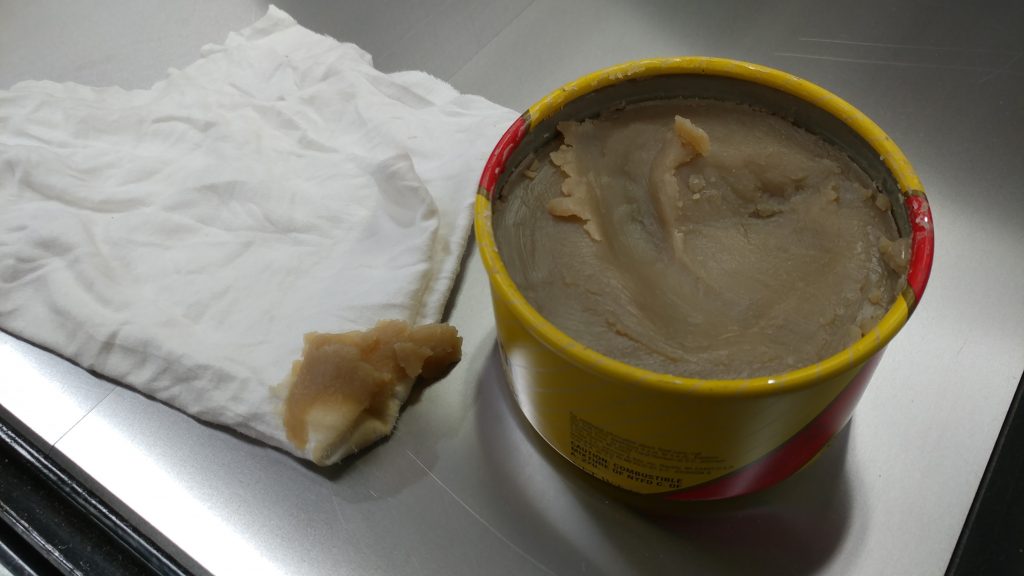
Use the rag to scoop up a generous amount of the paste wax.
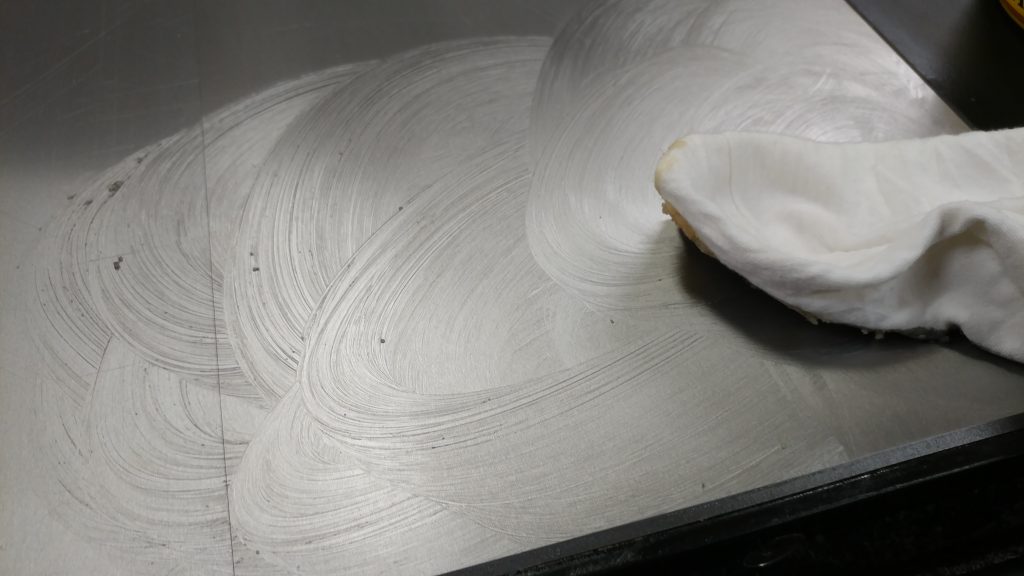
Apply the paste wax to the cast iron. You don’t need to apply it in any particular fashion, just be sure to get it all over.
After you have the table top coated, let it sit for a while. I usually let it sit for about 15 minutes.
You’ll know it’s ready to buff out when the paste wax gets a cloudy look to it.
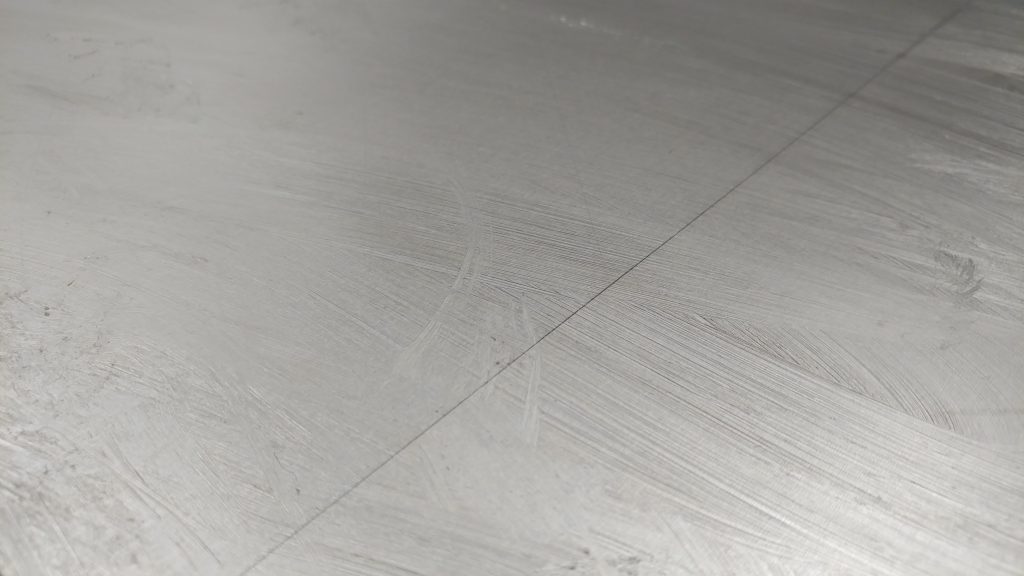
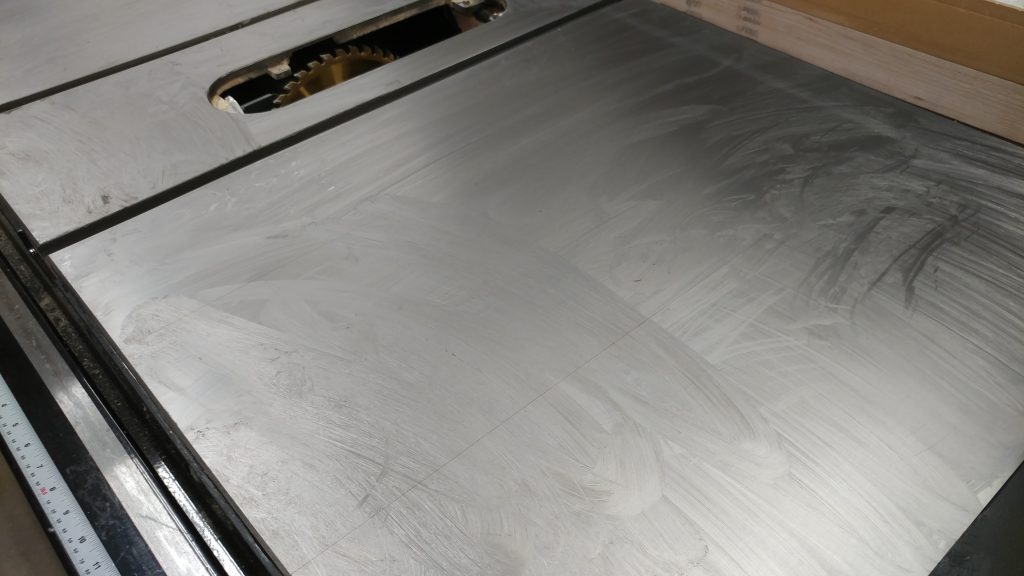
Use a fresh rag to wipe the wax off and buff it out. This can take some experimentation but the way I handle it is to use one rag to wipe the bulk of the wax off but I don’t worry about it looking good yet. You’ll still have some streaks and maybe a few missed blobs of wax. After that, I take another fresh rag and wipe it down to buff it out. You’ll notice that when you first start buffing it, the table will be slightly “grabby” with the rag. Just keep buffing. You don’t really need to apply much pressure or buff in any particular direction, just go back-and-forth for a while to build up some friction. You’ll find that eventually the table will get very slippery. That means you’re done and ready to move on to the next section.
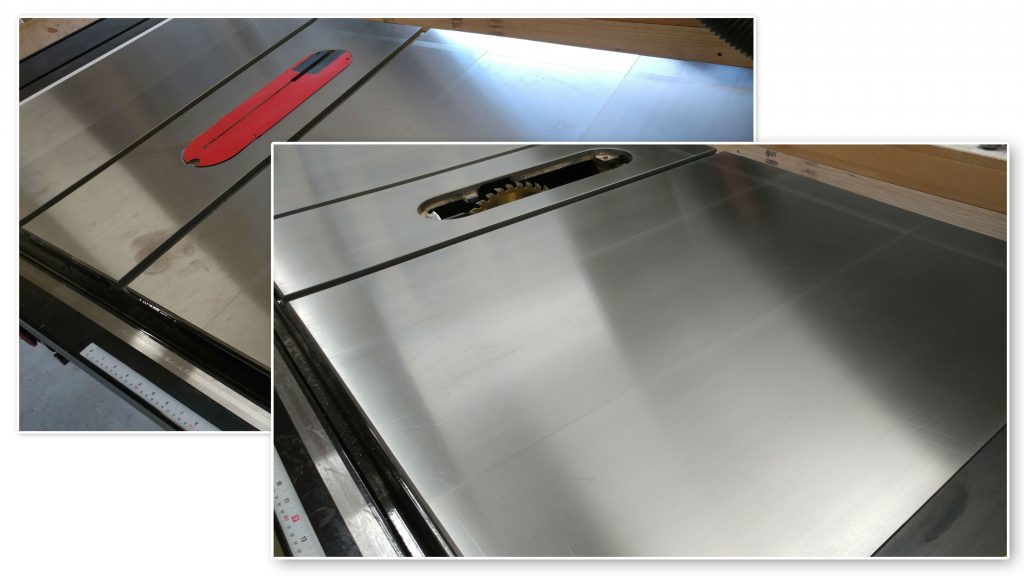
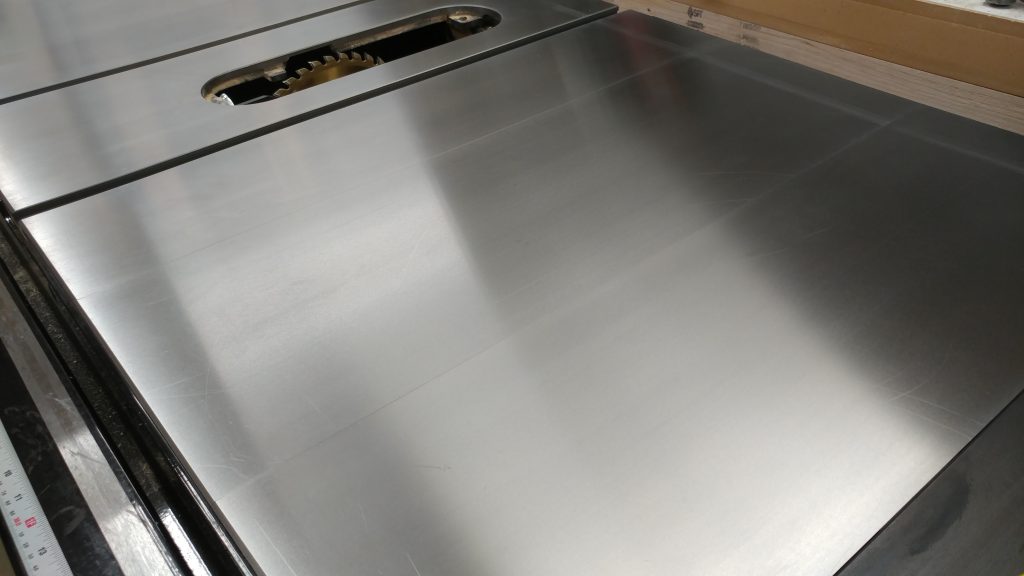
That’s it. You’re done. You now have a nice slippery cast iron table top that won’t rust up as quickly (if at all). I like to repeat this process as needed, which may be every six months or every six years. It all depends on how you use your saw.
Also, it is a good idea to apply some paste wax to the exposed metal on the front tube where the fence rides back and forth.

Great guide. Thank you!
Pingback: Tool Maintenance – Protecting A Cast Iron Tabletop - Woodworking Nutz
Thanks Trent. I’m tackling mine tomorrow.
Pingback: News – April 20th, 2018 – Where have I been? - TrentDavis.net
Trent, thanks for sharing this info and making it so simple. Your comments and asides were excellent.
Gig Lewis
Guild of Oregon Woodworkers
No problem. Next time you want me to come teach another class at The Guild, just let me know.
Lots of good tips Trent
I use a little different approach, for removing rust and spots I use automotive rubbing compound with the gray scotch-bite but I use an old pad sander on top of the Scotch – Brite, this eliminates the need for so much elbow grease. I also use the pad sander and a rag to remove the excess rubbing compound and on top of a rag to apply the Johson wax,it buffs up very nicely.
Thanks Trent. Really respect your input…..
I prefer using EvapoRust instead of the WD-40. Wet the table top and let it sit for 20-30 minutes. It dissolves light rust very well in a short time.
Thanks Trent, I read it a year ago and was a bit dismayed when the paste wax never got slippery. I tried putting the was on with a Scotch bright pad, and even buffing it with a orbital sander and buffing pad, but it always seemed a bit gummy. I found a light coat of CRC 3-36 made it slippery. Rereading your instructions again, I probably didn’t buff the wax off enough. I do love your articles and appreciate your expertise, thanks for helping us!