- This is a continuation of Workbench: Part 5 – Cutting the benchtop to size
The workbench top is almost done. It’s been glued up and cut to size. Now all it needs is the finishing touches to get it ready for the hardware.
Adding a shallow rabbet on the ends of each piece.
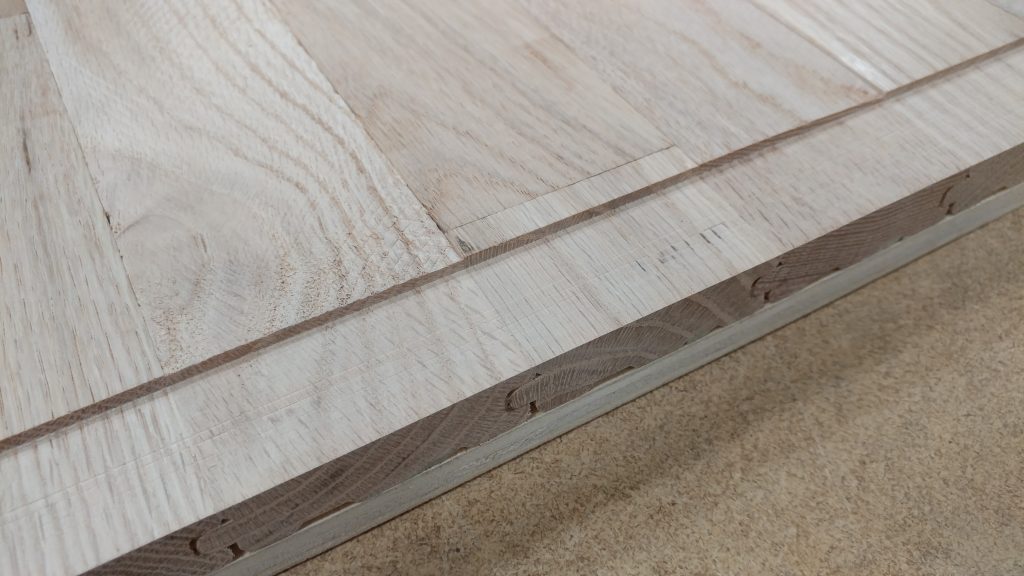
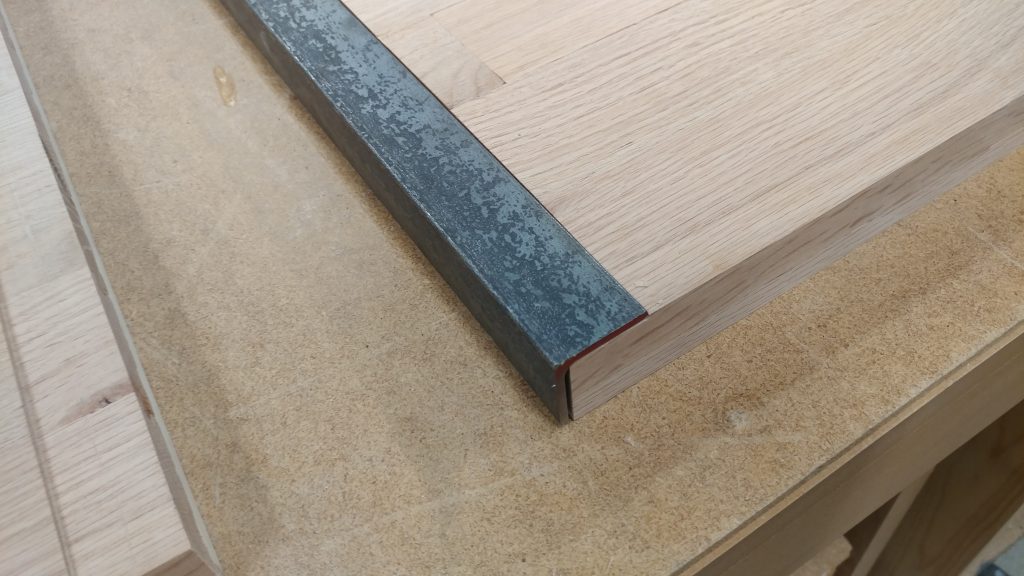
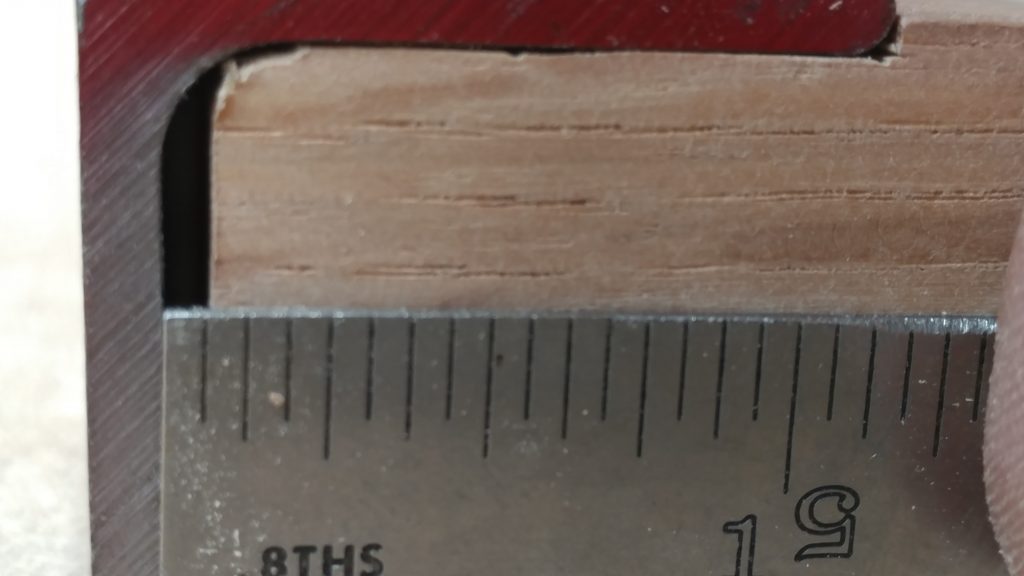
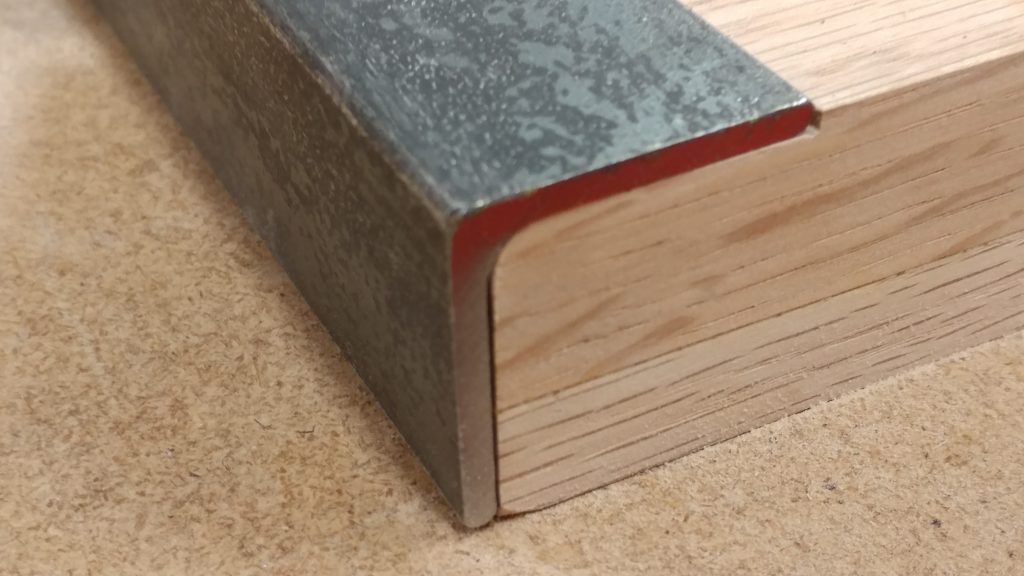
The left and right edges of each section are going to have angle-iron that wraps around the corners. Since these will be recessed, I need to add a shallow rabbet on each edge. I did this with my table saw and a dado stack. The depth was pretty crucial but the width was approximate. I knew I wasn’t going to get a final fit until I rounded the corner so I just made sure not to make it too wide.
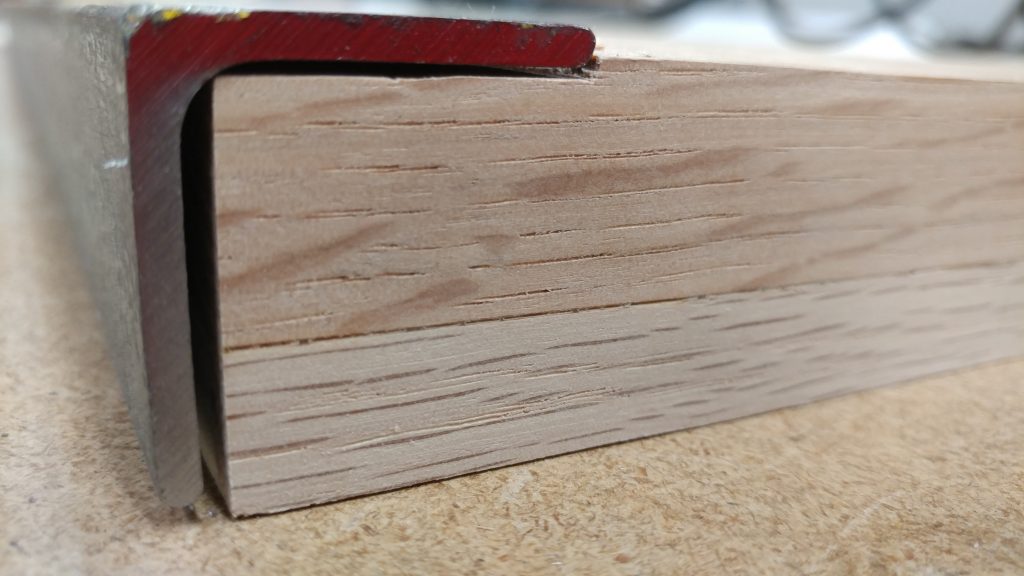
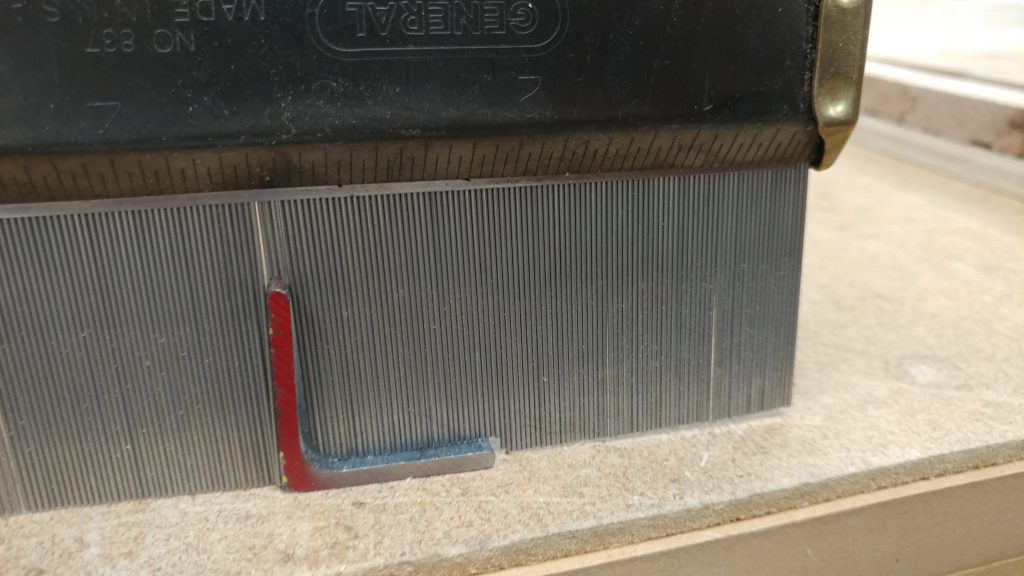
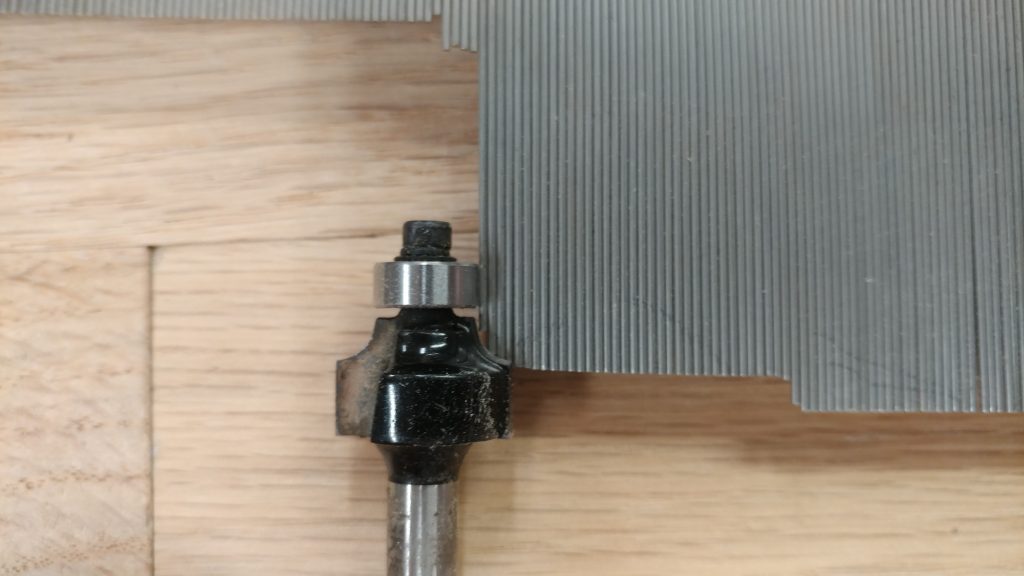
I used a contour gauge to determine the radius of the inner corner.
The router bit that fit best is a 1/8″ roundover bit.
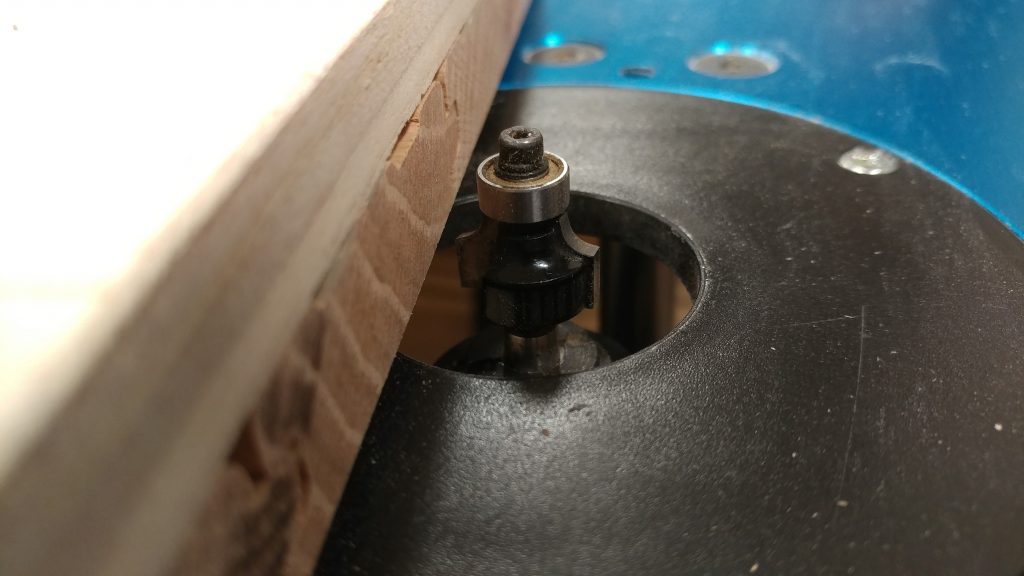
I set the benchtop upside-down on my router table and used it to set the height of the bit.
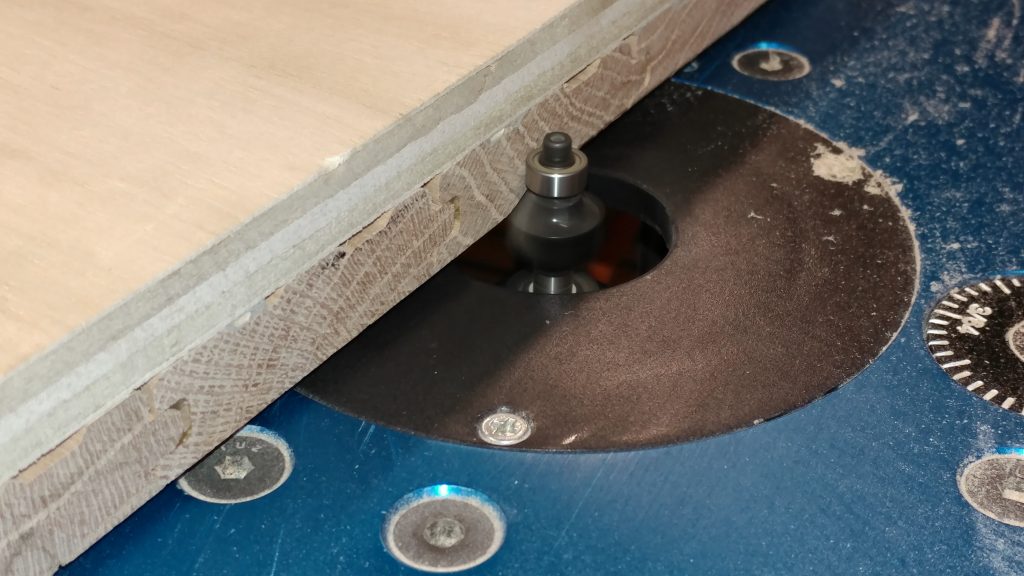
Then it was a simple matter of pushing the piece along the bit. The piece was pretty big but since my router table is mounted on my table saw, it was actually not too bad.
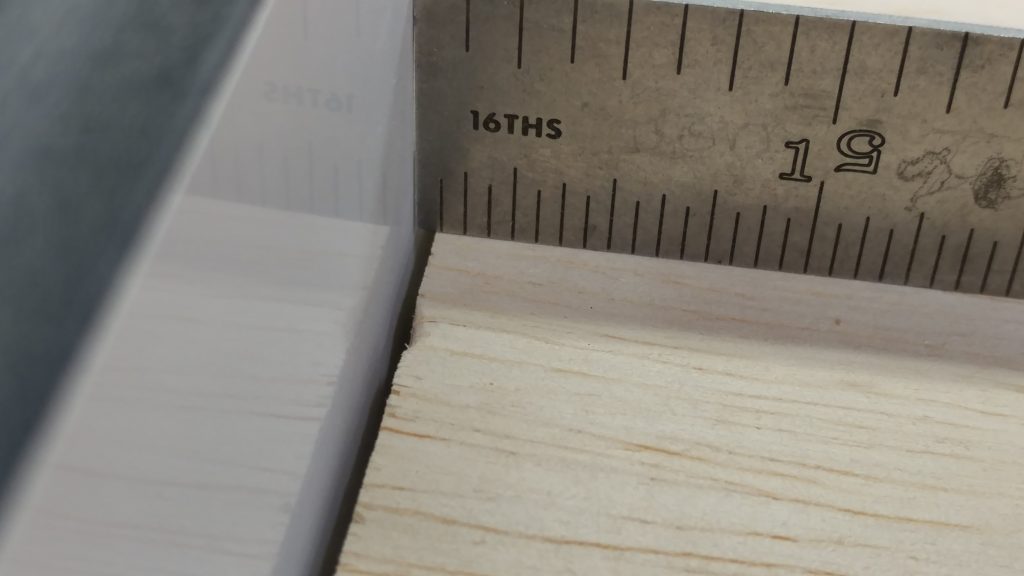
I set the fence on my table saw so I would remove just a hair under 1/16″. I’d rather remove too little and have to take off just a bit more than remove too much.
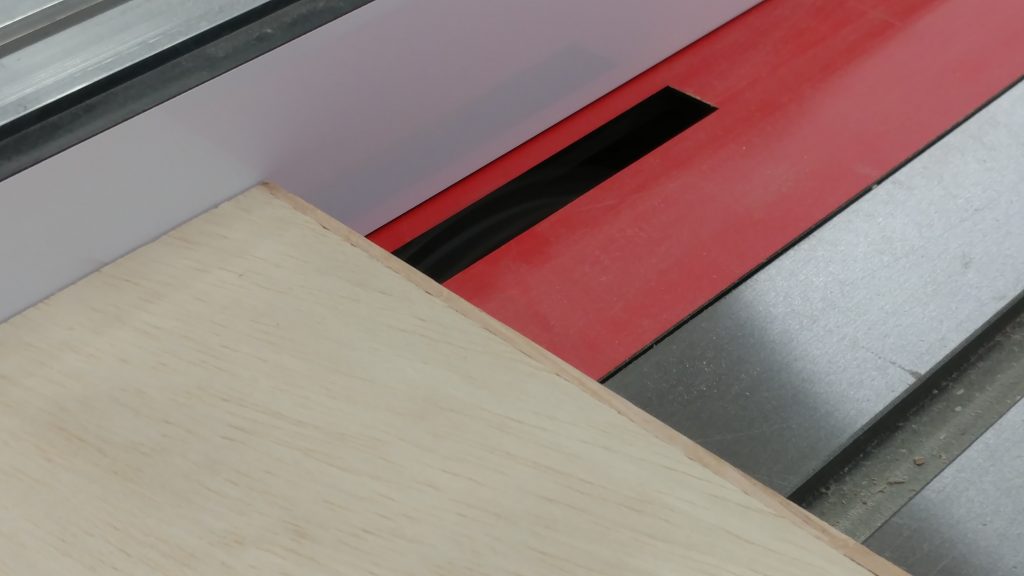
I carefully extended the rabbet just a bit. I didn’t end up needing to move the fence at all, but I did have to raise the blade up just a bit and make a second pass.
Applying a stain to the tops and sides.
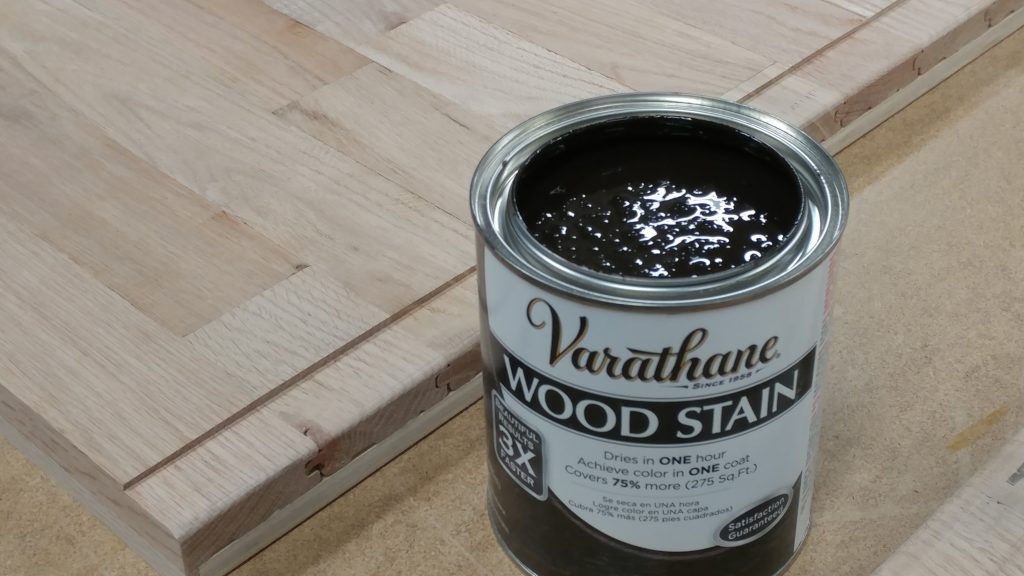
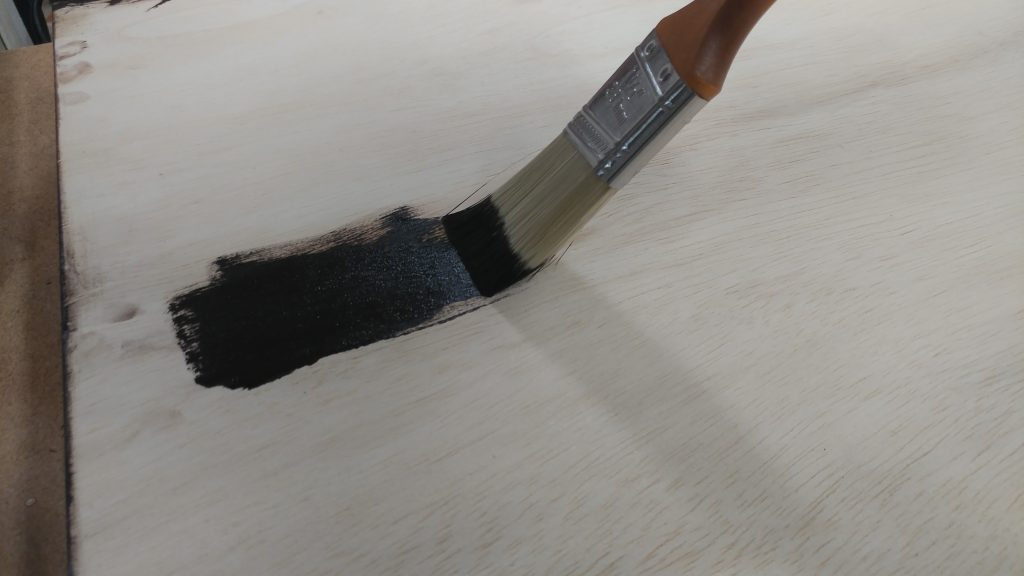
Now it’s time to apply the stain. For this, I’m using Varathane Kona wood stain.
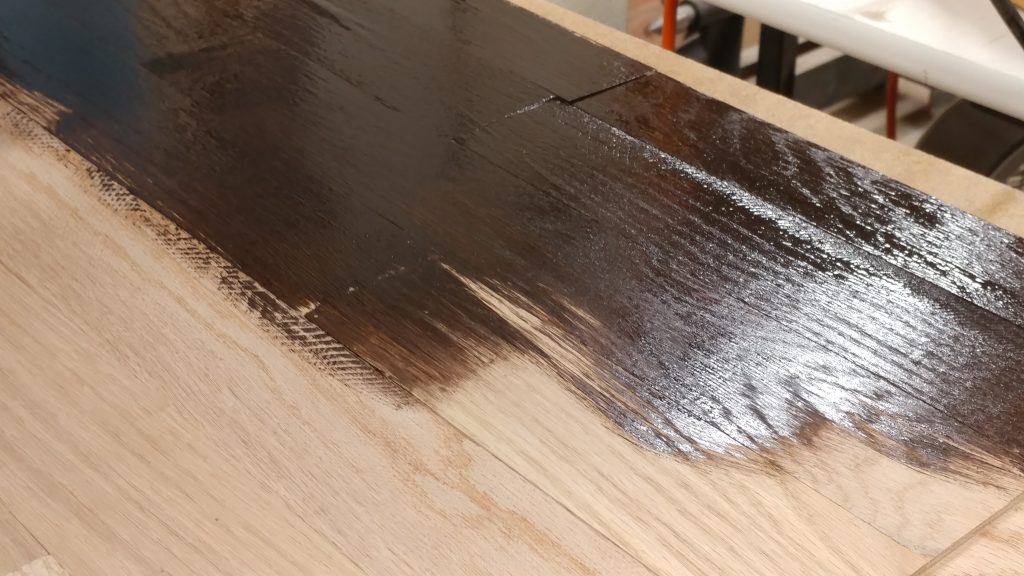
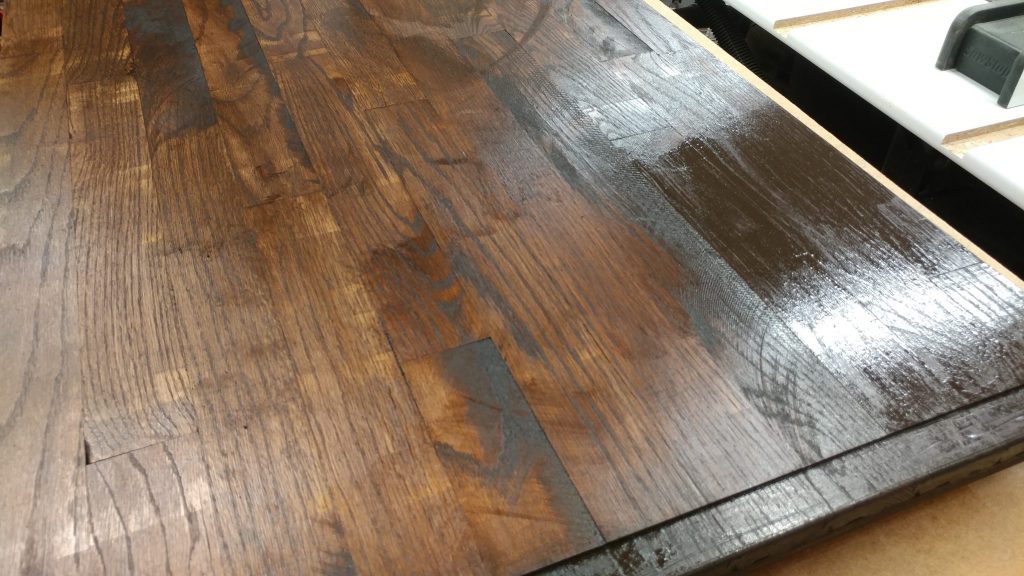
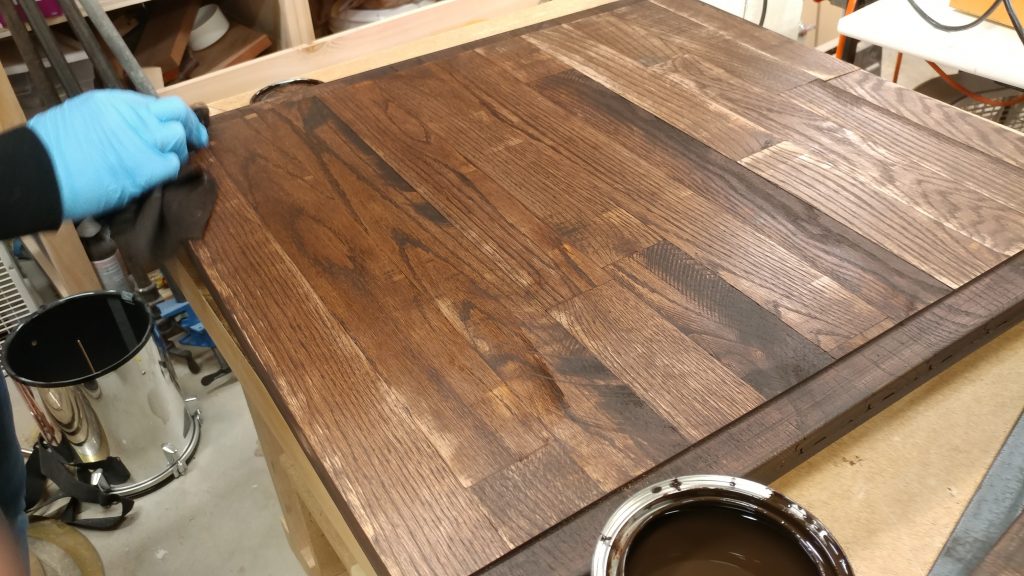
I applied a generous amount using a 3″ brush.
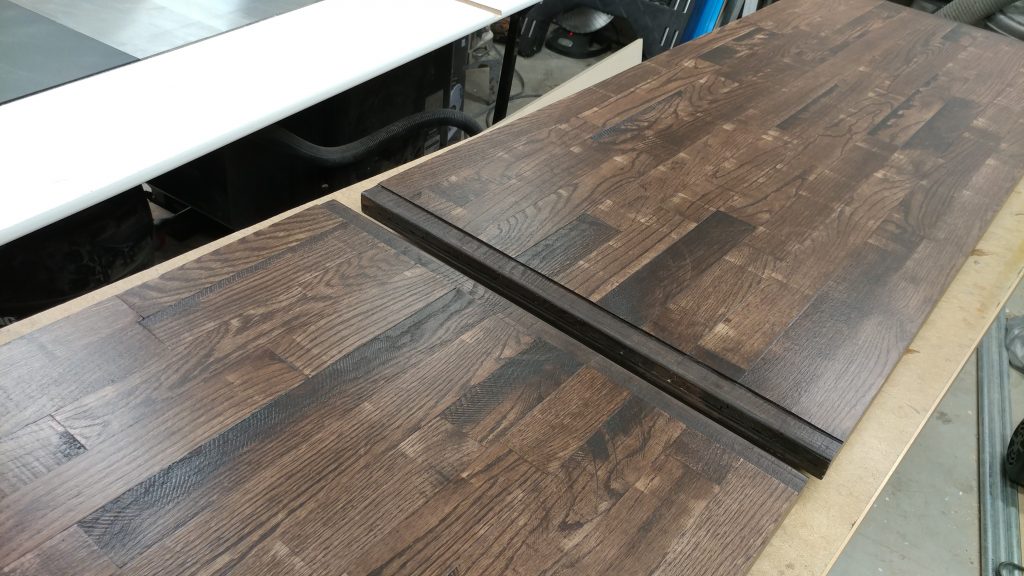
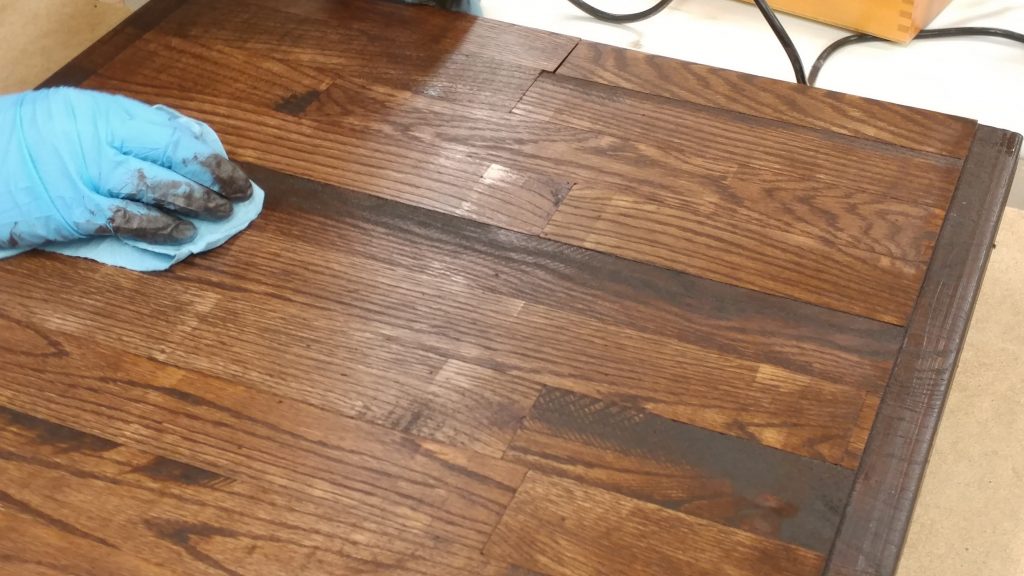
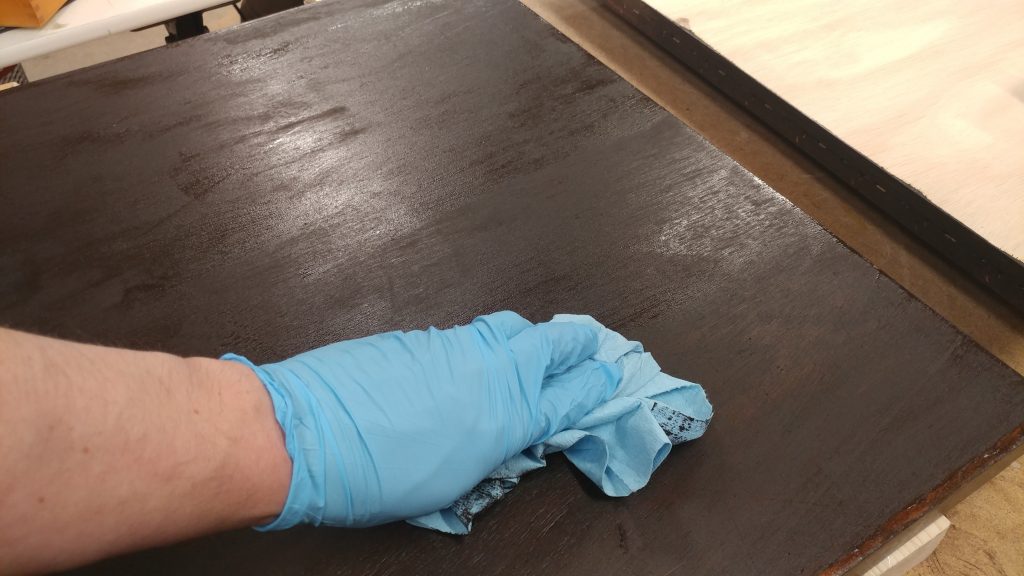
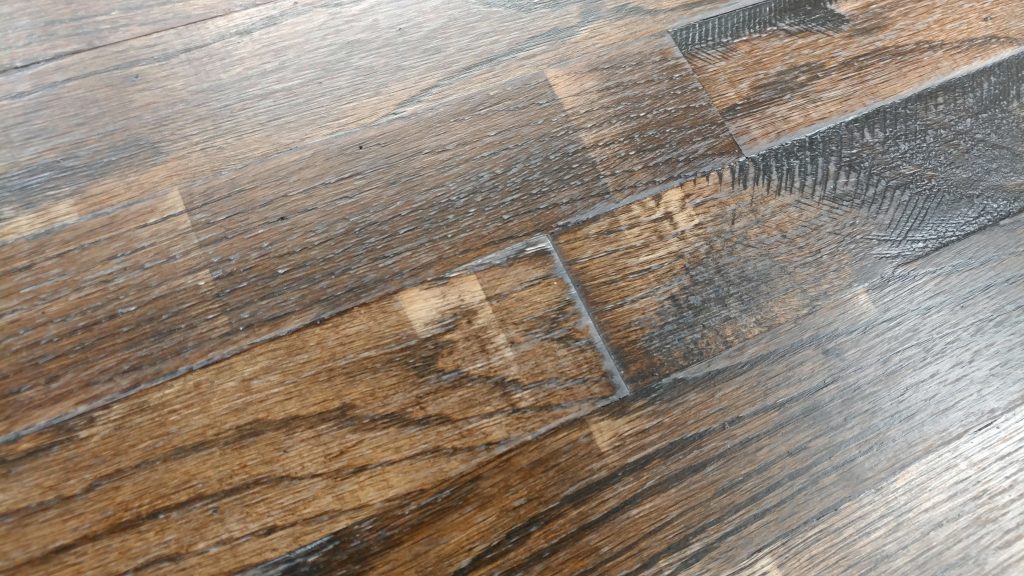
My wife followed up with a blue shop towel and dabbed up most of the stain before it could soak in too much. As you can see, this leaves a lot of the stain in the deeper spots, like the dents, mill-marks, and “worm-holes”.
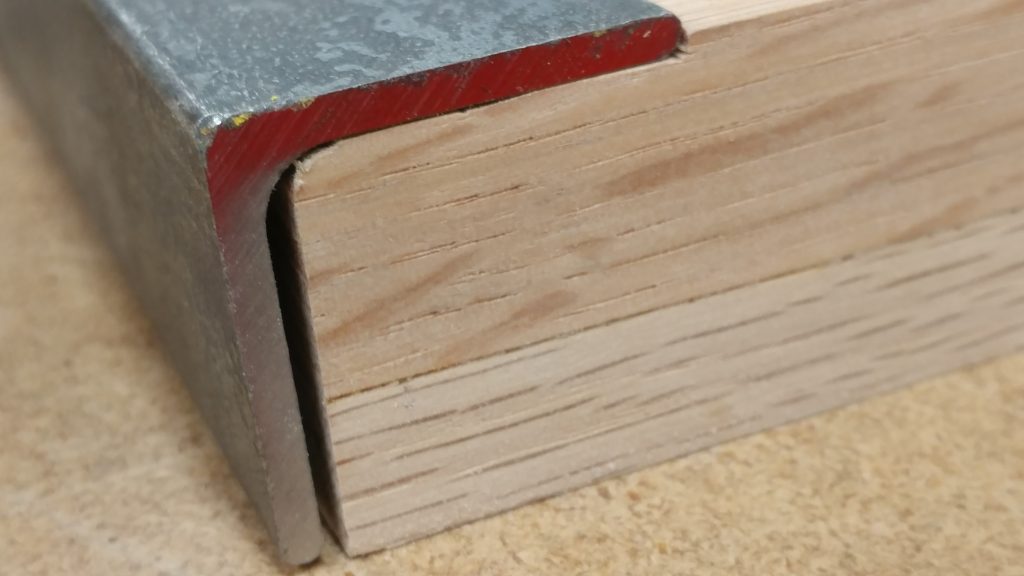
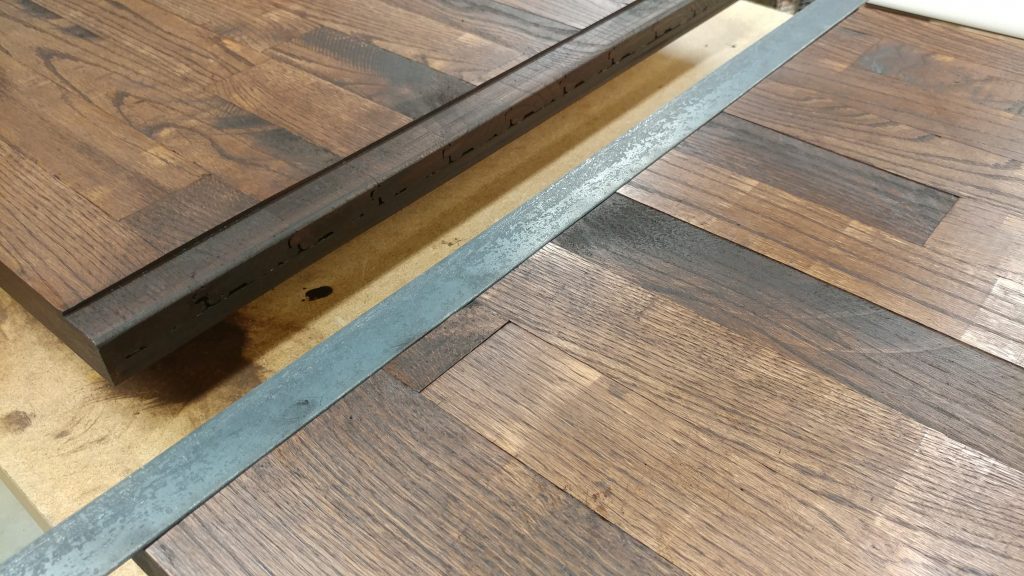
We put the angle-iron on the rabbet to get an idea of how it’s going to look when we are finished. I think it looks pretty good.
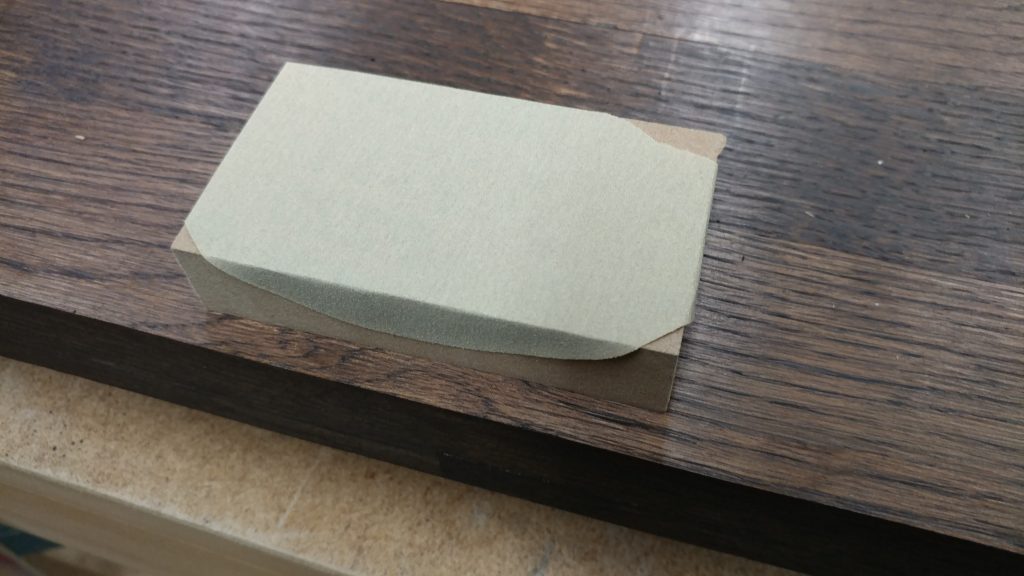
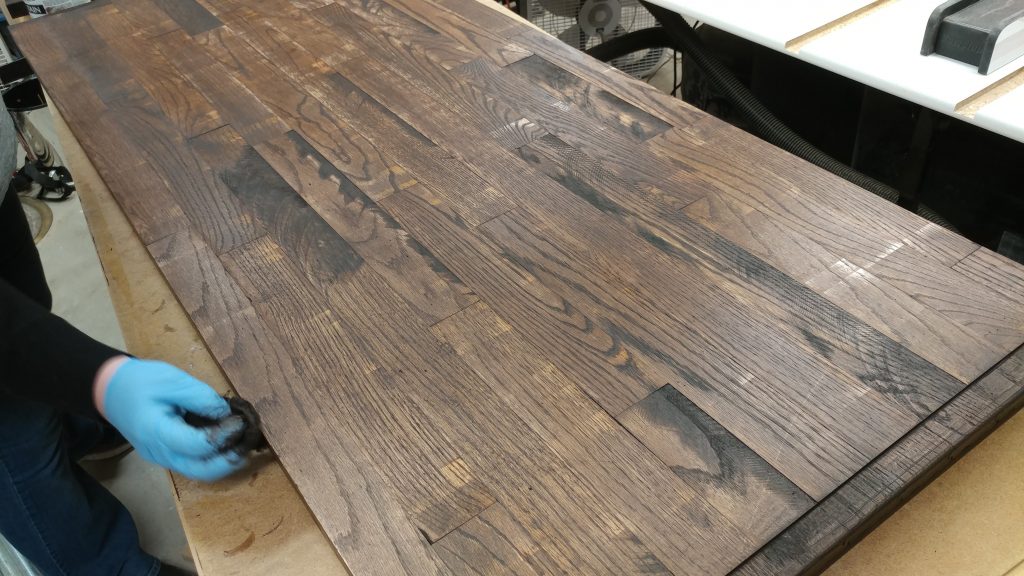
After waiting an hour, we made sanding blocks out of scrap wood and 220-grit sticky-back sanding discs.
The contrast was a bit too much so my wife decided to lightly dab on some more stain in spots to bring the contrast under control.
Now we need to let it sit for a few more hours before we apply the polyurethane.
Protecting it all with polyurethane.
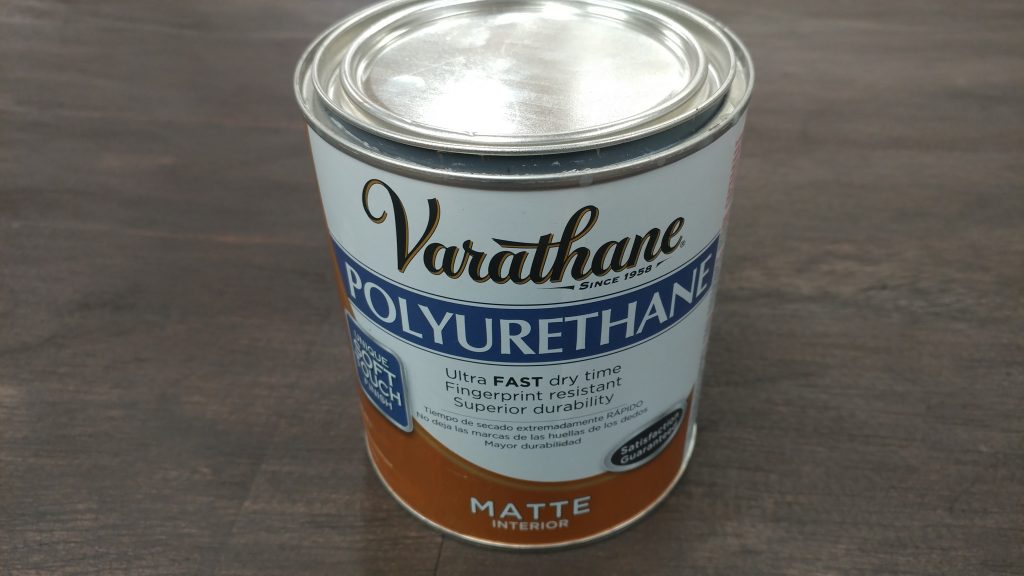
For this project I’m using Varathane brand matte finish interior polyurethane. It goes on easily and rinses out with soap and water. An added bonus is that you don’t have to sand in between coats. I still prefer to sand right before applying the final coat.
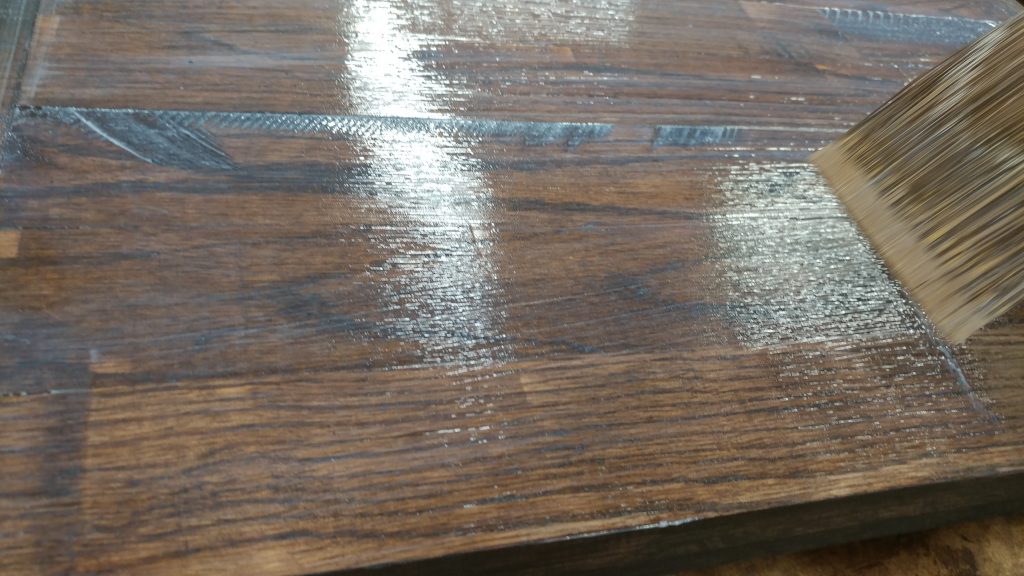
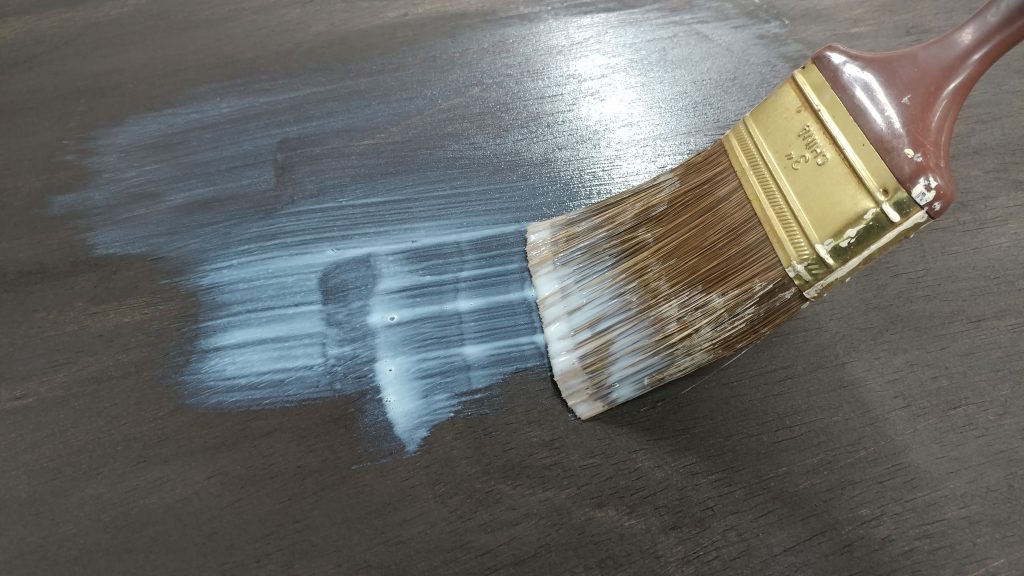
I used the same brush that I used for the stain to apply a generous first coat of polyurethane.
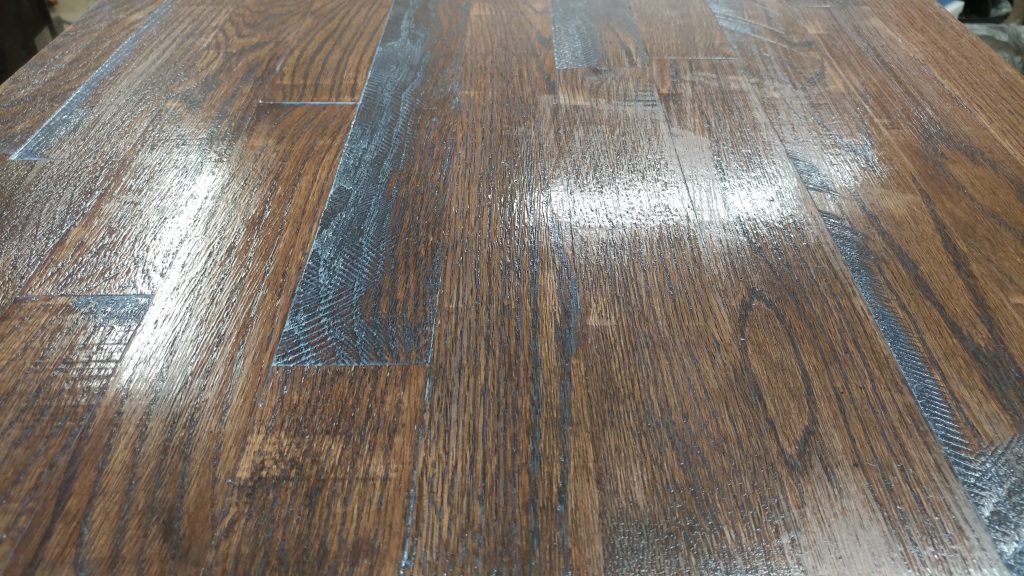
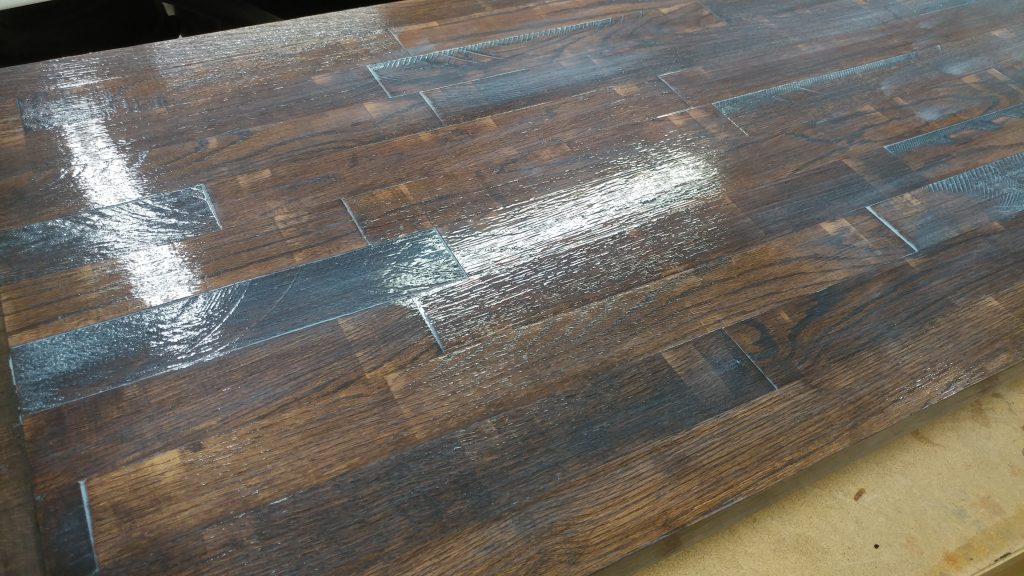
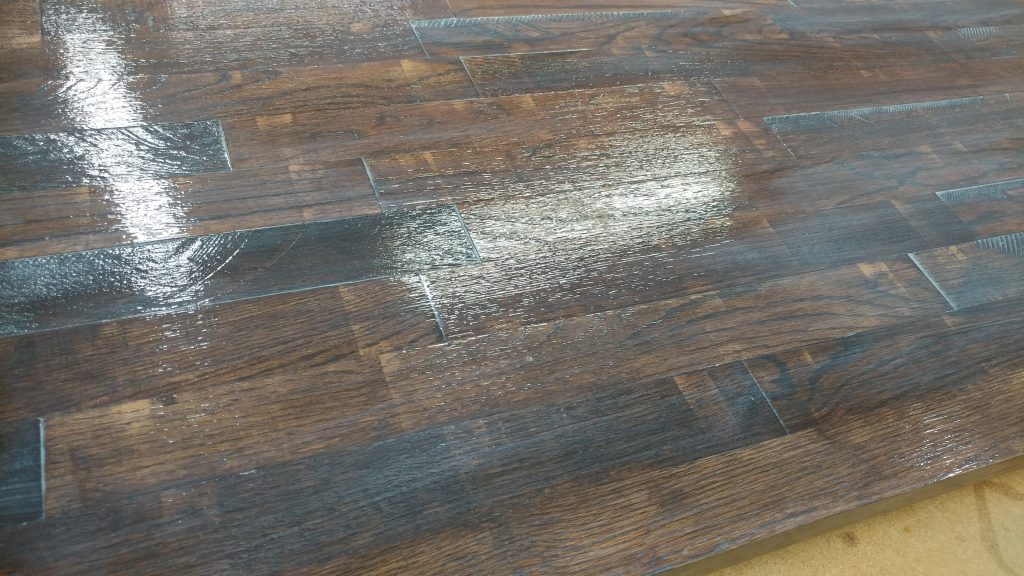
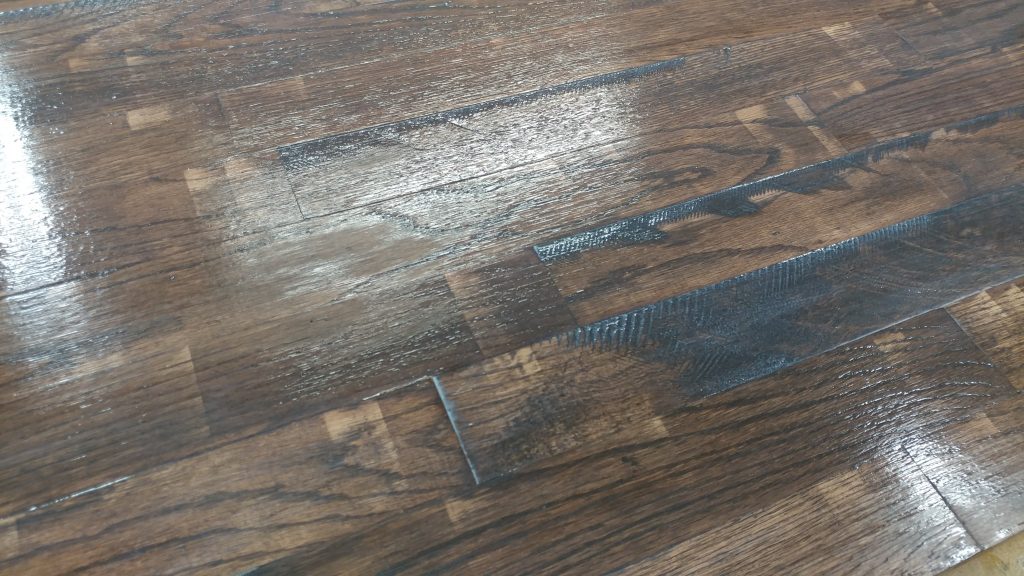
After applying the first coat, I went over it lightly with the brush to smooth it out. You can see how the poly sits in the deeper spots. Our intention is to apply enough poly that it fills in these spots, making a smoother surface.
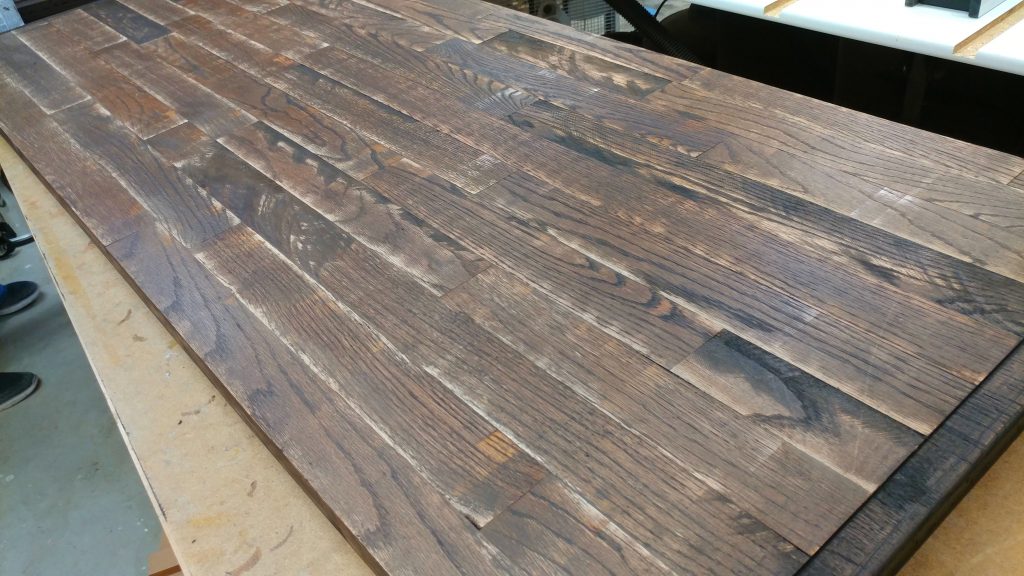
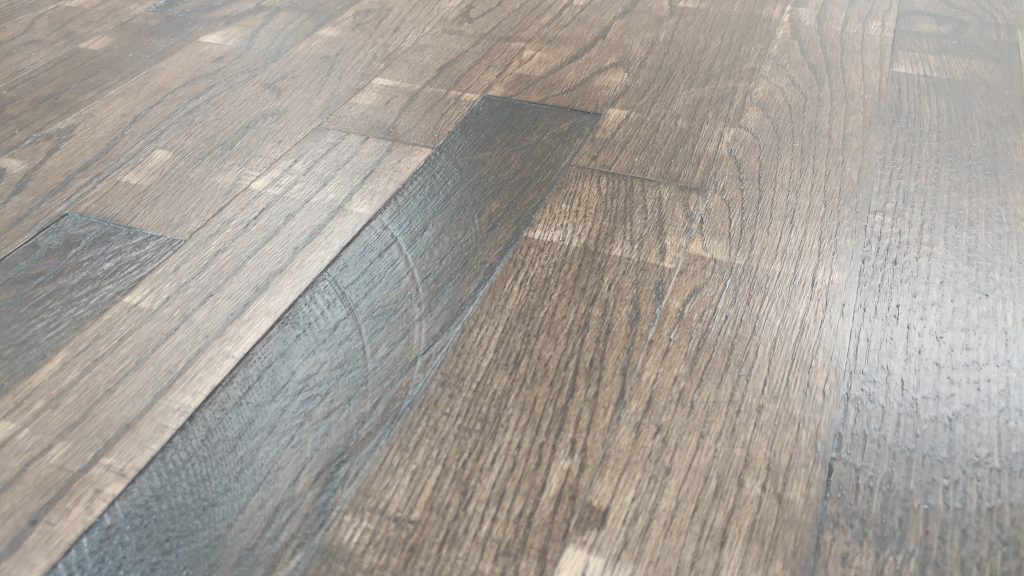
I let the fourth coat sit for 24 hours. It looks like it’s ready to be sanded before applying the final coat. The polyurethane has helped smooth out the high and low spots a bit. I’m not going for a writing surface here so it doesn’t need to be perfectly flat.
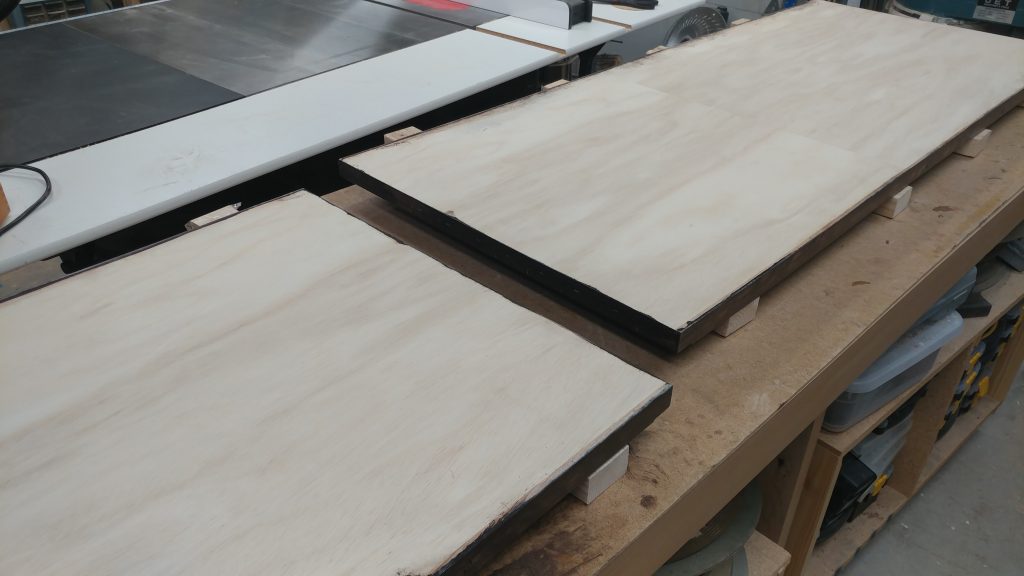
I carefully flipped the pieces over so I can stain the underside. Obviously, this isn’t as critical as the top and I could probably not worry about it at all, but the smaller piece will most likely be attached the the main piece with a piano hinge and will hang down on the side when not in use. This means that the underside of the smaller piece will be visible at these times.
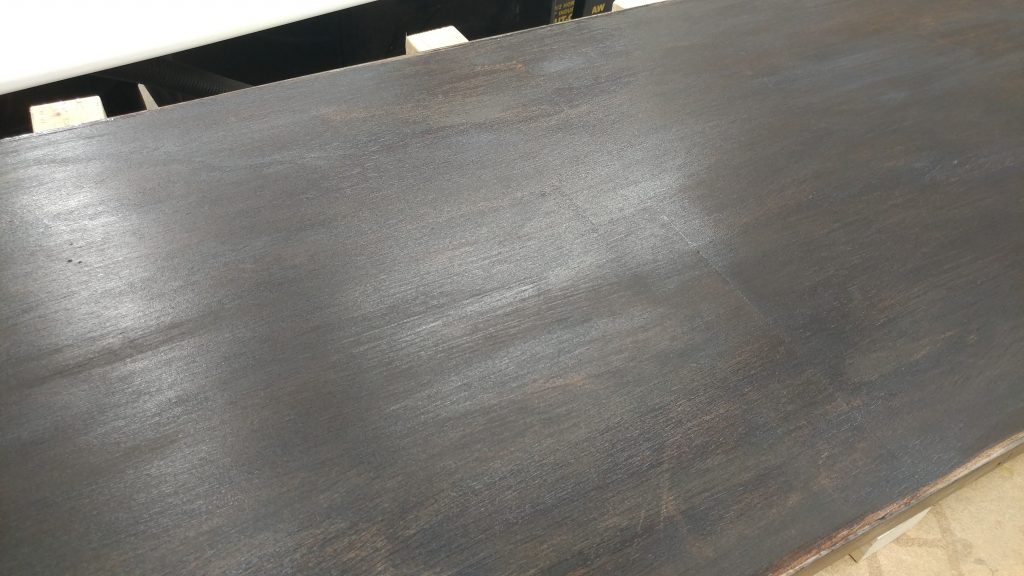
I started the tedious process of applying the stain to the underside. This piece is pine plywood and it soaks up the stain a lot faster than the oak. As a result, this is going to be much darker than the top.
After waiting about an hour and a half, I lightly sanded the underside with 220-grit sandpaper. I’m just trying to knock back any bumps before I seal them for all time under a layer of polyurethane.
I applied a single coat of polyurethane to the undersides.
This is the only layer of poly that I am planning on applying to the underside. I’m going to let it sit for 24 hours before flipping the bench-top pieces back over and finishing the tops.
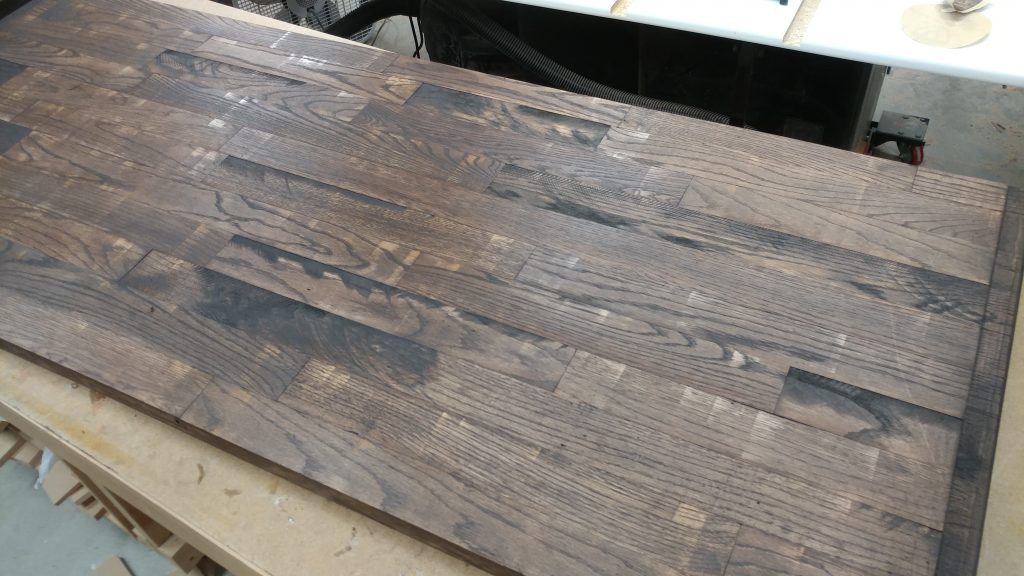
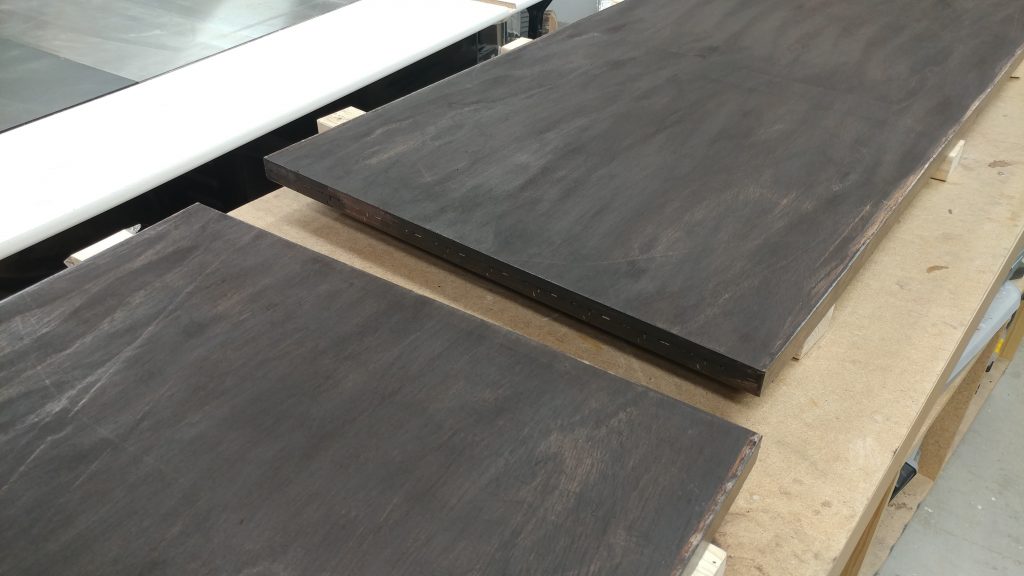
After letting the poly coat on the underside sit for 24 hours, I flipped the benchtop back over and lightly sanded the top with 220-grit sandpaper in order to knock back any bumps or high points. This also further distressed the top.
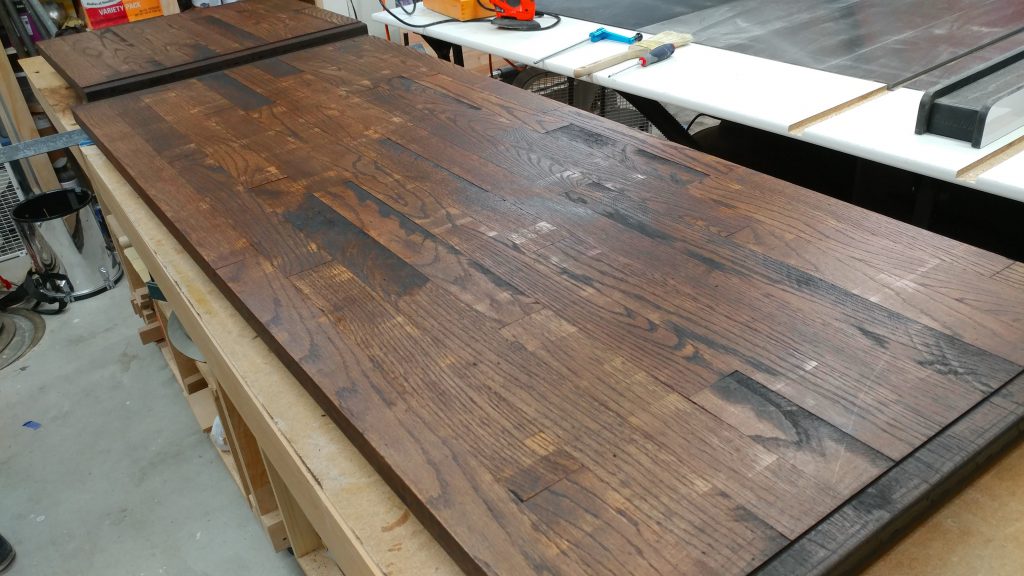
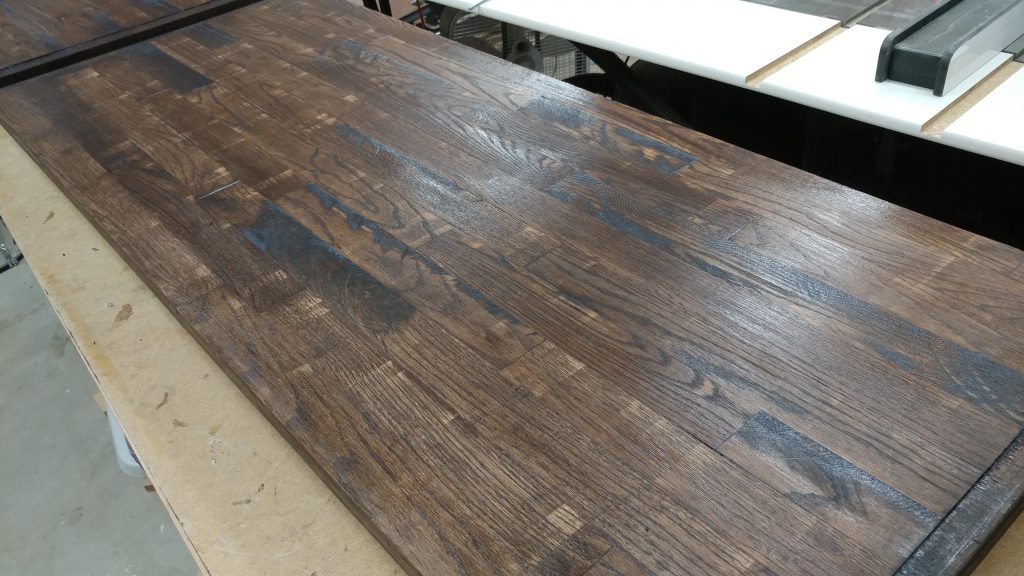
After sitting overnight, the finish on the bench-top is complete and now it’s time to attach the hardware.
Do you have any tips on staining and protecting your work? What has worked for you? Let us know in the comments section below. I’d love to hear from you. Also, please consider signing up for my mailing list to be notified of future articles. I am also available on social media. Stop by and say ‘Hi’. I can be reached at the links below.



Pingback: Workbench: Part 7 – Installing The Hardware - TrentDavis.net