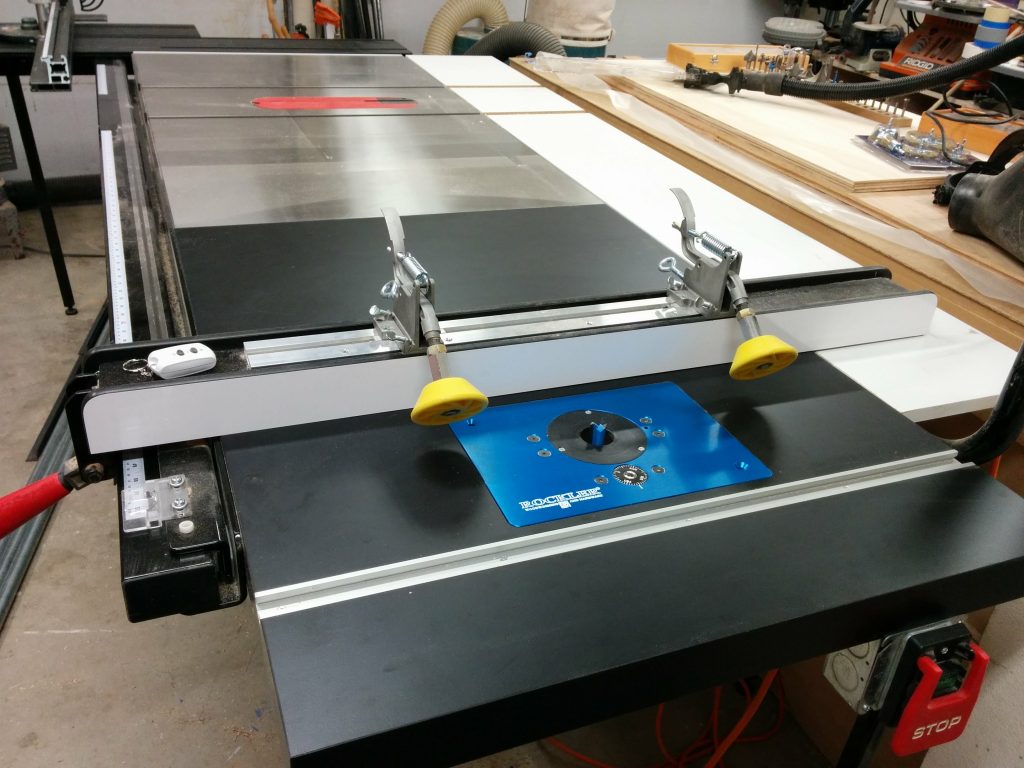
This is a continuation of my other table saw enhancements, Attaching a Sliding Crosscut Table Without Cutting Down the Rails and Attaching an Extra Cast-Iron Extension Wing.
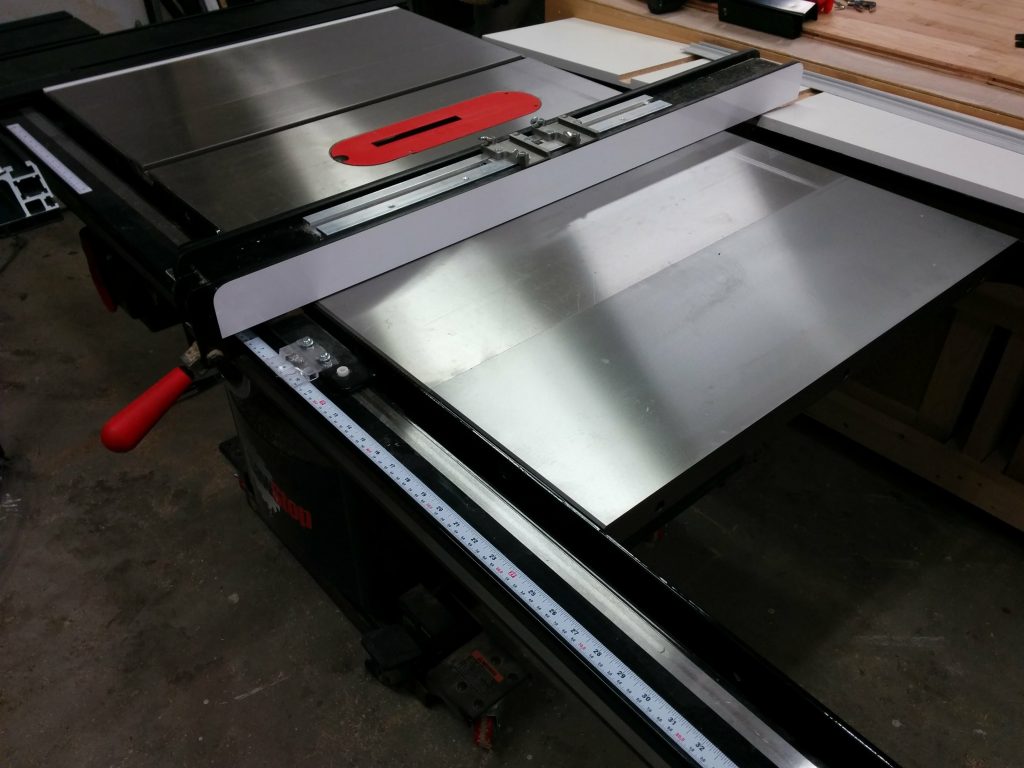
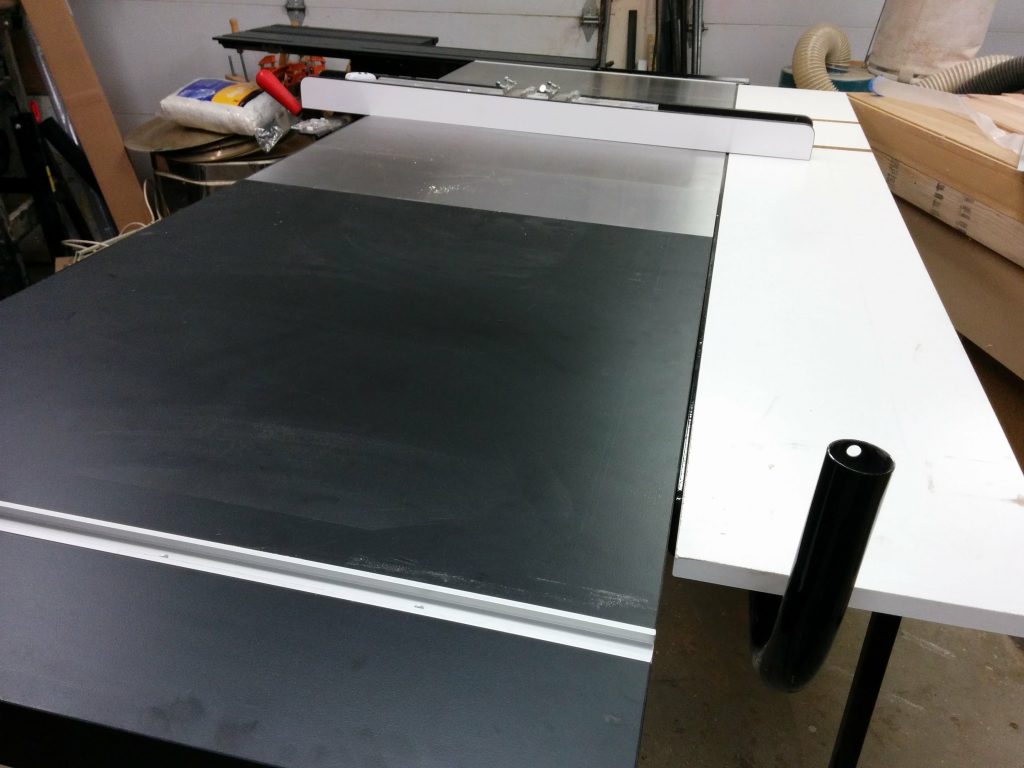
The additional cast iron wing that I attached to my table saw moved the wooden extension table another 10″ past the end of my rails. This allows me to relocate my router table to the far-right edge of the table saw without having to cut notches in my front and rear rails to accommodate the miter slot.
Converting the extension table into a router table.
I had to remove my fence in order to attach the additional cast iron wing. I didn’t want to put my fence back on yet but I realized that I needed to so I can cut a dado in the wooden extension table for the miter slot. This is the same extension table that I had previously removed. I temporarily reattached the front rail and did a quick fence alignment so my cut would be parallel with the edge of the table. This led to a slight problem as you’ll soon see.
I wanted to make sure I didn’t accidentally cut through any screws so I removed the legs for the table.
I figured that I would make the miter track 6″ from the edge of the table. This would ensure that I didn’t hit any screws while cutting the dado. I wasn’t worried about hitting a screw and activating the brake in the SawStop since a screw by itself is too small to activate the safety system. I mainly didn’t want to mess up the carbides on my dado stack. I positioned the fence at the 6″ mark.
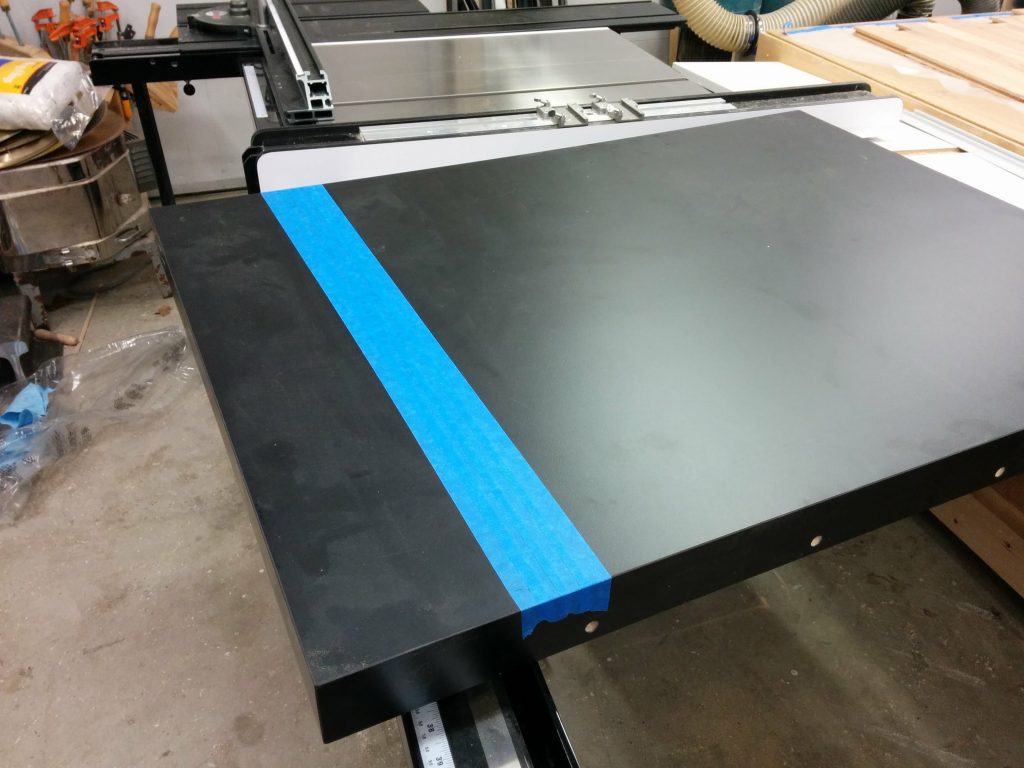
I applied some blue painters tape to help prevent chipping and scratching the laminate on the edges of the dado. In keeping with tradition, I miscalculated where I should put the tape. You’ll see what I mean in a second.
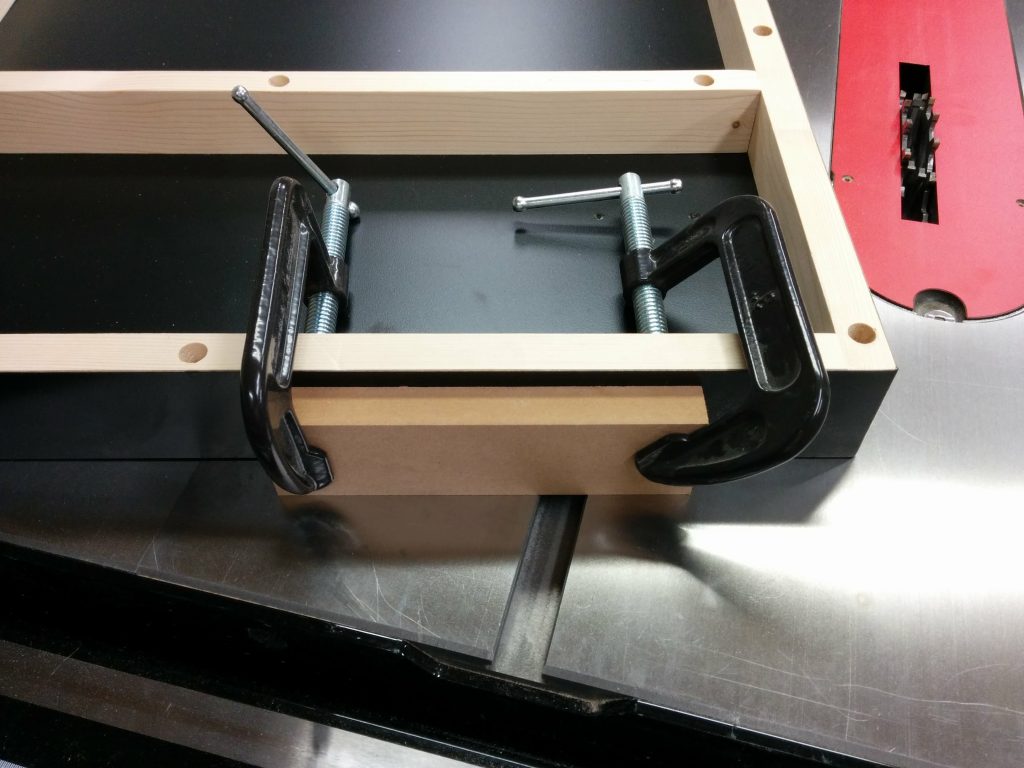
I clamped some scrap wood on the side of the table to help prevent tear-out. I made sure the clamps were positioned where they wouldn’t get hit by the blades.
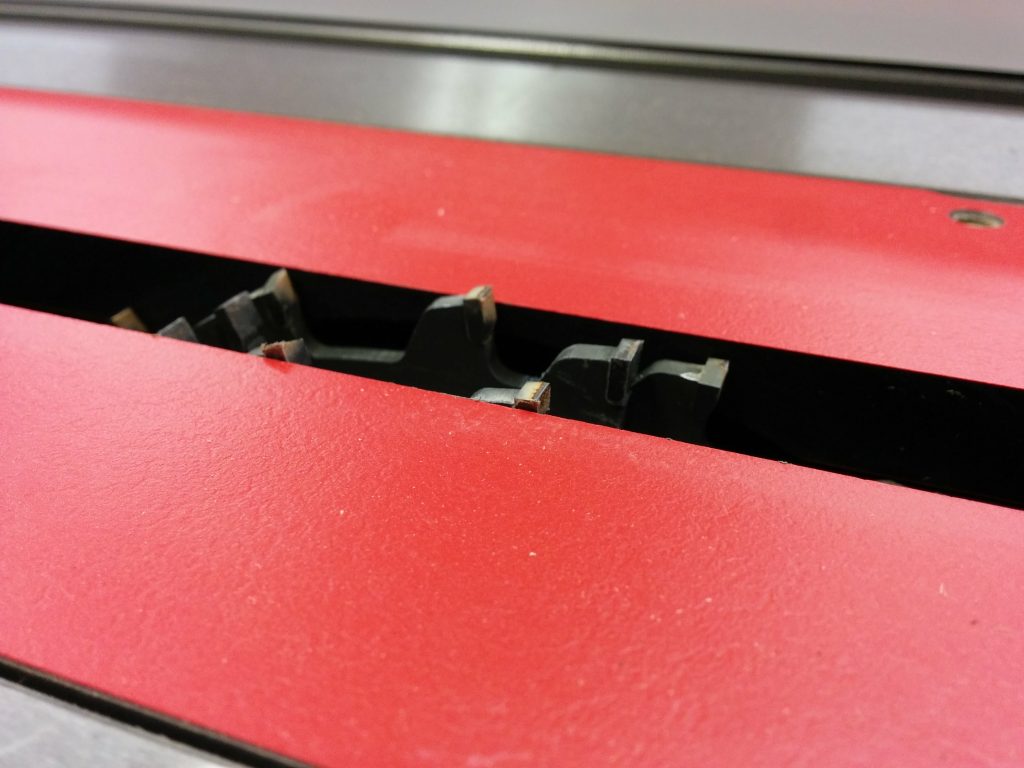
I lowered the dado stack so it would make a scoring cut first. This is another step that can really help prevent the edge of the laminate from chipping.
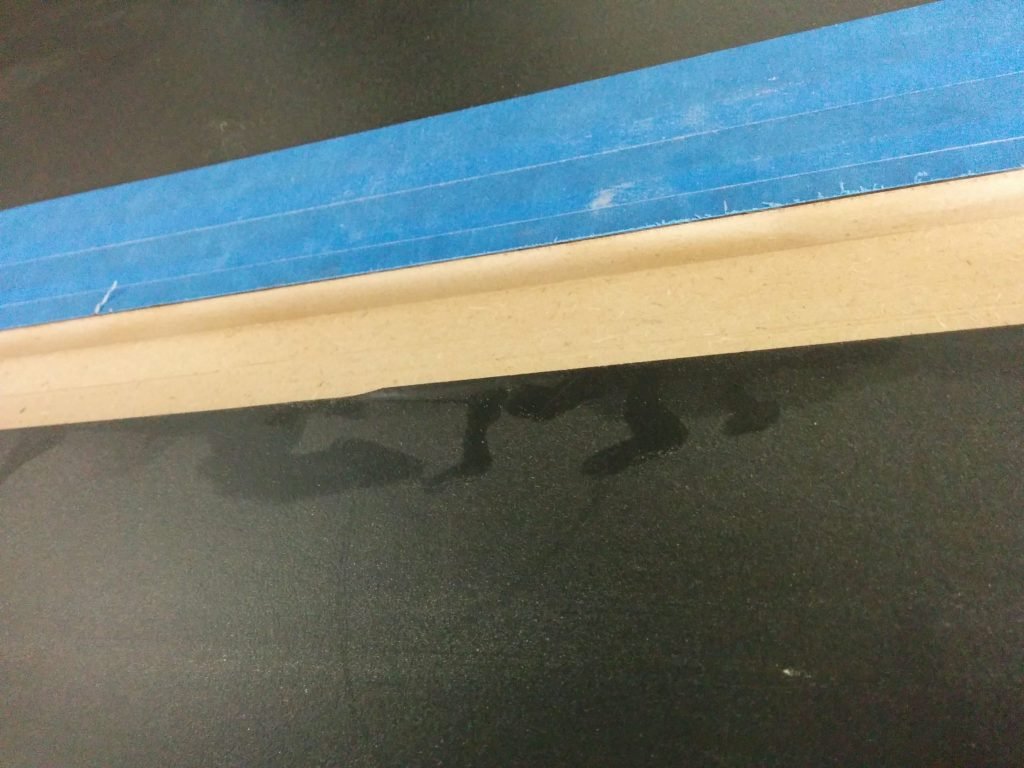
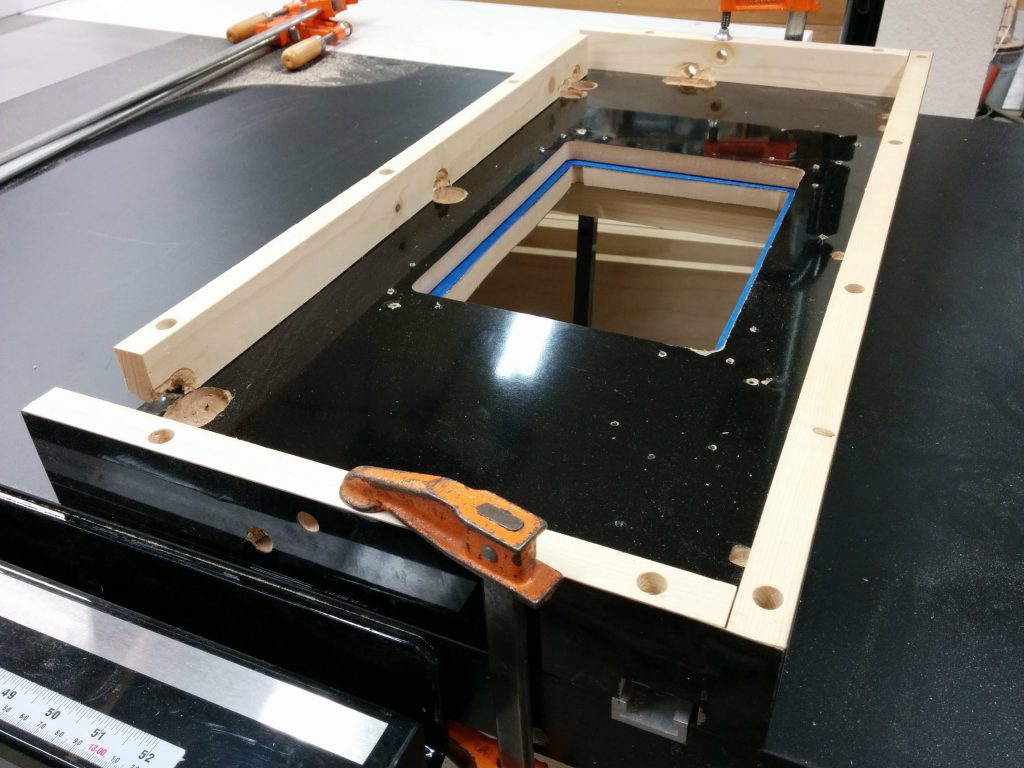
I made my first pass. As you can see, the blue tape wasn’t positioned correctly so my first cut didn’t have tape on each edge. As it turns out this wasn’t a big deal. The laminate that SawStop recently switched to for use on their extension tables is some high-quality stuff and didn’t tear out at all. I didn’t have similar luck with the laminate for their older extension tables.
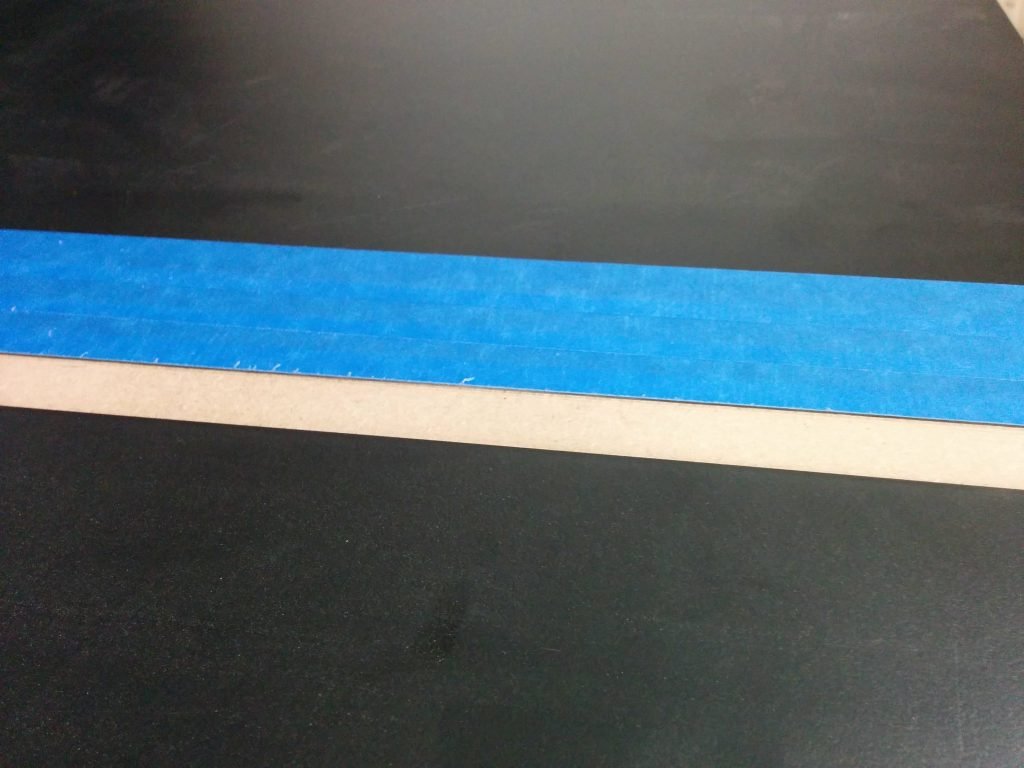
Here you’ll see one of the areas where I screwed up. Remember when I said I did a “quick fence alignment”? Well, I should have taken my time. If I had, I would have noticed that in aligning my fence I also slightly loosened the clamping pressure of the fence on the front tube. This caused my fence to slide a little bit as I was cutting and caused a slight unevenness in the dado.
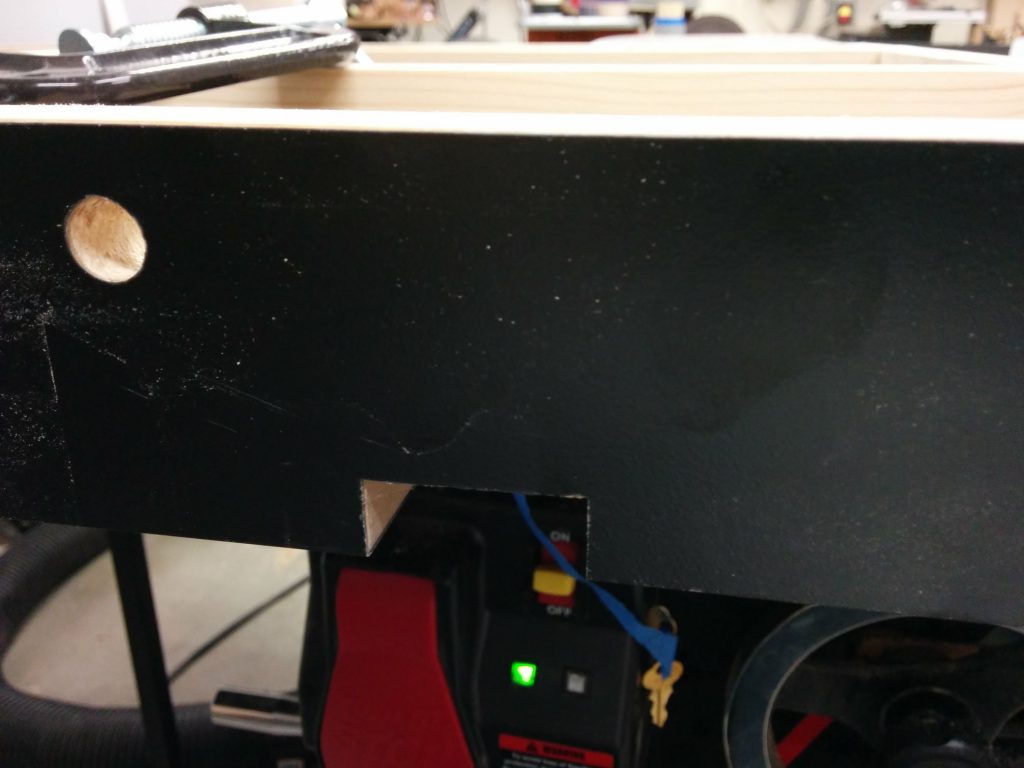
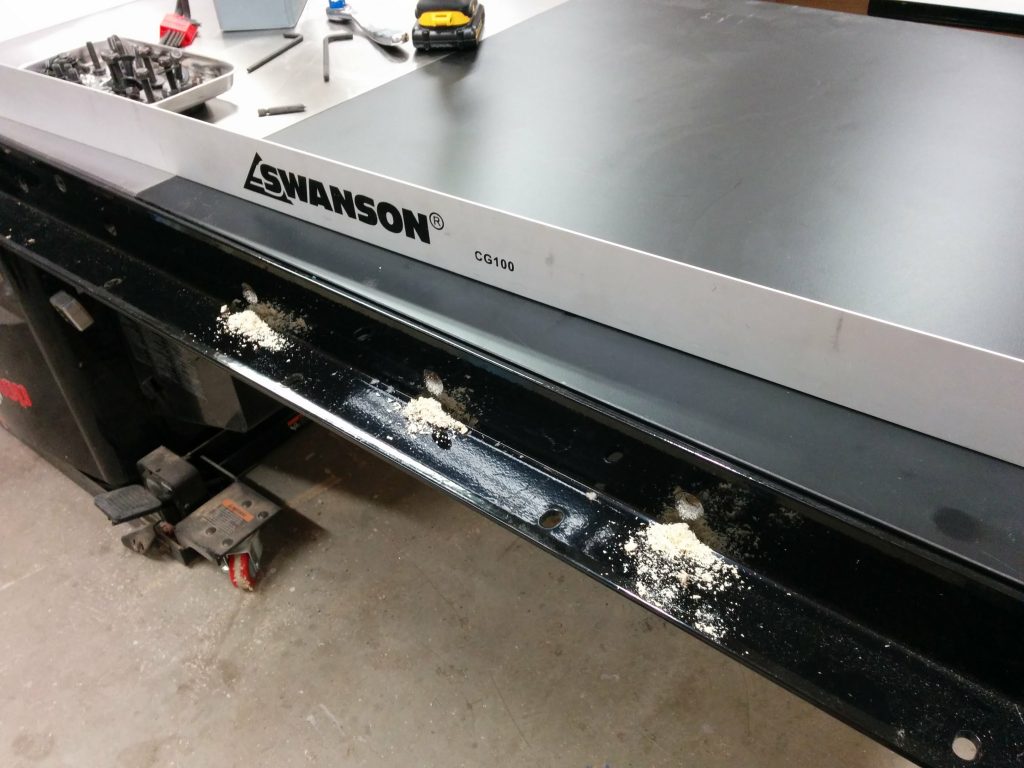
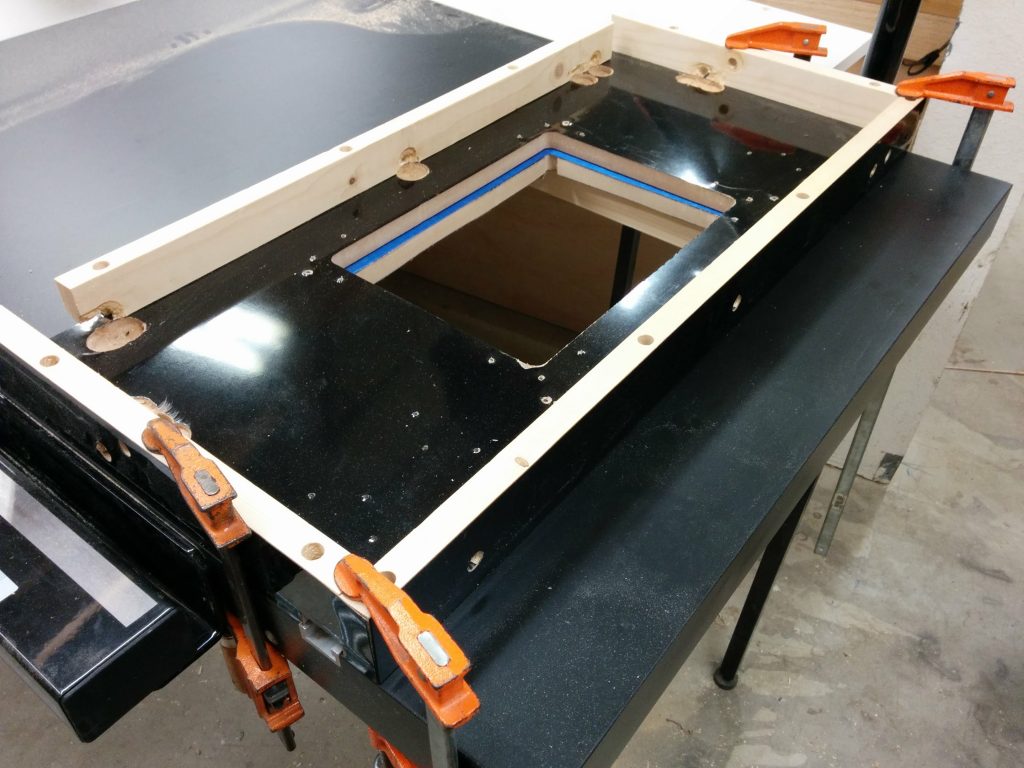
I reattached the legs and temporarily clamped the extension table to the rails and the right wing, making sure it was flush. Then I drilled new holes through the sides of the wooden extension table for the bolts to attach it to the rails.
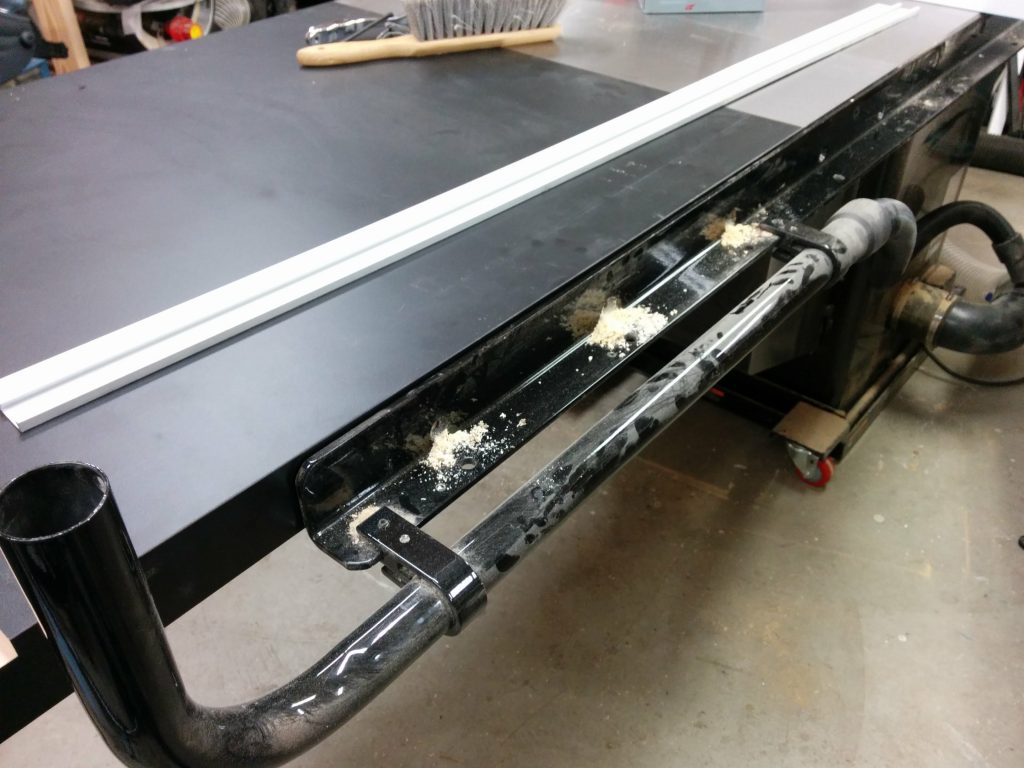
I then did the same thing on the back. After the holes were drilled, I reattached the table to the rails using the appropriate bolts, washers, and nuts.
Now it’s time to mark the opening that I’ll be removing. I’m going to remove most of it with my jigsaw then clean up the rest with my trim router and a pattern bit.
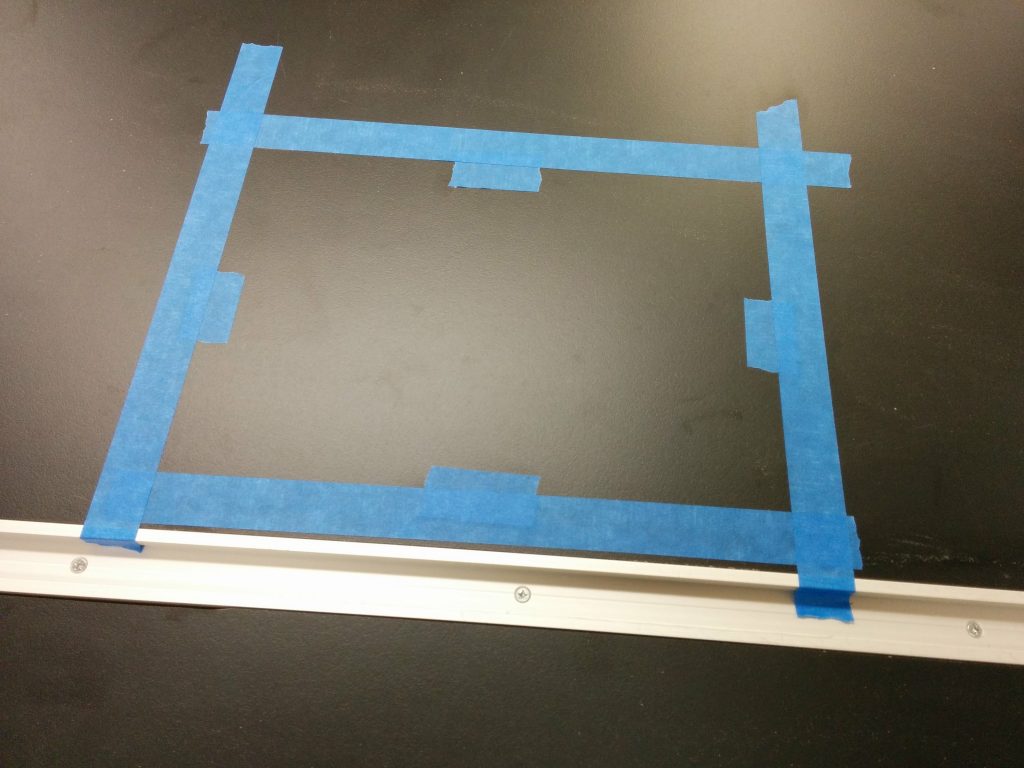
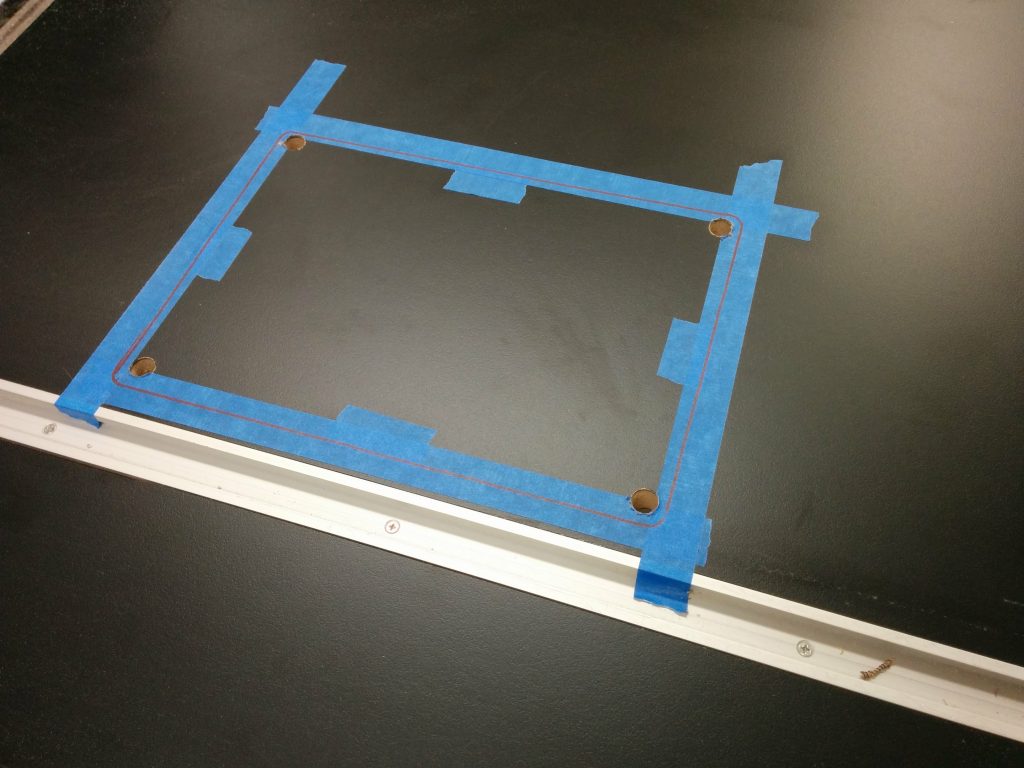
I laid the pattern on the tabletop in the spot where I am going to remove the material. Absolute precision is not critical at this point. I used a few pieces of painters tape to mark the inner edges of the opening.
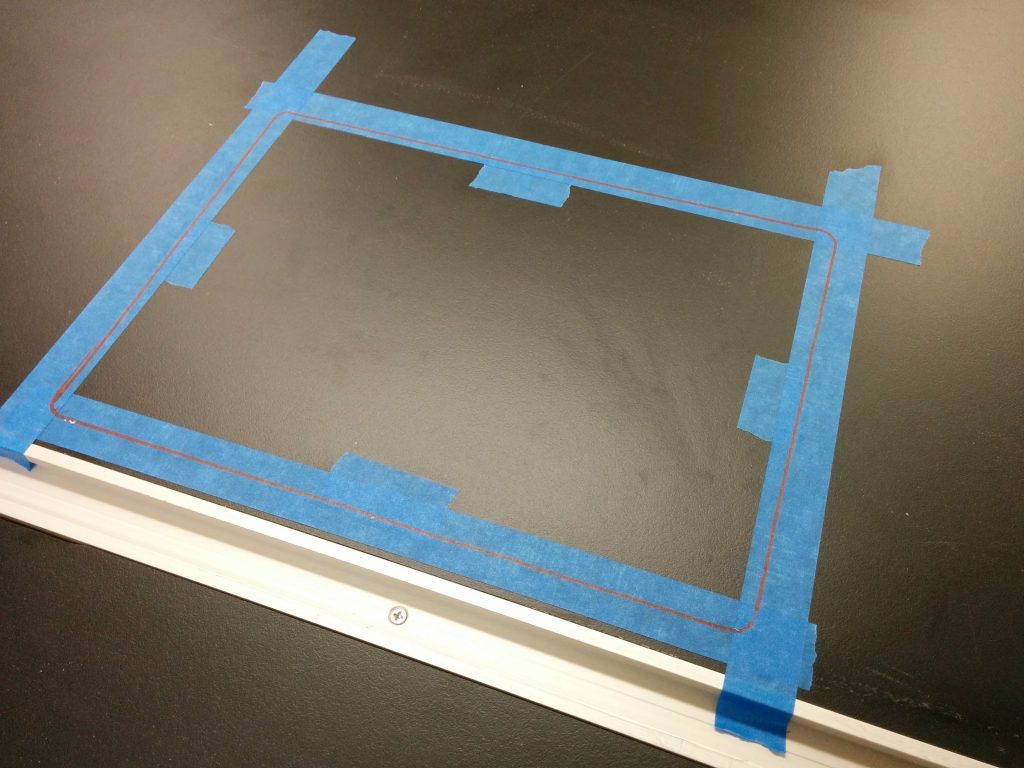
I then took the template off and ran some strips of painters tape over where the edges will be. The actual edges should be somewhat centered in the strips of tape.
Then I put the template back in place. Again, absolute precision isn’t critical at this point.
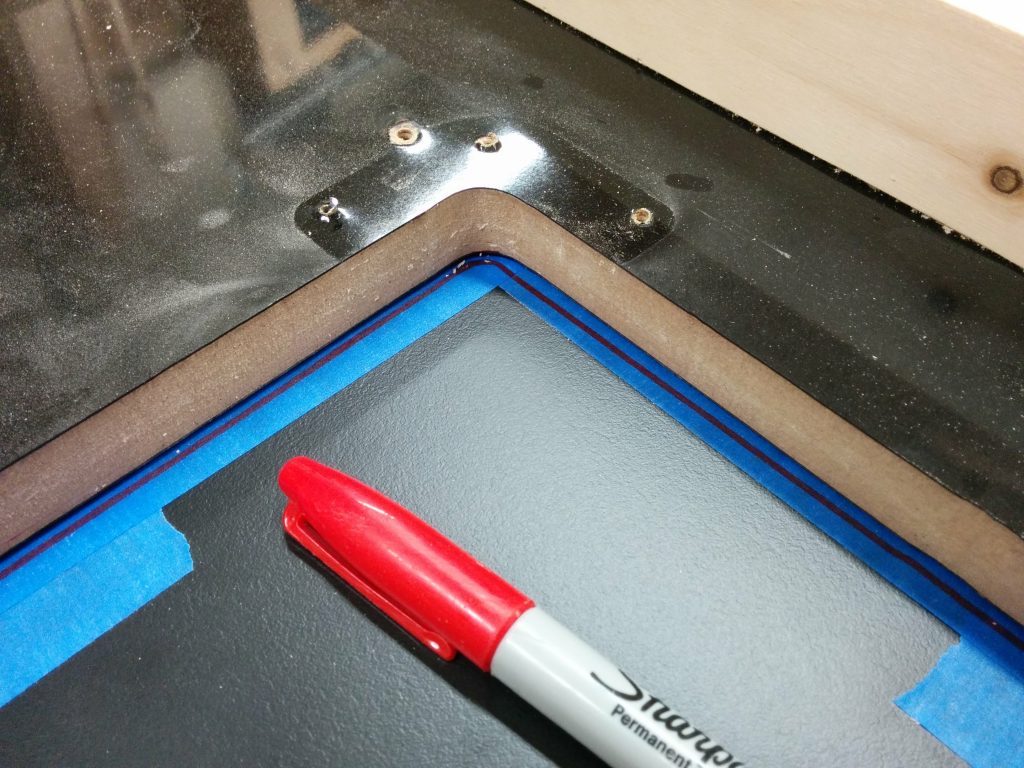
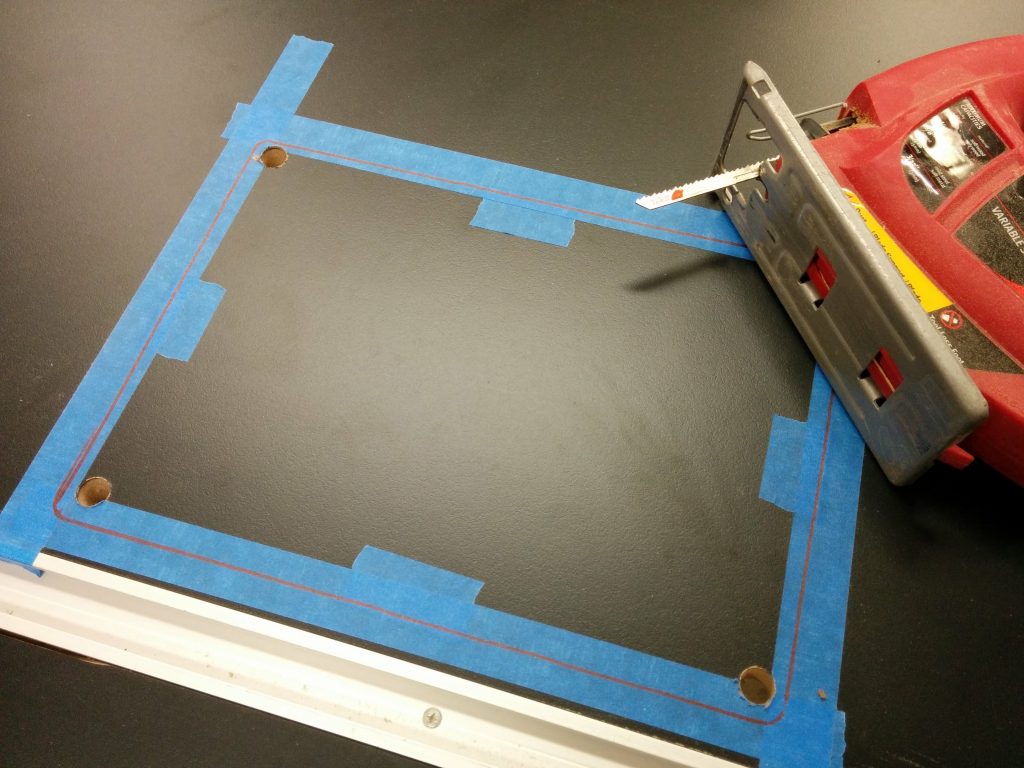
I used a red Sharpie to trace the opening on the blue painters tape.
I then removed the template yet again so I can see the outline I just traced.
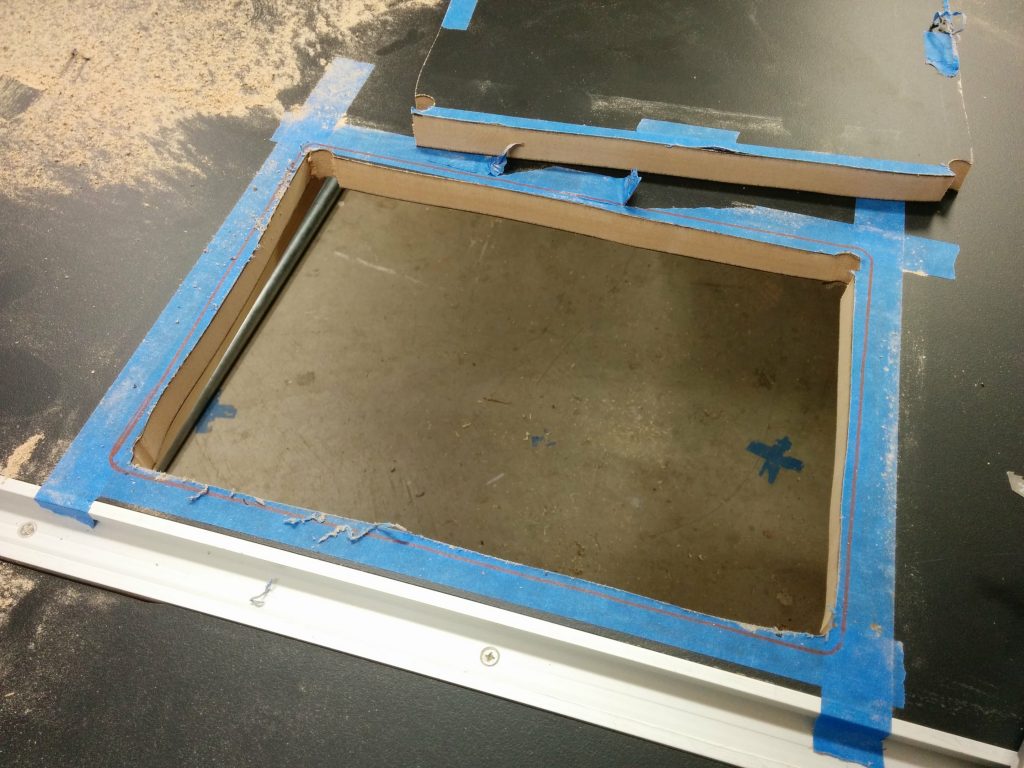
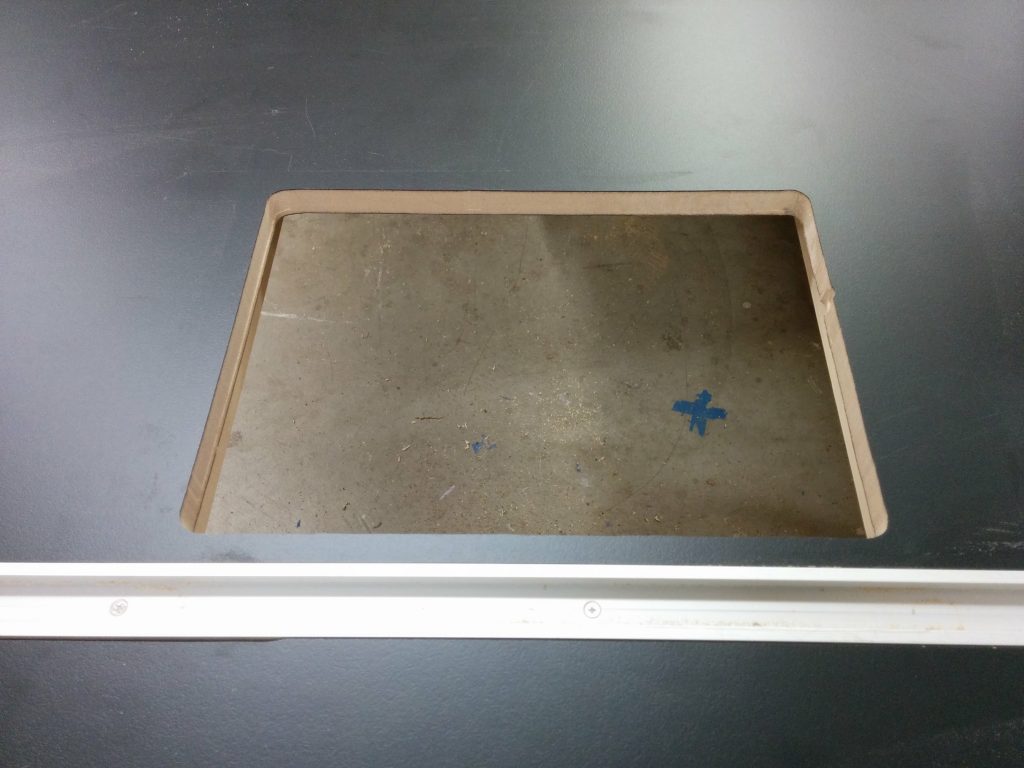
I’m using a jigsaw to remove the bulk of the material, roughly cutting it out about 1/4″ inside the lines.
I reapplied the painters tape since it got a bit chewed up then laid out the template. This time positioning is critical so I took my time. I got one end clamped down…
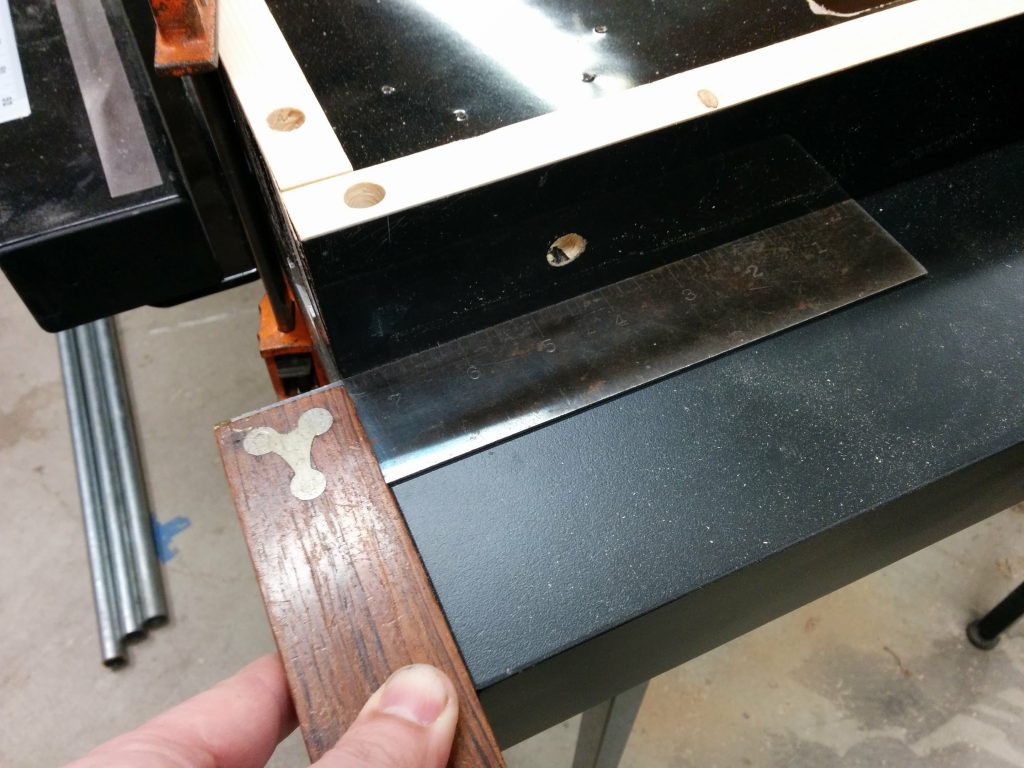
…then used a try square to make sure the template was square with the table.
Once I was satisfied that it was square, I clamped down the opposite end then applied one more clamp to each edge just for good measure.
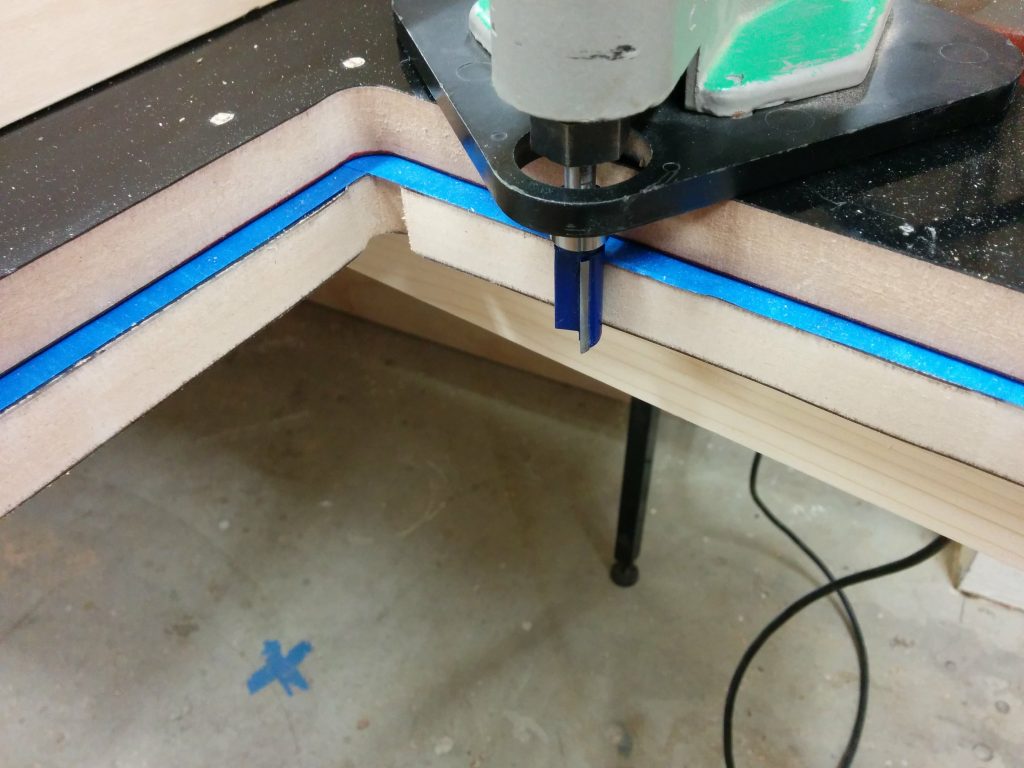
I outfitted my trim router with a 1/2″ pattern bit.
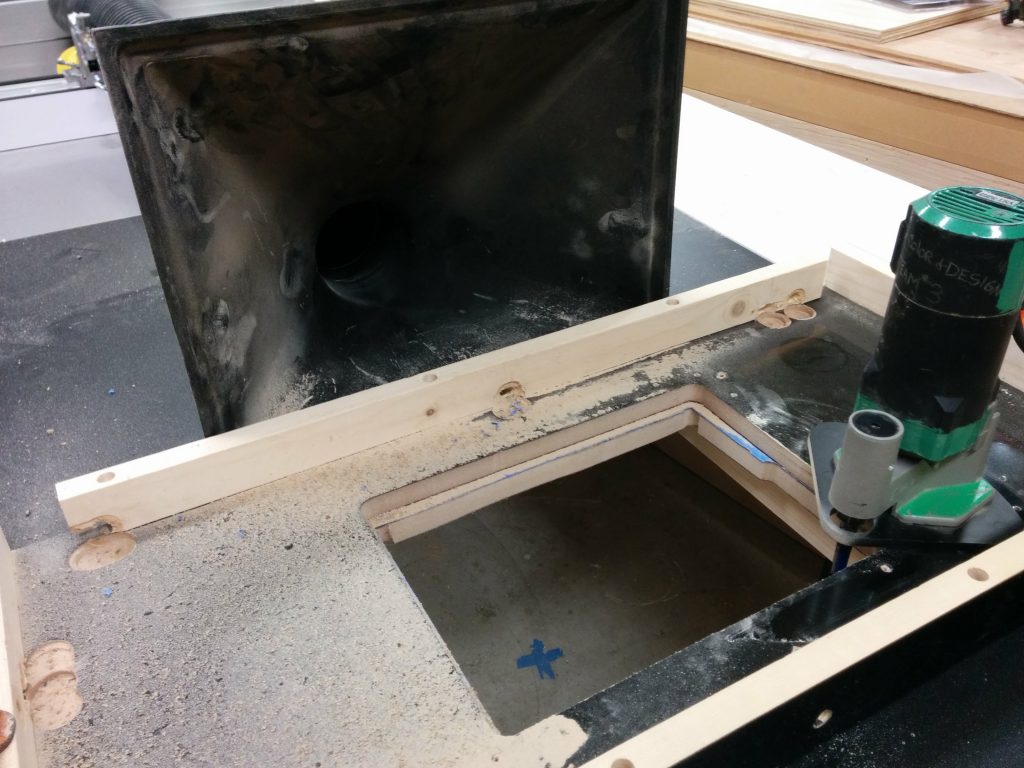
It was throwing up quite a bit of dust so I set up a dust collection hood to grab most of it out of the air.
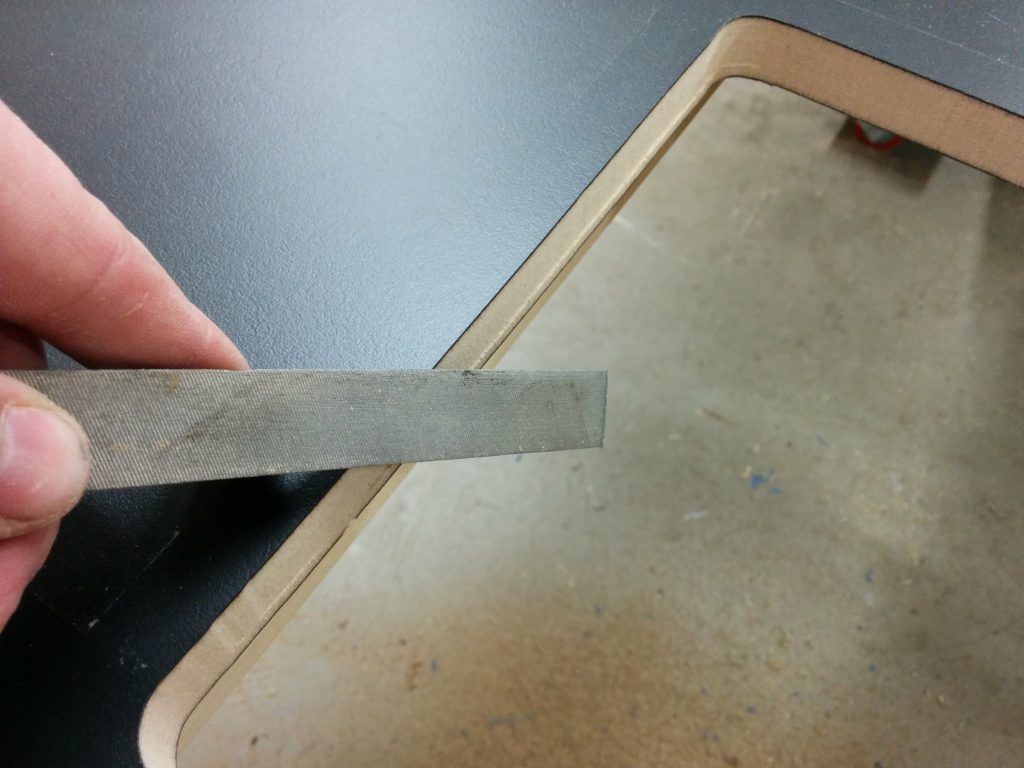
I had a problem with the bearing on this pattern bit coming loose and the whole bit slipping. This caused a little gouge on the inner-right edge of the opening.
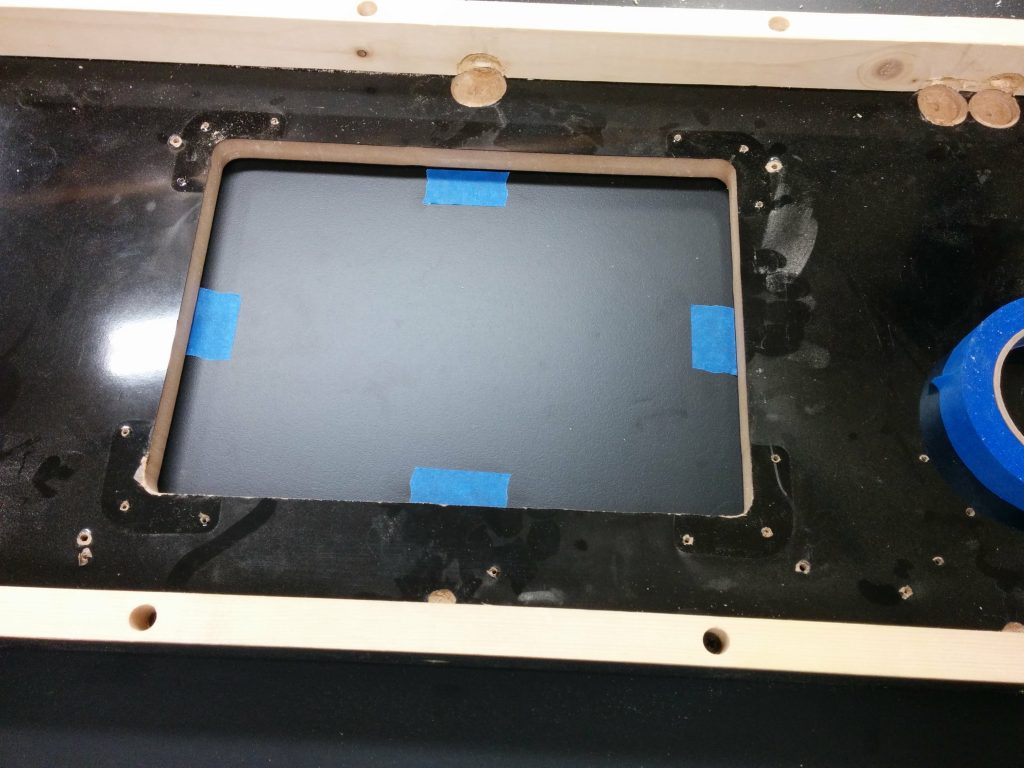
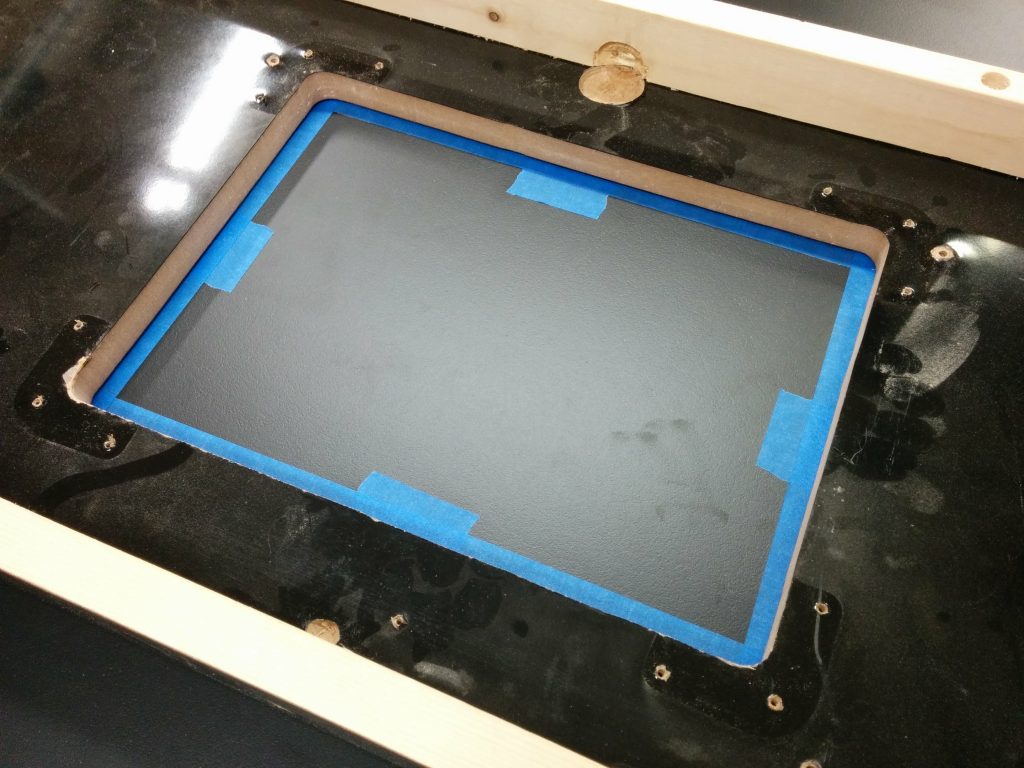
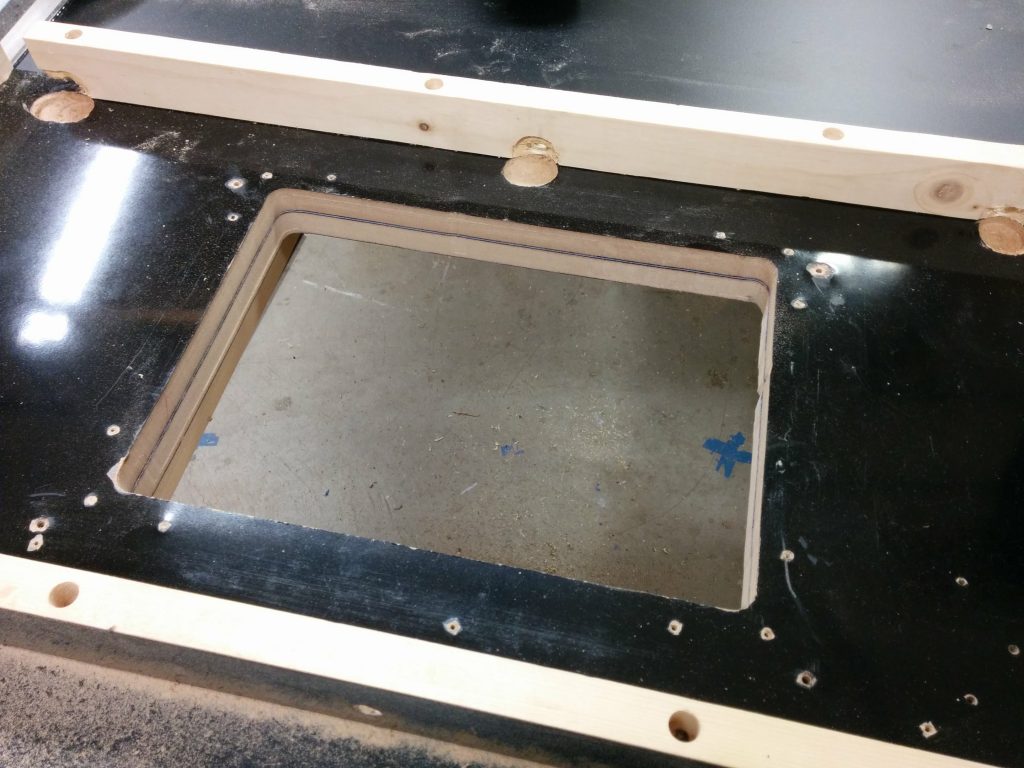
I removed the template and the painters tape so I could inspect the edge. There was a little divot where the bearing came loose but other than that, it wasn’t bad.
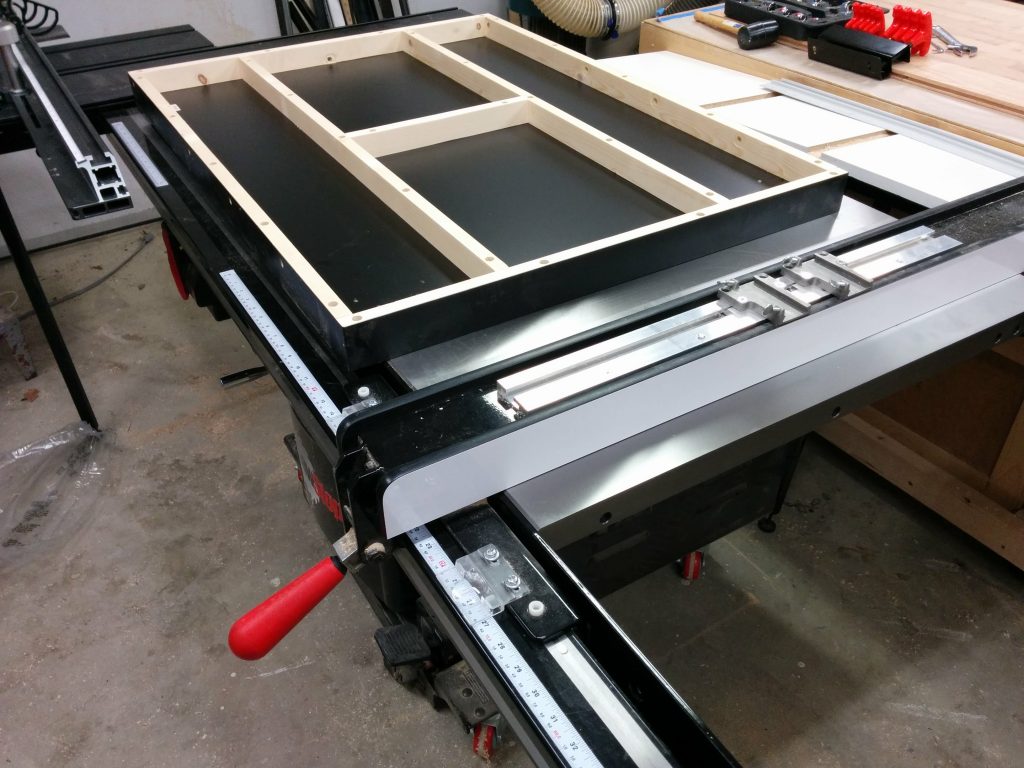
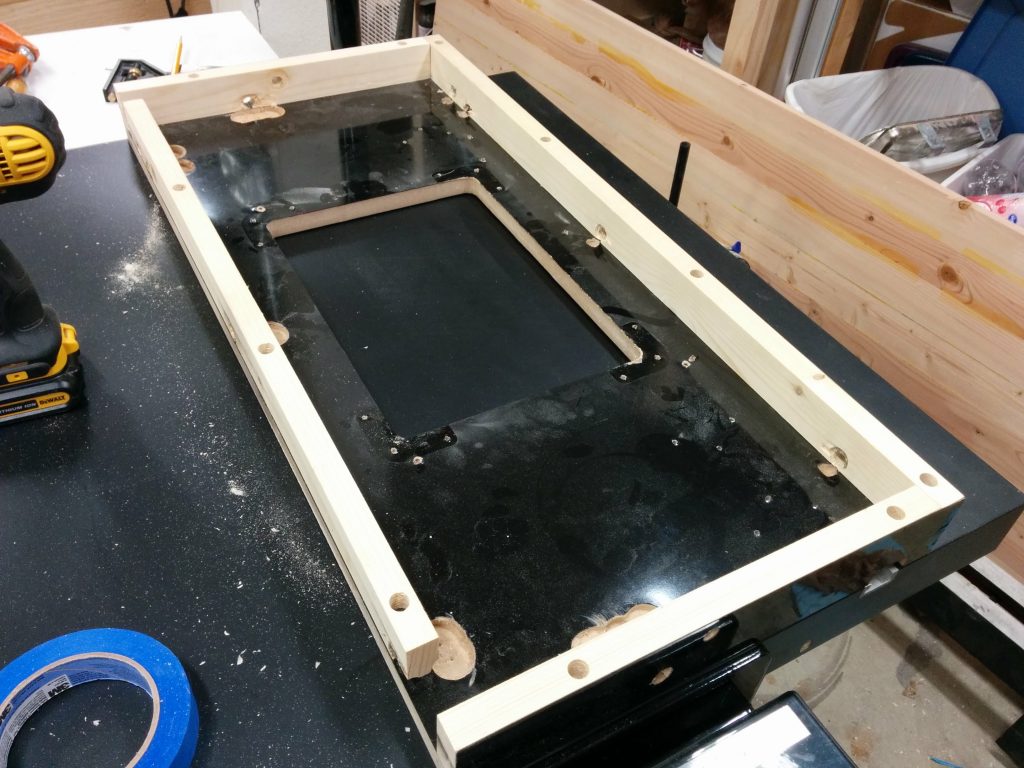
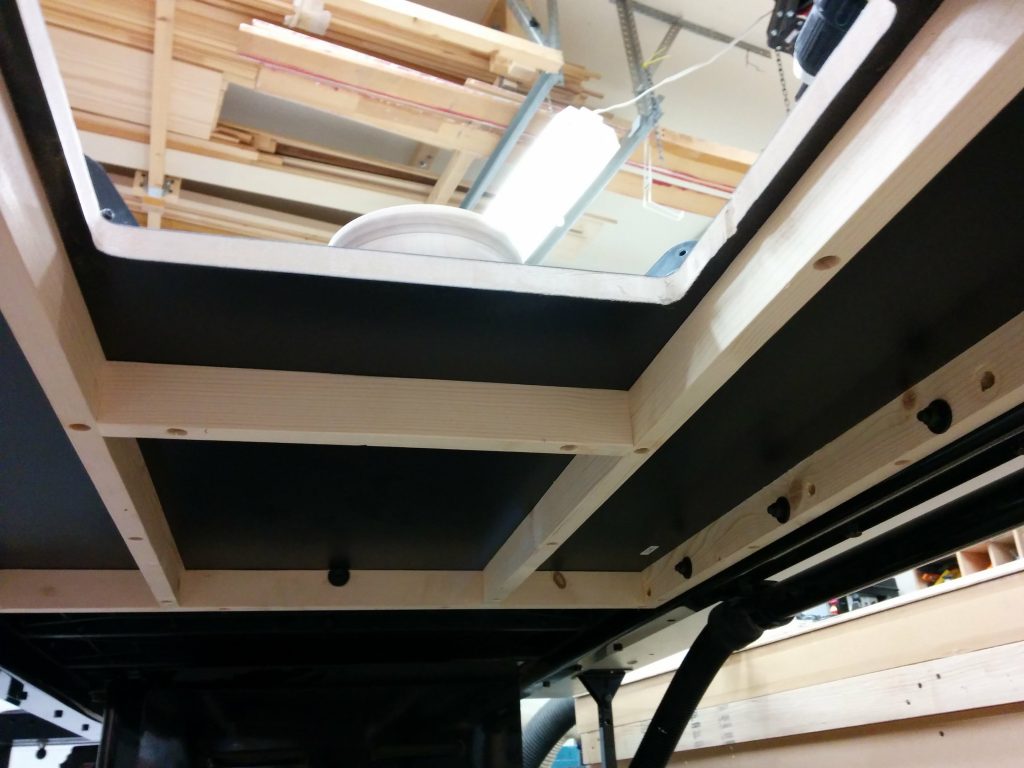
This particular extension table has some support bars underneath. They are only screwed in and are easy to remove.
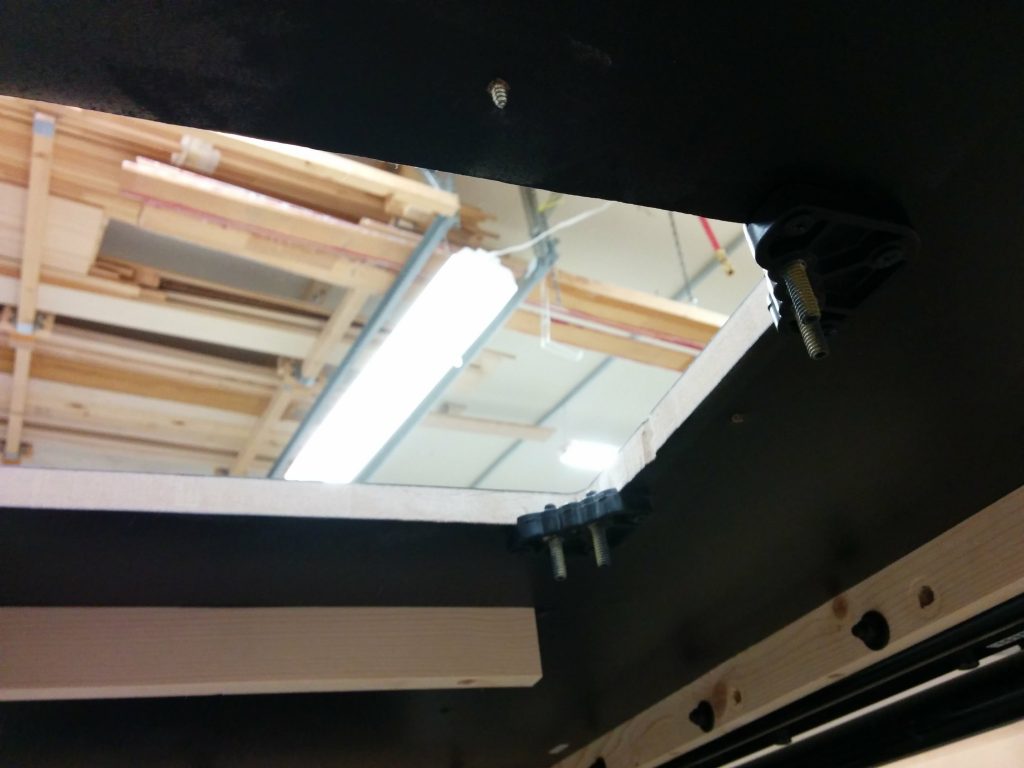
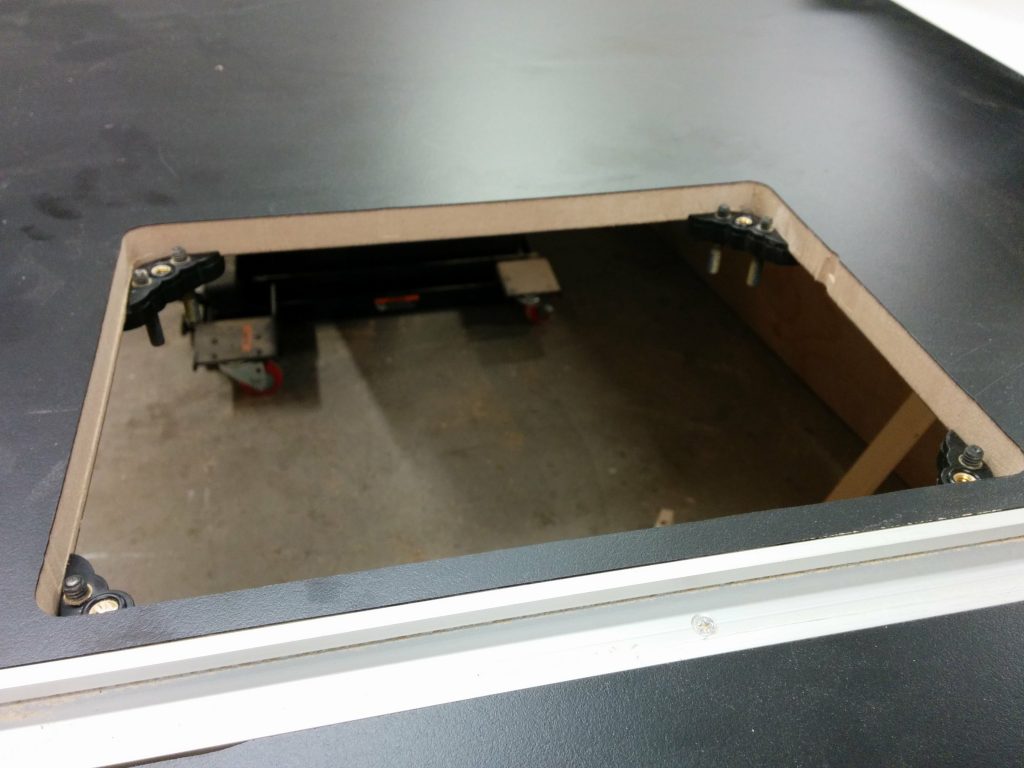
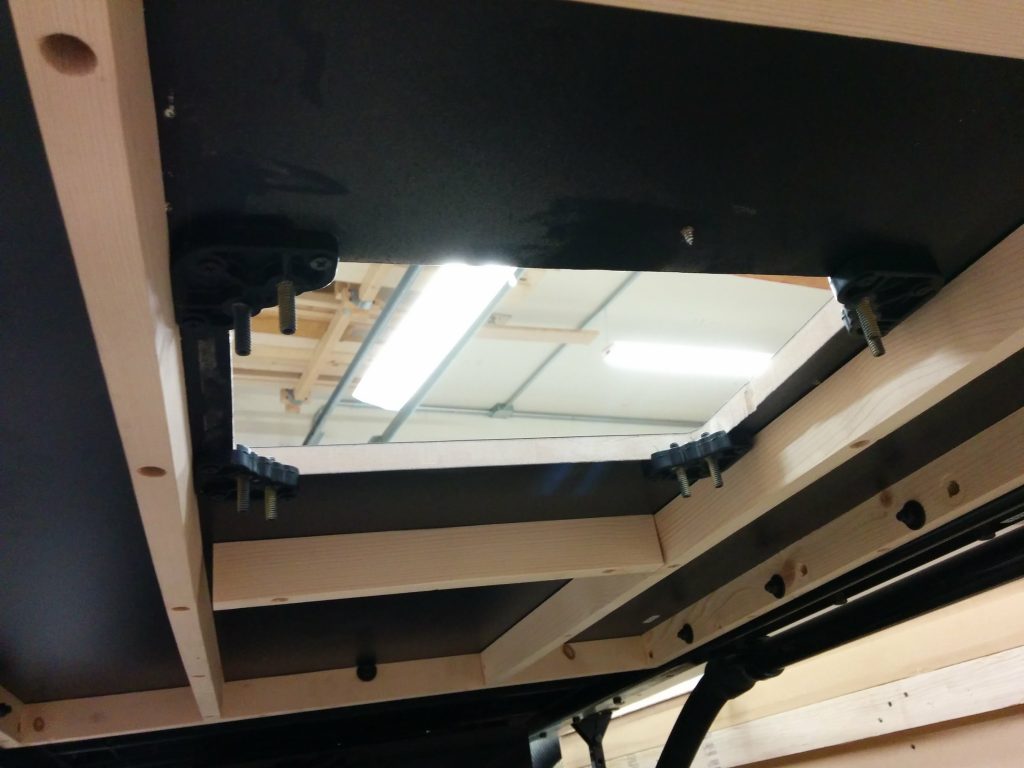
I removed the support bars so I would have room for the Kreg PRS3040 Precision Router Table Insert Plate Levelers which installed easily from underneath the table.
Each leveler has two set screws that are used for leveling the router insert.
I reinstalled the support bars. I had to move them by about 1/4″ from their usual spot.
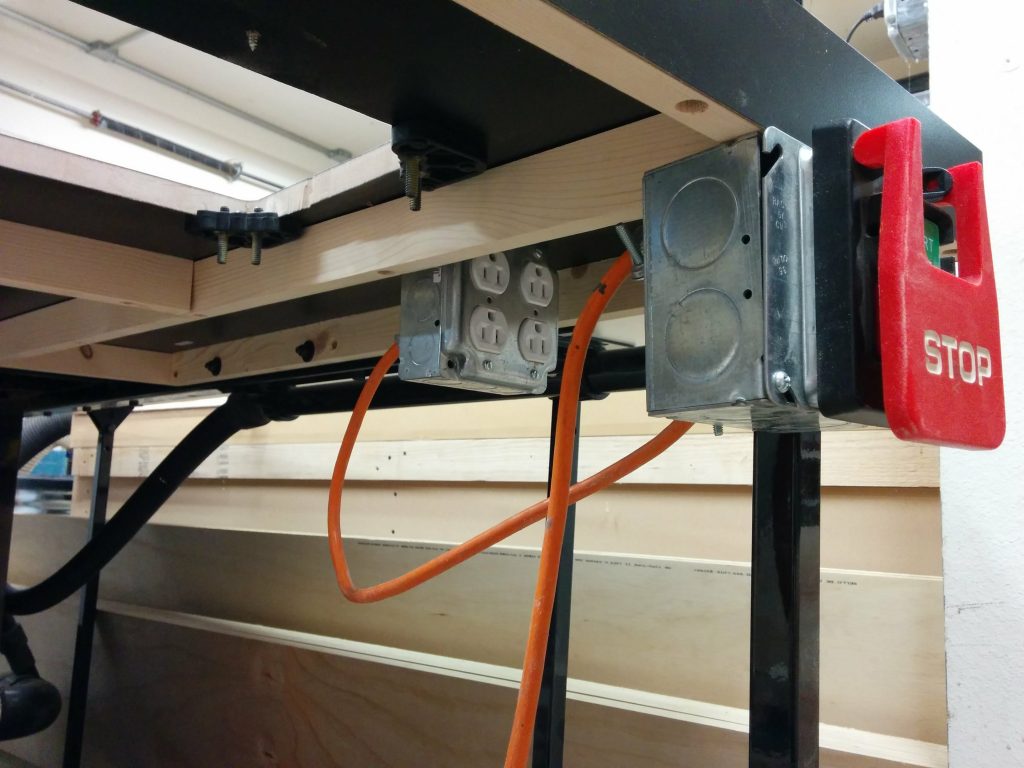
The next step was to start hooking things up. I installed a 4-outlet electical box that was wired to a motor power switch.
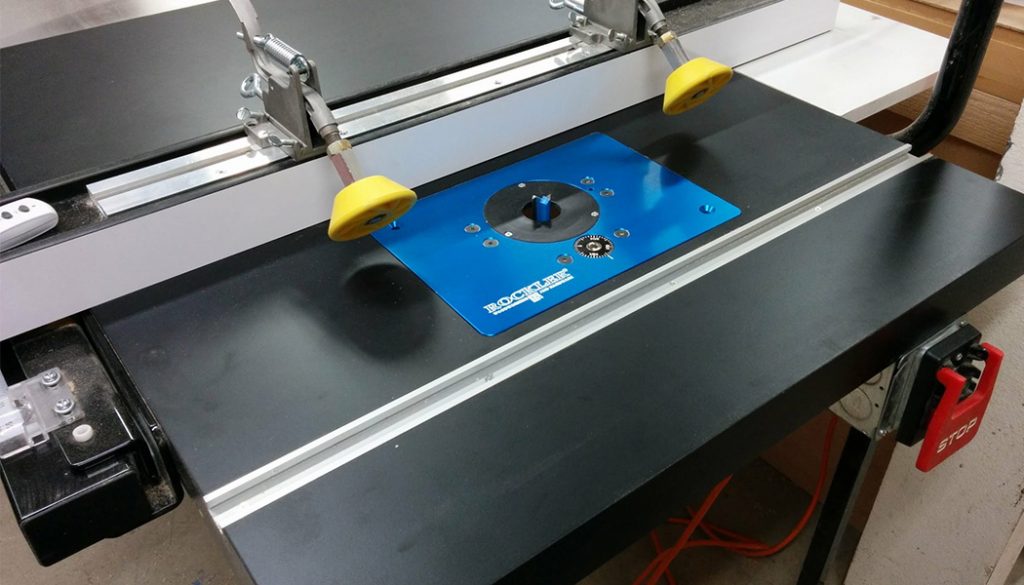
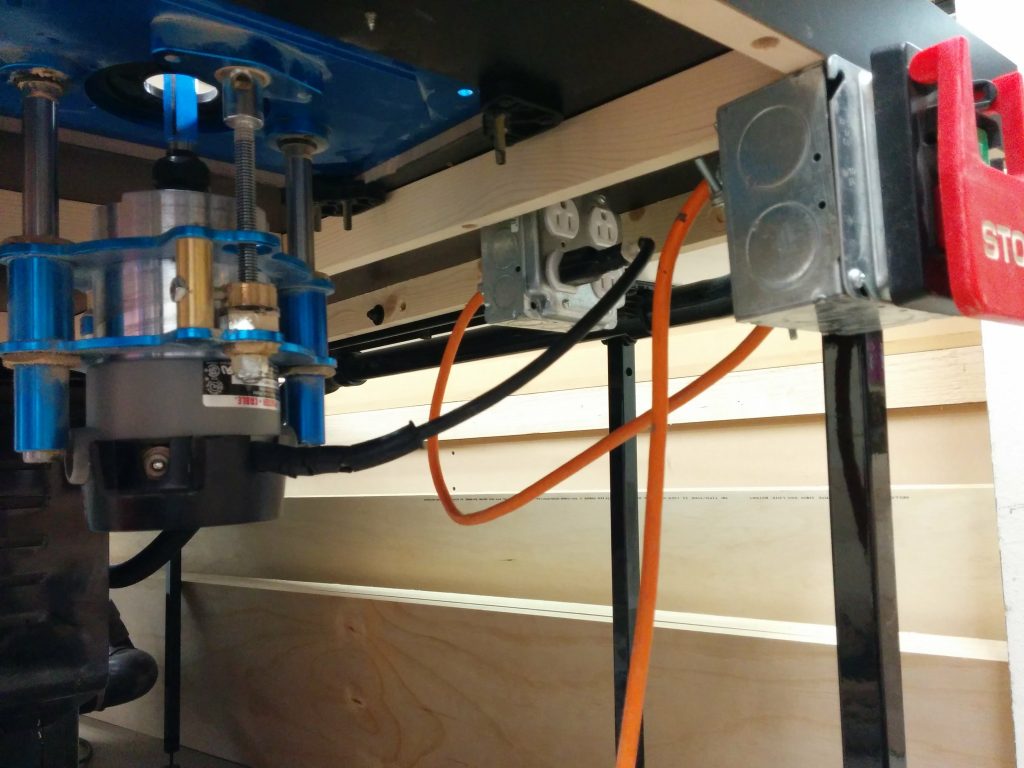
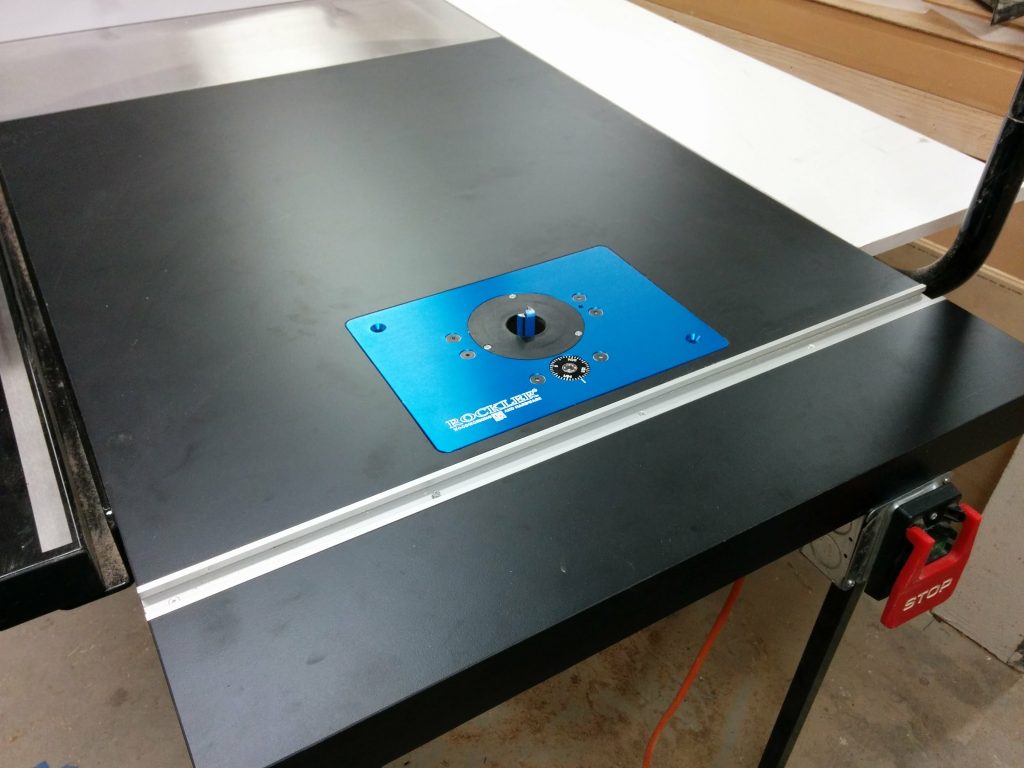
Then it was simply a matter of dropping the Rockler router lift in place and plugging in the router.
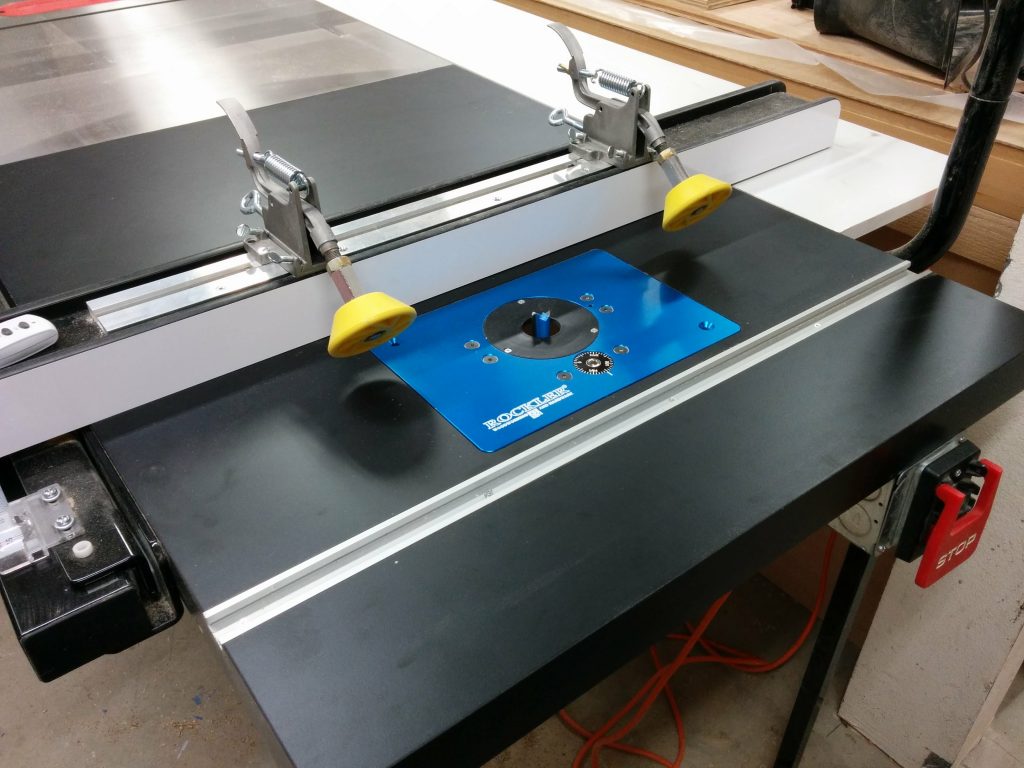
I can use the table saw fence with the router table. This photo shows how close I can get it to the router bit. I will be making an auxiliary router table fence with built-in dust collection that I can attach to my table saw fence, but that’s a project for another day.
That’s it! Up next is an enclosure for the router and maybe some drawers for storing router bits. For now, I’ve got some other projects that require my attention.
If any of this has been helpful to you, or if you have any suggestions or questions, please take a minute to post a comment below. I’d especially like to hear any suggestions for projects that you’d like to see me tackle.

Pingback: Table Saw Enhancement – Attaching Sliding Crosscut Table Without Cutting Down the Rails. – TrentDavis.net
Pingback: Workbench: Part 6 – Finishing the benchtop - TrentDavis.net
Pingback: Table Saw Modification - Router Table Enclosure - Part 1 - TrentDavis.net
Very detailed info here. I love the mods.
Hi Trent, I just discovered your excellent website. Thanks for all your hard work.
A thought on making the table extension on a Sawstop saw into a router table. The extension table legs provided by Sawstop attach to the table top, not the steel angles at the front and back edges of the saw. The vertical load of the saw partially bearing on these legs can cause the extension table to warp up where the legs attach. I had this problem before and ended up with a slight “ski jump” warped router table – not good. The fix is to replace the Sawstop legs with fabricated legs that attach to the front and back steel angles. This way, the extension table “floats” between the angles and will stay flat.
Chris
I’m looking to do something similar on my Unisaw. I have the Delta Uniguard tube roughly in the same spot as your SawStop dust collection tube. Does it get in the way when routing? I was considering having the router’s miter slot oriented left-to-right rather than front-to-back. This would avoid the Uniguard tube, but would limit miter travel at the saw’s cast iron top.