My wife is a lot like me in that she likes to make stuff. She wants a workbench for her studio. The design we are thinking of consists of a one-inch thick top and a metal pipe framework for the legs.
I’m going to worry about the legs later, but for now (since we had a snow day yesterday so I had the day off) I decided to work on the table top.
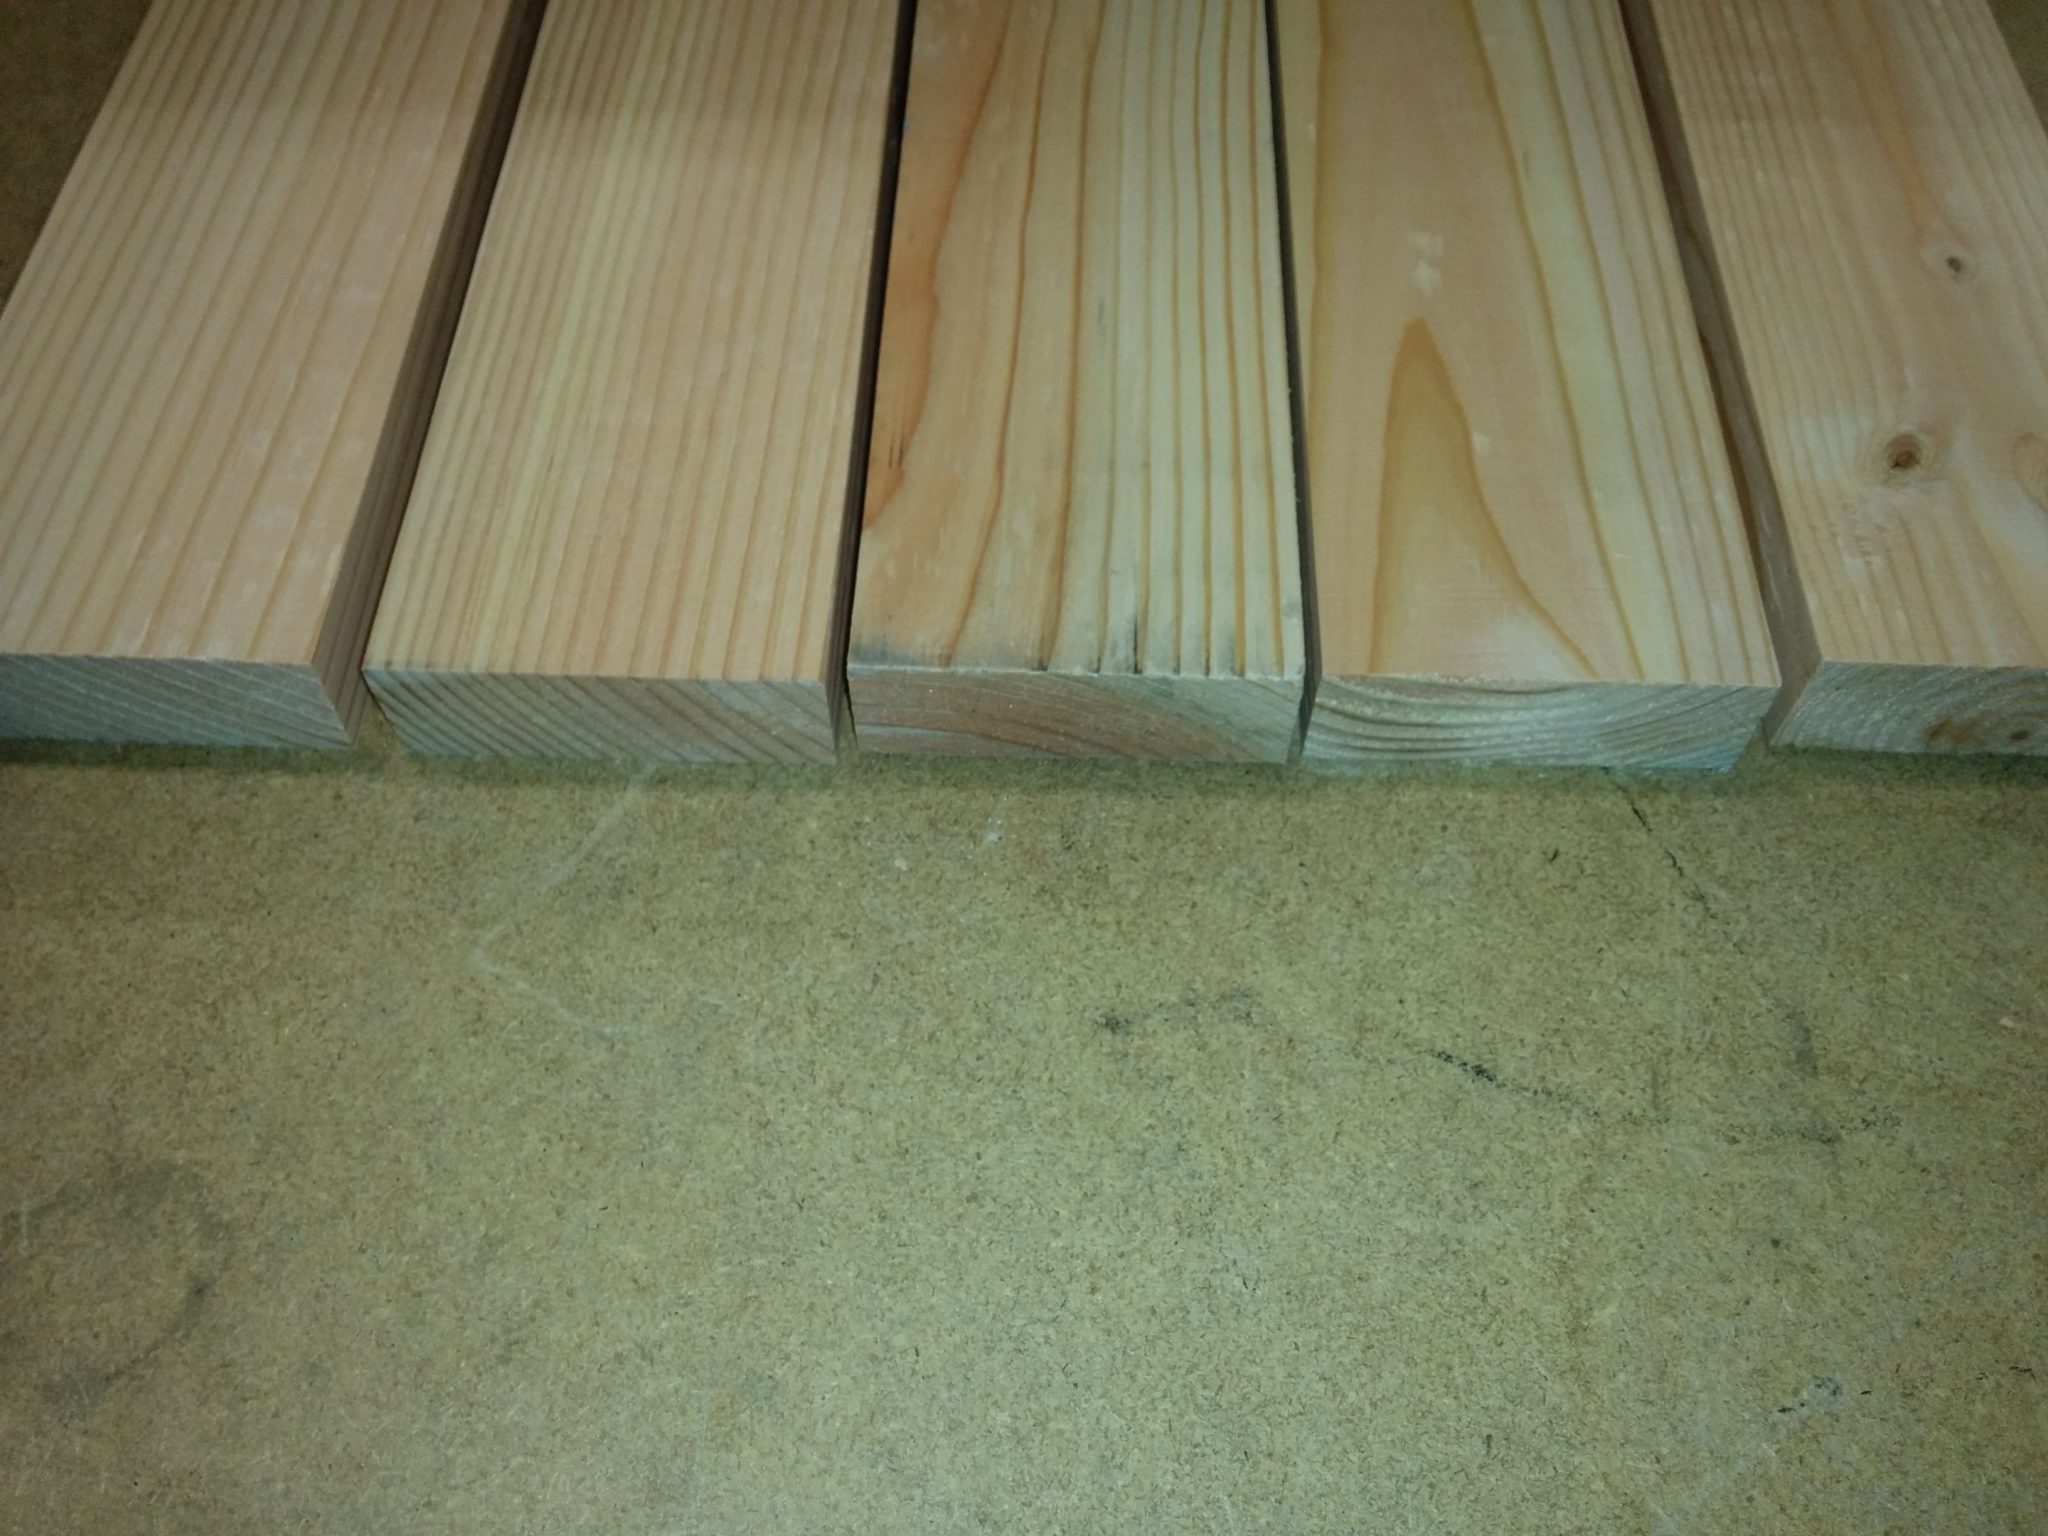
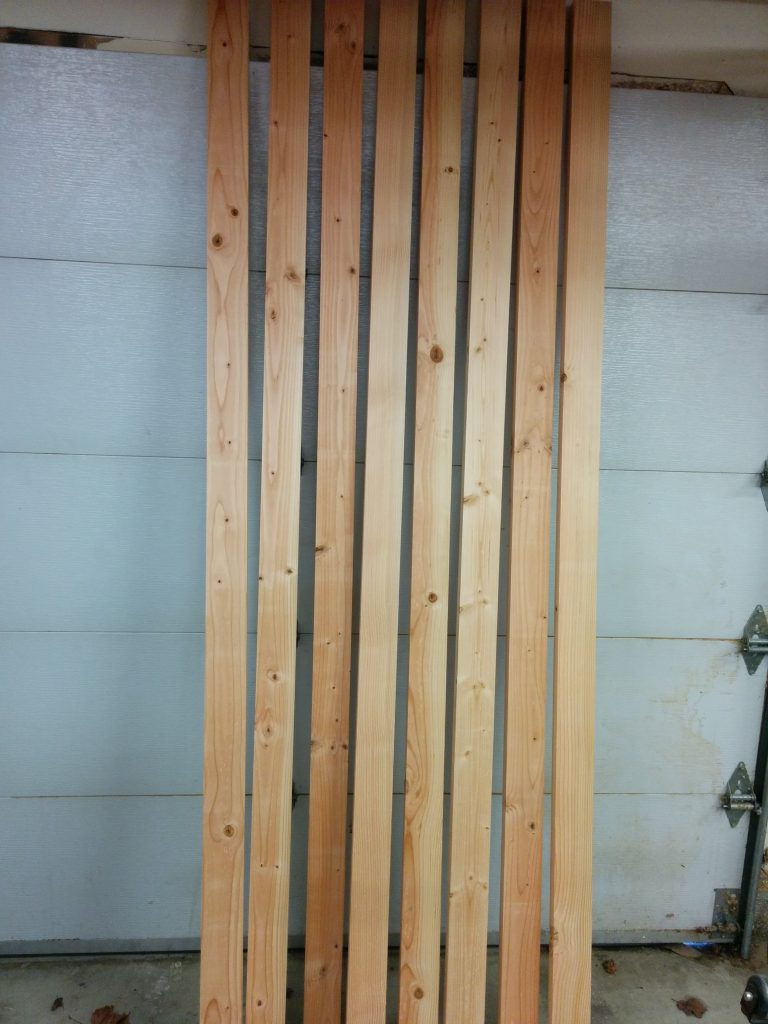
The look of the tabletop that I’m going for is a dark-stained pine with a lived-in look. My wife wants something with a butcher block top but she doesn’t want me spending a lot of money to make one out of maple. As an experiment, I thought I would try making this from 2 X 4s. I’m thinking it will look right but I’m more concerned about the durability. I plan on milling them down, staining them, then throwing several coats of polyurethane to hopefully make it strong enough to withstand her leatherworking, which usually consists of lots and lots of hammering.
My first step was to joint two edges of the 2 X 4s on my jointer.
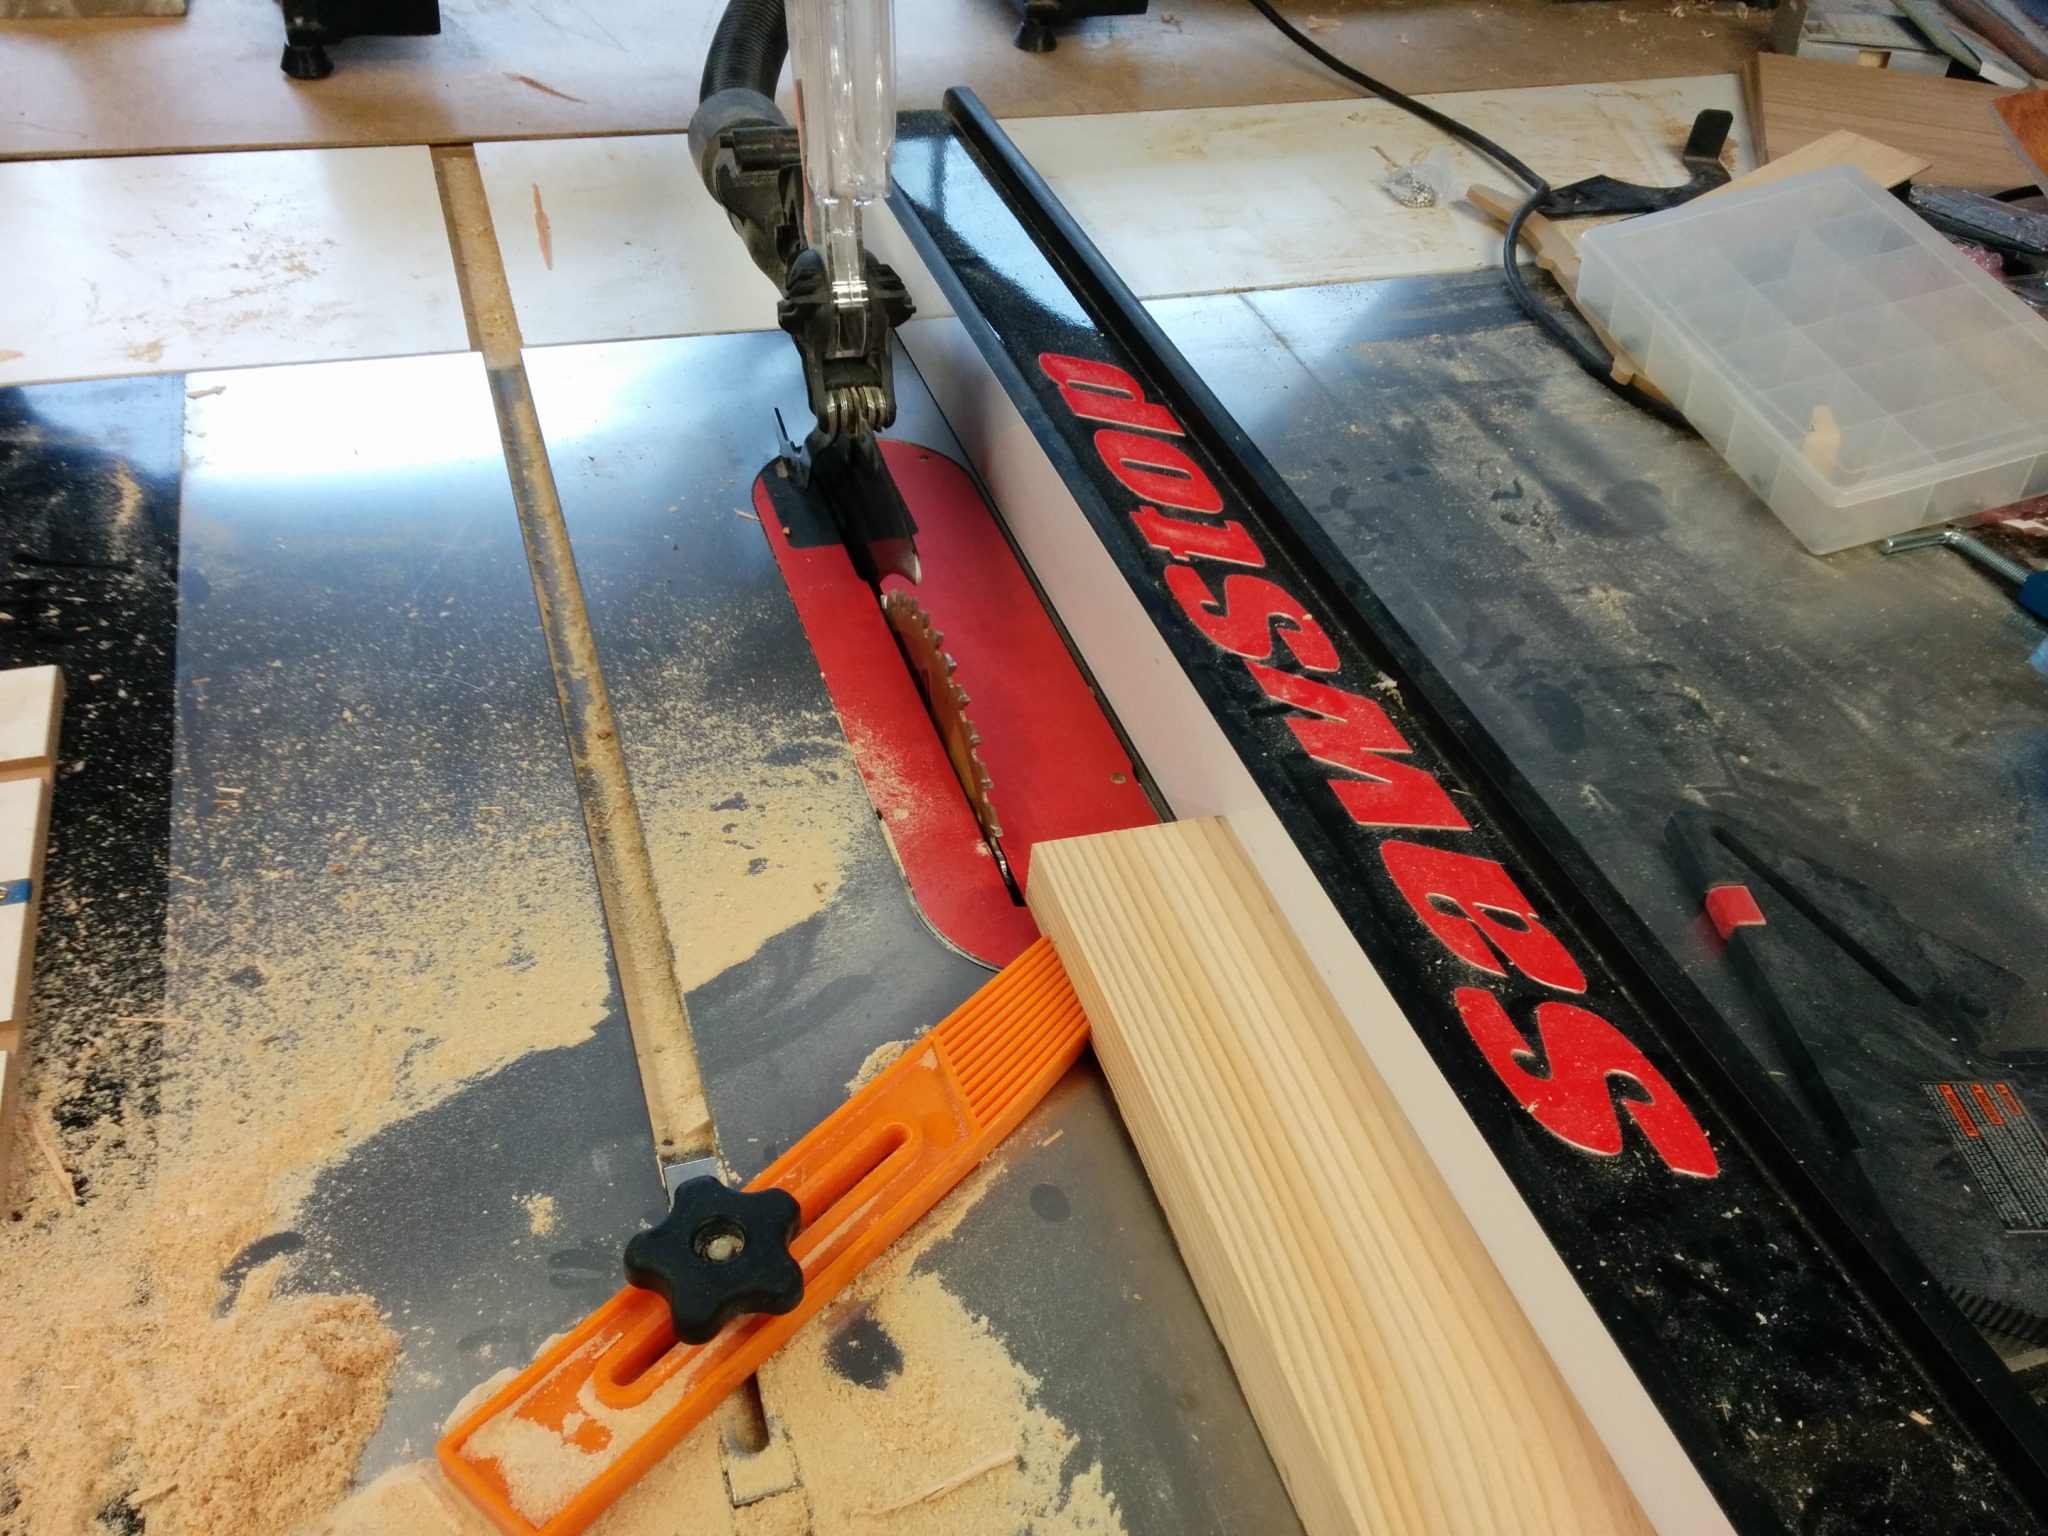
After that, I cut the third side on the table saw, using the freshly jointed side as a reference against the fence.

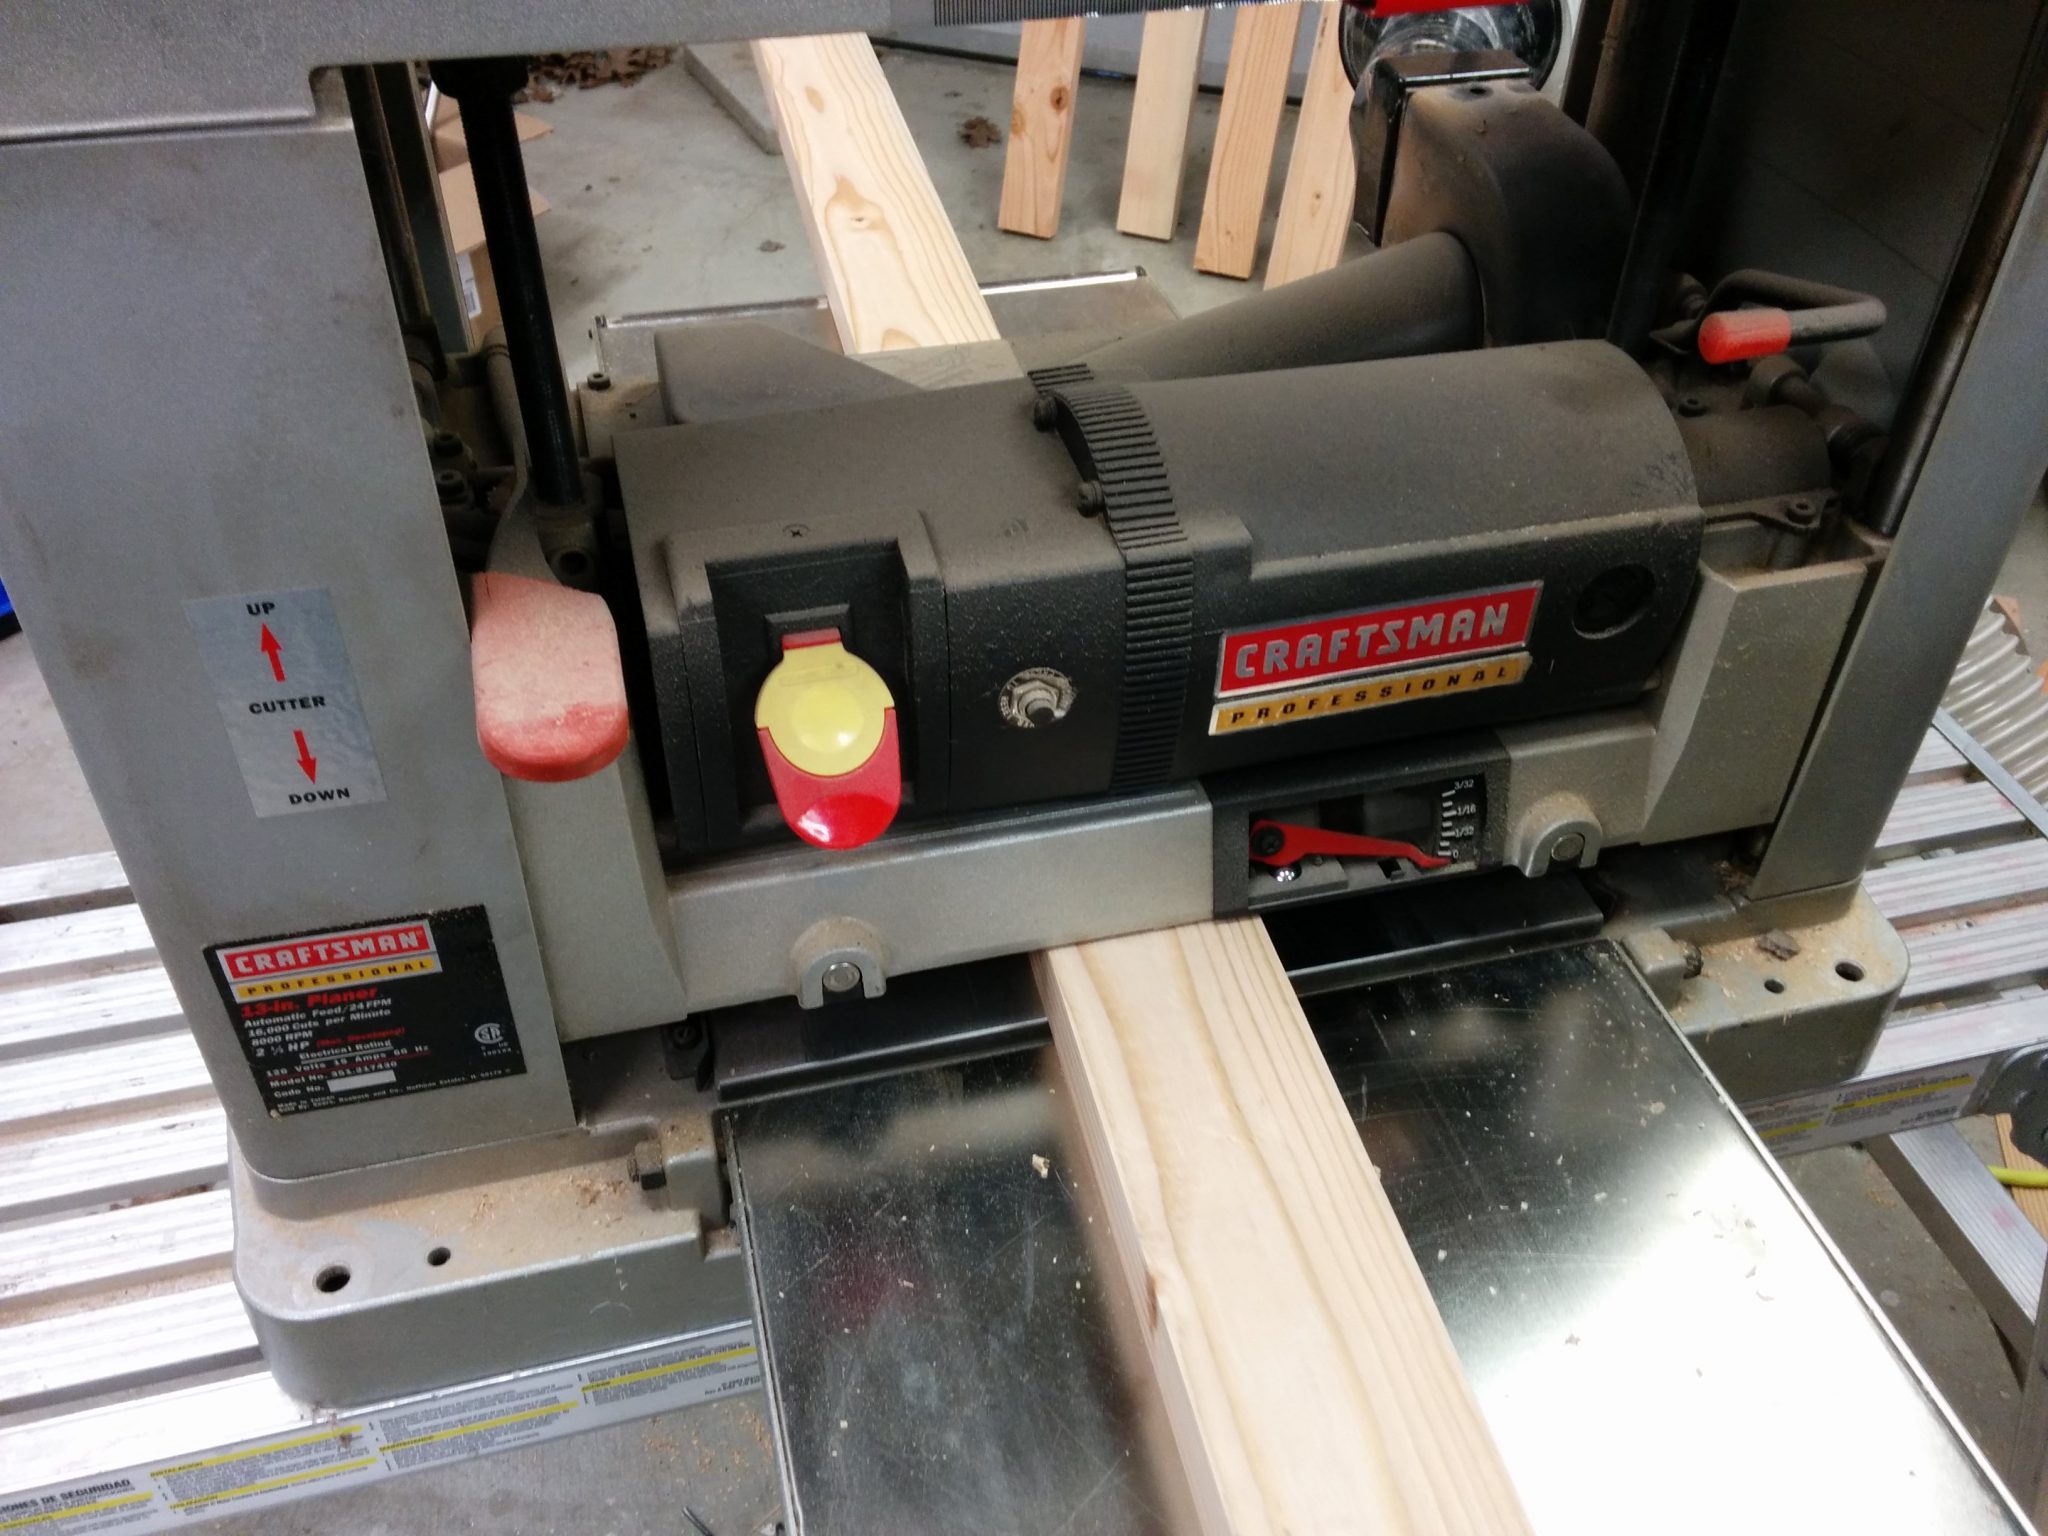
Lastly, I threw them through my planer to mill up the final edge.

After handling this material so much while milling it down, I’m fairly skeptical that these will be strong enough for what they’re intended for.

The next step is to glue them all up, sand them smooth, stain, and finish. That’s for another day.
What do you think? Have you ever done something like this using 2 X 4s? How has it worked for you? Let me know in the comments section below.


Pingback: Workbench: Part 2 – Gluing up the top – TrentDavis.net
Pingback: Workbench: Part 3 – Change of plans – TrentDavis.net
Pingback: Workbench: Part 4 – Gluing up the new top – TrentDavis.net
Pingback: Studio Desk - Part 2: Final shaping of the top and bottom - TrentDavis.net