The top and bottom are ready to be stained and finished. I’m going a bit out of order at this point. I have already finished the top and the underside of the bottom but I’m going to bundle that in with my next post. Here, I’m going to show how I assembled the carcases for the racks.
If you look closely, you will notice the stained desk bottom in the background of some of these photos.
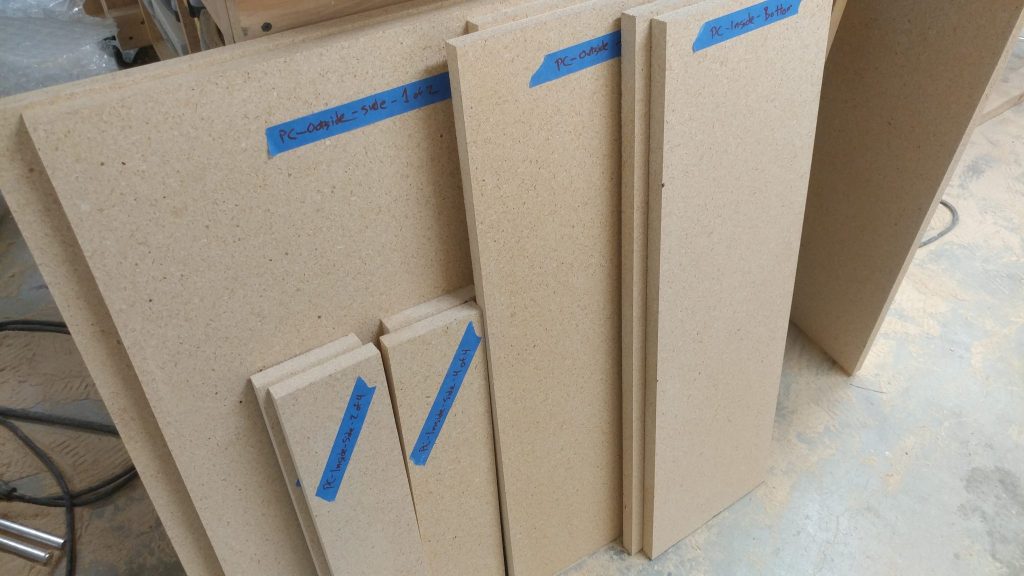
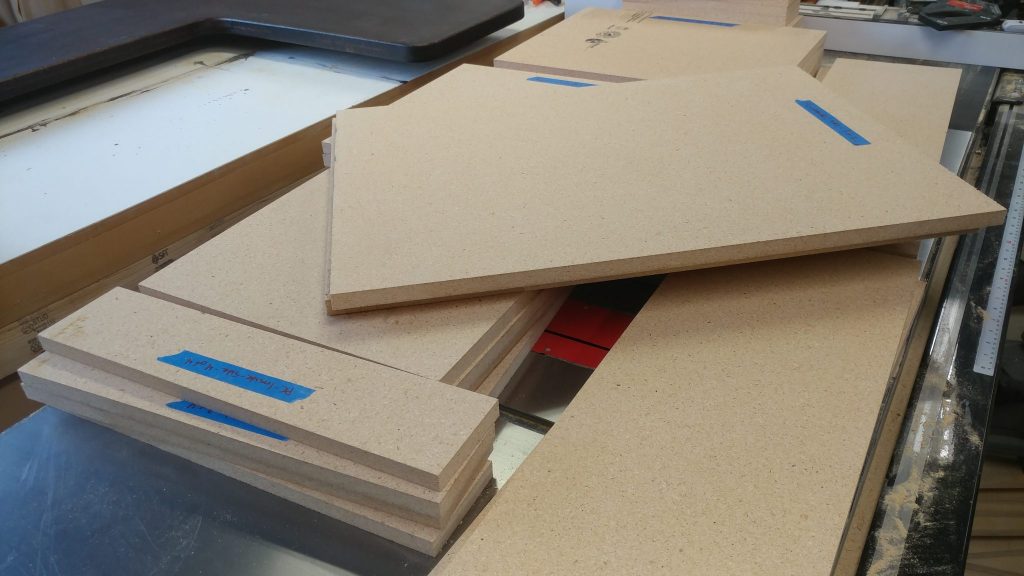
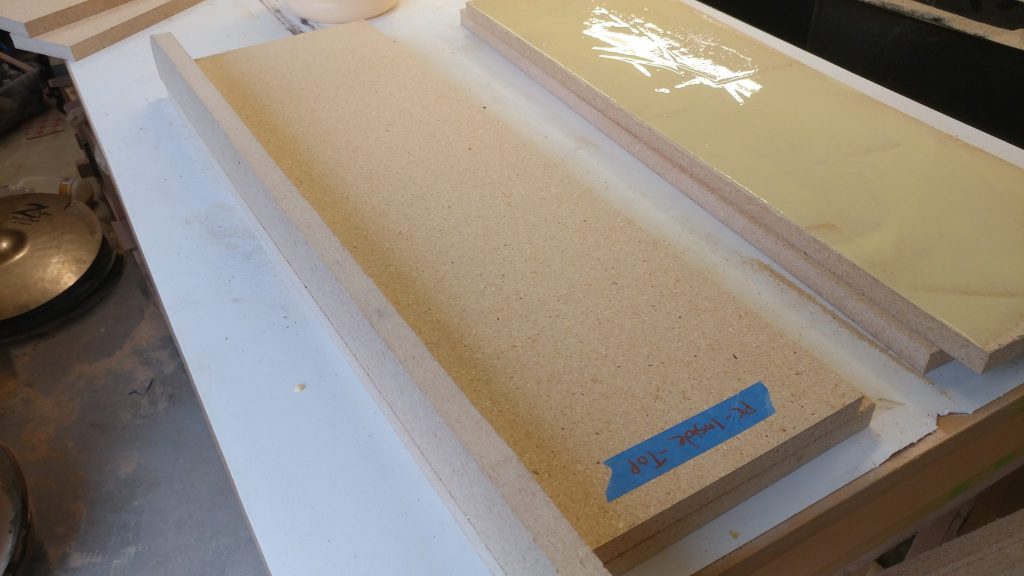
I started with the boards all cut. I’m not going to show you how I did this since it’s just a bunch of cutting at the table saw and is quite boring. For something like this, I think it’s really important to clearly label the pieces. I did this with blue painters tape and a Sharpie.
Assembling the PC Case
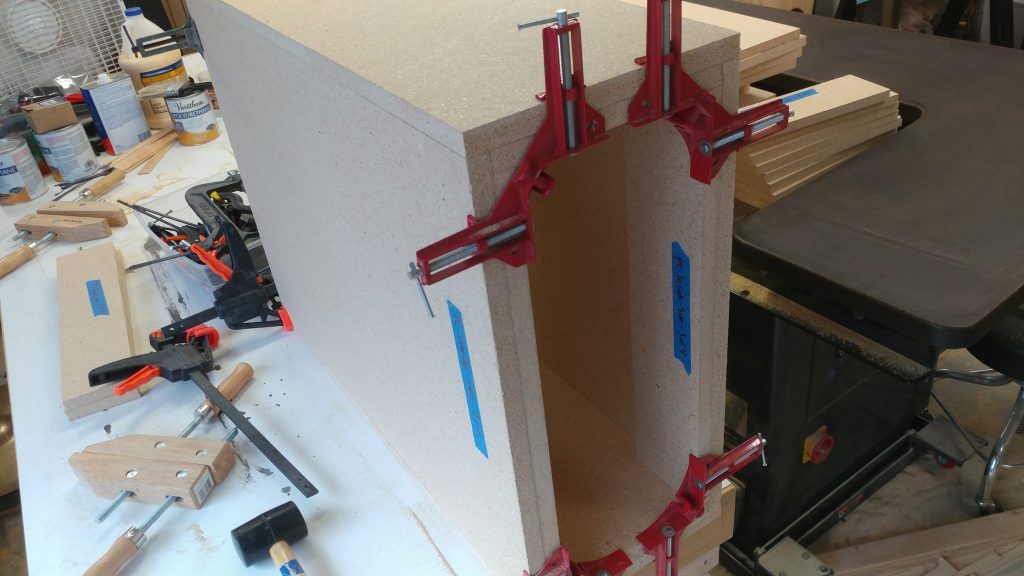
Before doing any glue-up I like to do a dry fit just to make sure I haven’t screwed anything up. I did this with some corner clamps and a quick-release clamp. Everything looks good.
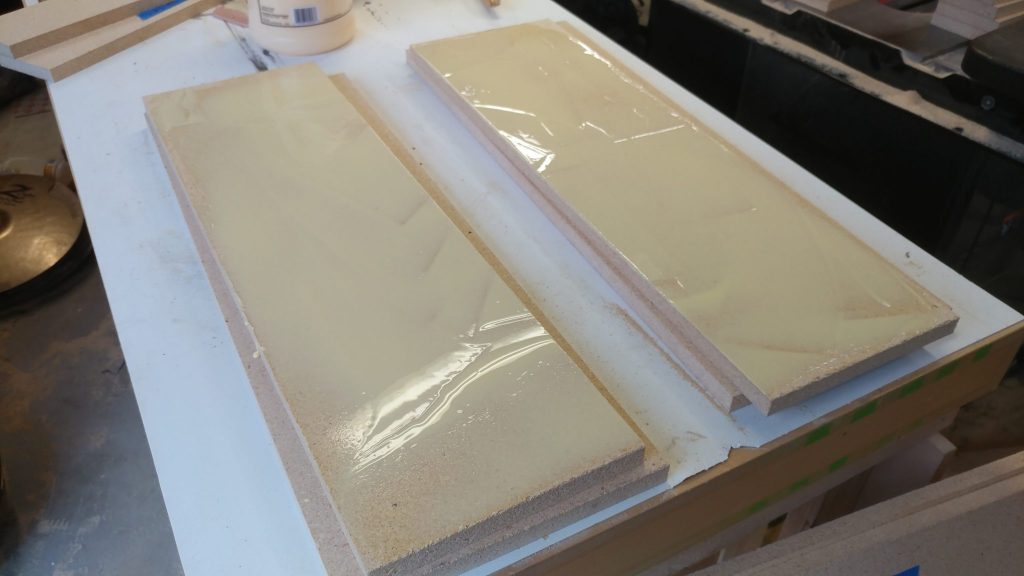
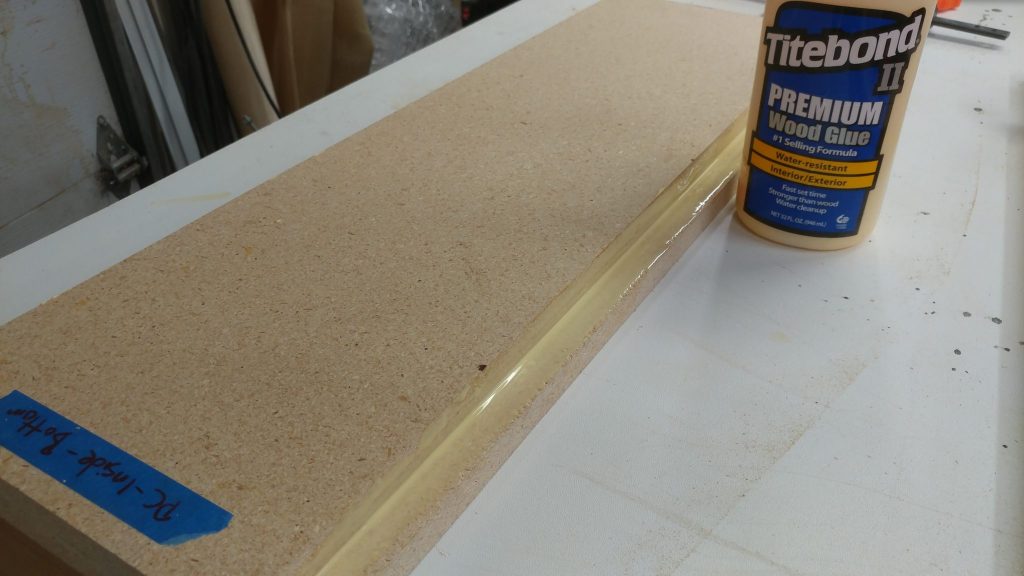
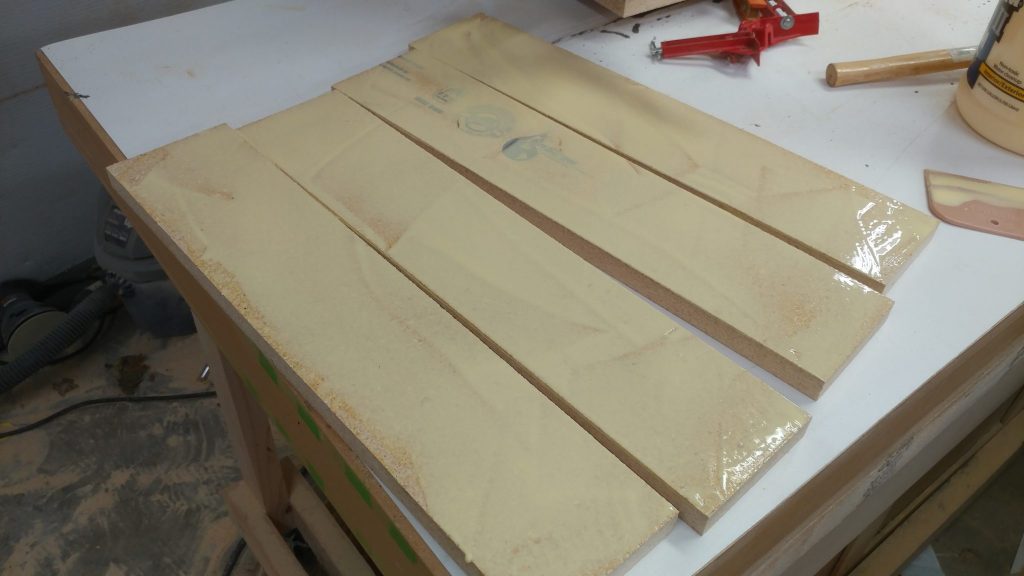
I decided not to have any visible fasteners on the wooden parts of the desk so I’m holding the whole thing together with a butt-load of Titebond II wood glue. Here, I am attaching the inside of the tops and bottoms to the outside of the tops and bottoms of the PC case. I spread a good amount of wood glue on the underside of the insides…
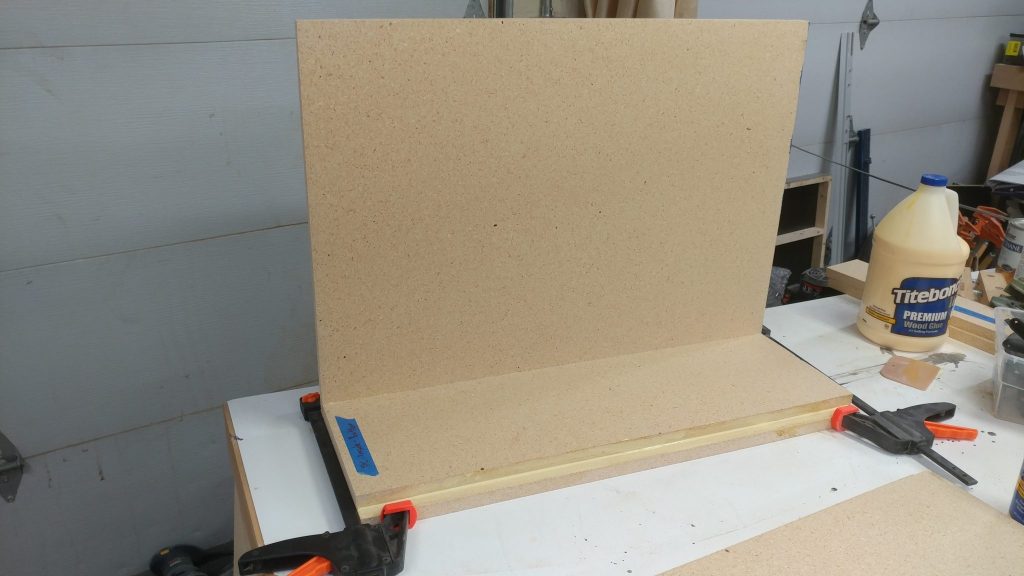
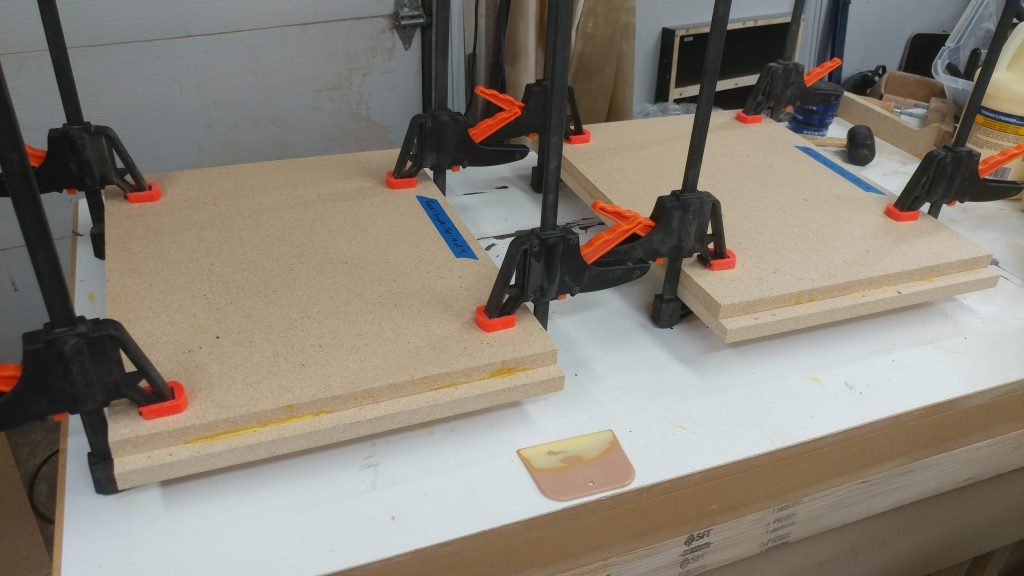
…then flip them over and lay them on the outsides. I used a scrap piece of 3/4″ particleboard up against the inside piece to ensure that they are positioned correctly.
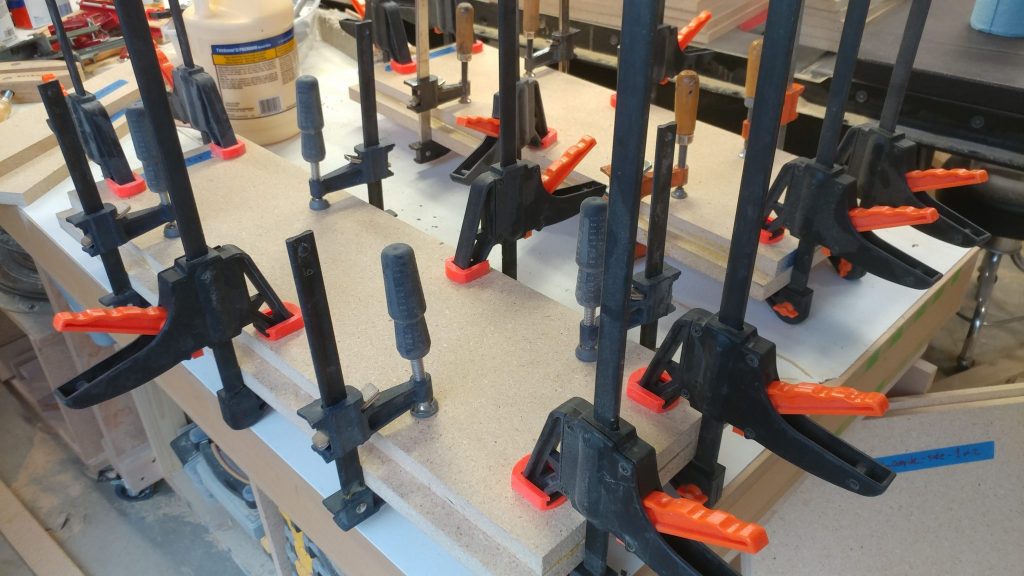
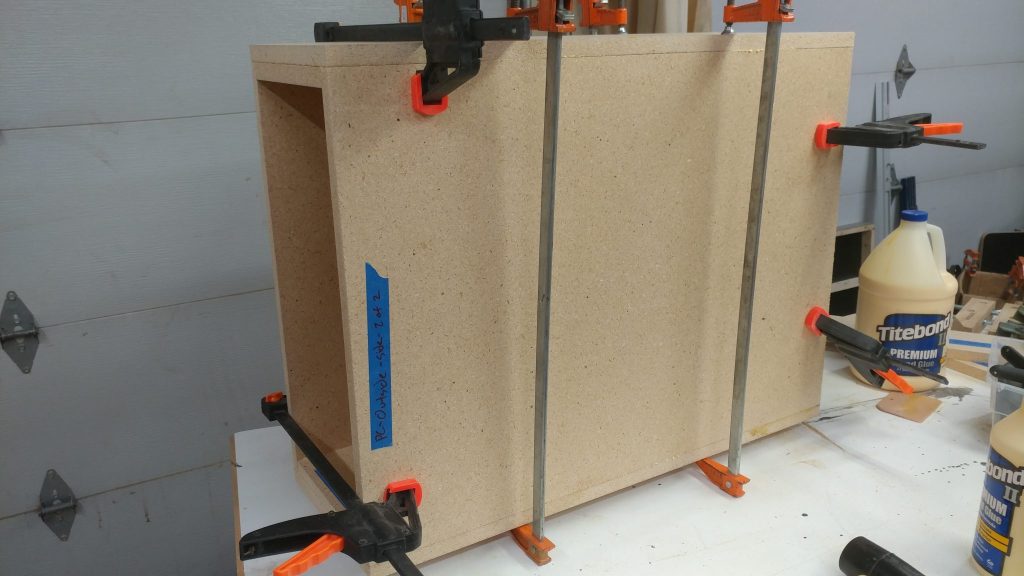
Then I clamped it all up and let them sit for about a half hour.
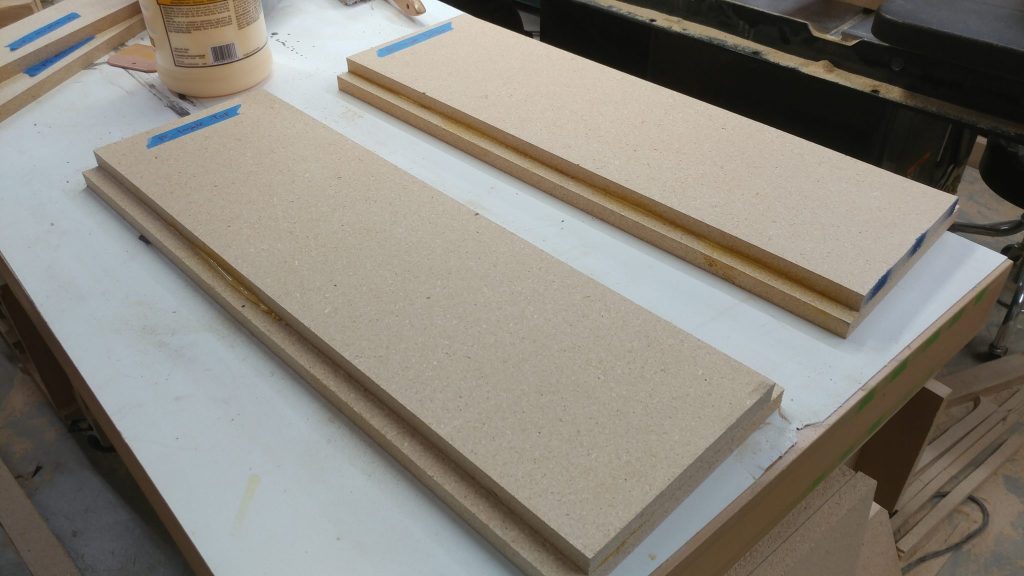
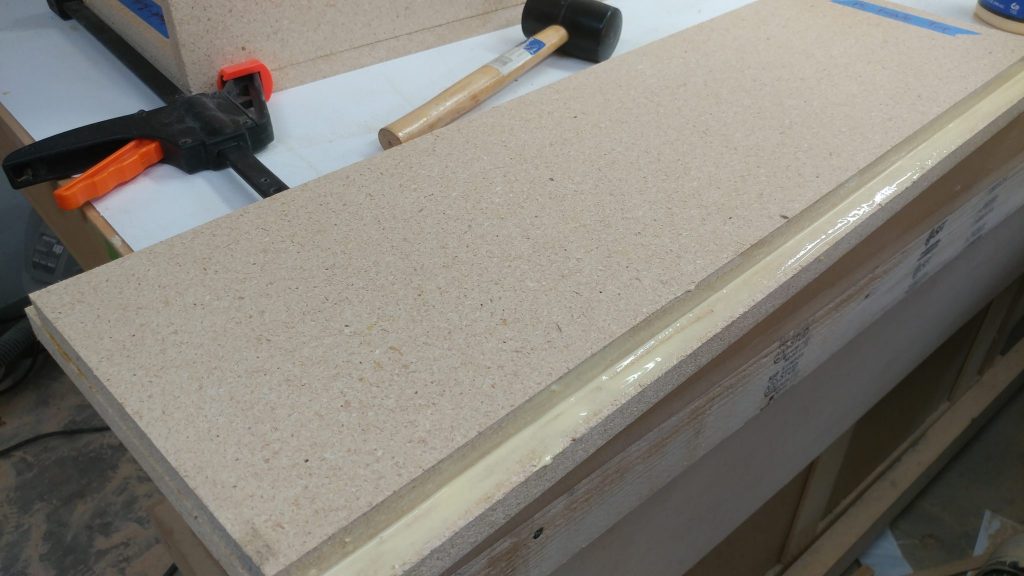
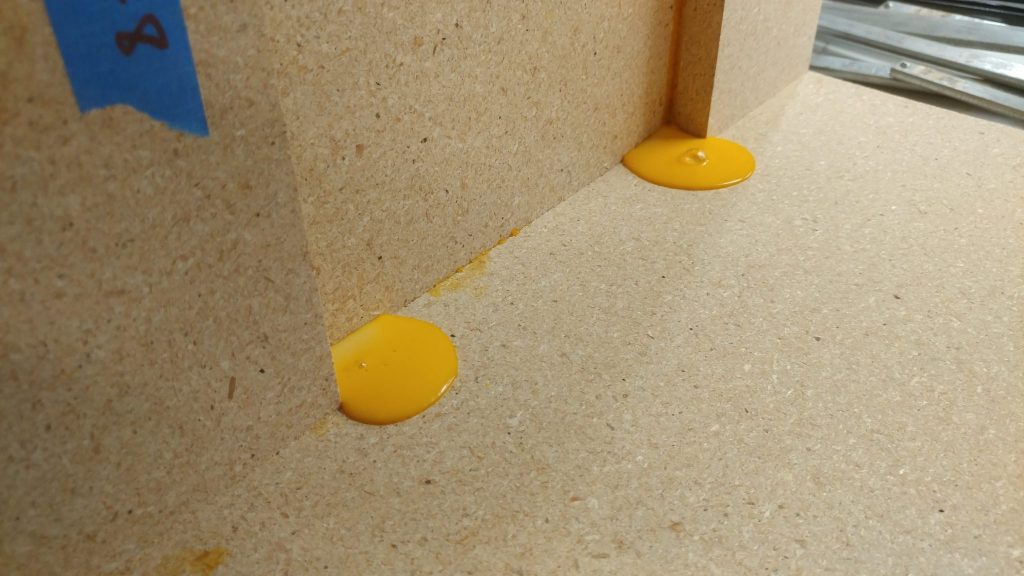
I tend to over-glue (as you’ll see in a bit) so there is usually some squeeze-out that I have to clean up. For particle board I prefer to let it cure quite a bit then come back with a chisel to take the glue beads off. In this case I wasn’t allowing enough time for the glue to cure so I had some messy blobs to work around. This wasn’t a problem as you’ll see in the next step.
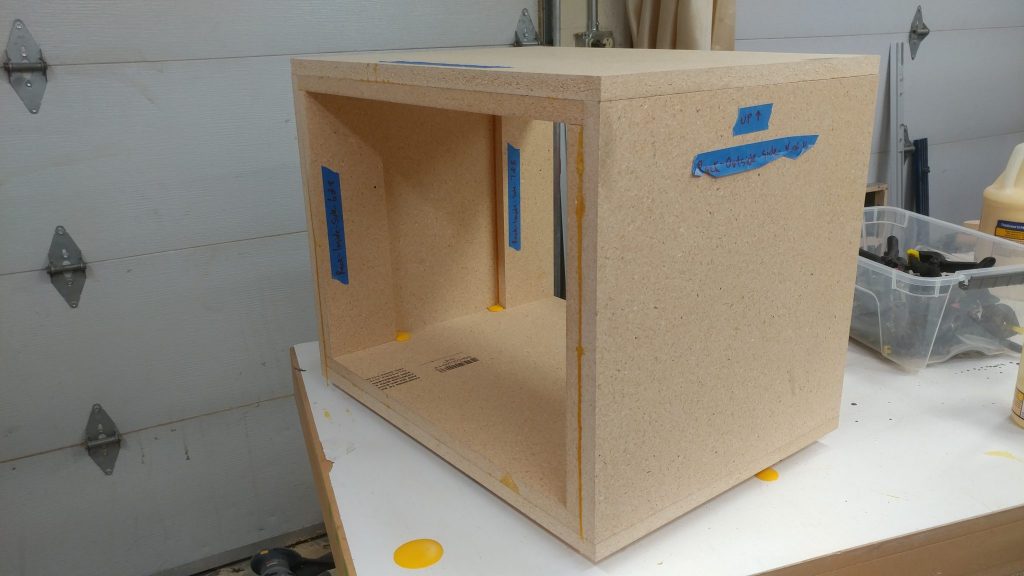
The two pieces glued up effectively make a piece that is 1-1/2″ thick with a 3/4″ X 3/4″ rabbet along two edges. I applied glue along these edges so I could attach the sides.
I used quick release clamps to hold one side in place while I maneuvered the second side in place.
The same quick-release clamps held both sides in place so I could drop the top assembly in place.
The top is just like the bottom so I added glue to the rabbets.
I dropped the top part in place and kept the clamps loose enough so I could nudge the pieces so they were well aligned.
Rather than make the side pieces on the inside of each rack the entire length of the rack itself, I made them 4″ wide. This will accomplish a few things. It will lighten each rack a bit, although they still weigh a ton. Mainly, they will aid with airflow. Also, I’m installing cable pass-through grommets and they work best when the material they are going through is 3/4″ thick. I cut four pieces for the sides of each rack and slathered on the glue.
I then clamped them in place.
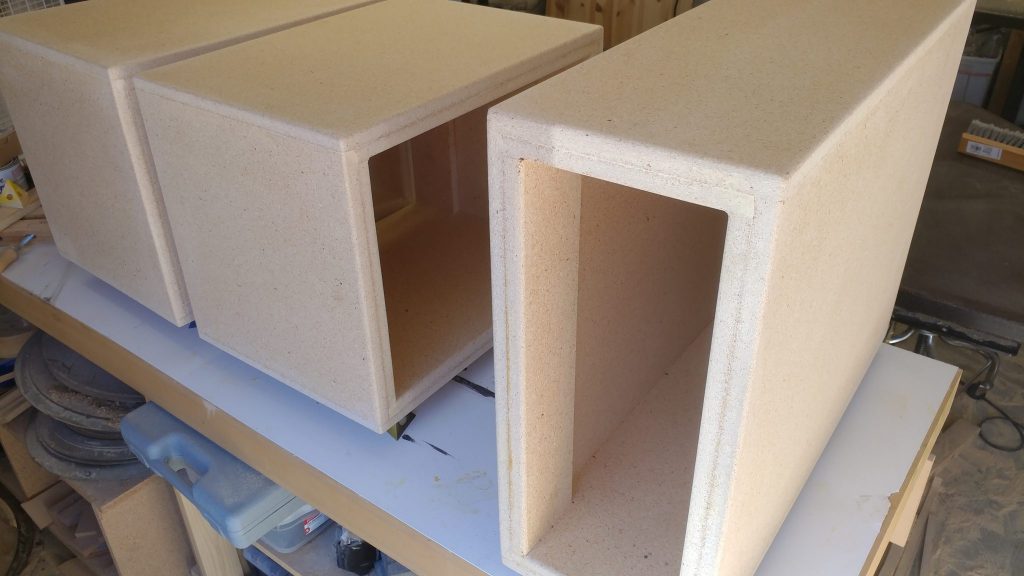
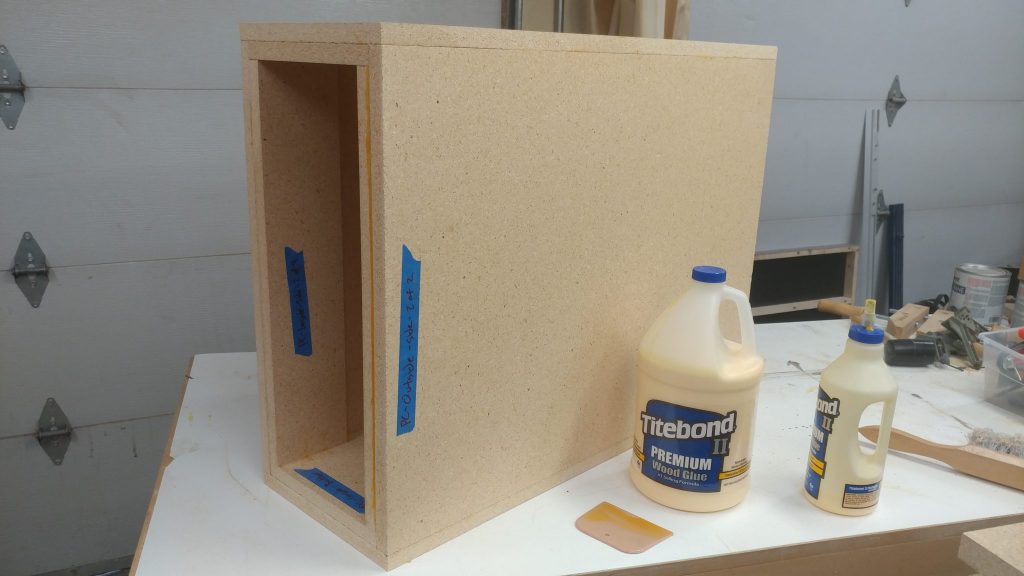
After letting it sit overnight, the PC rack is assembled and ready to be shaped and cleaned up.
Assembling the Two Racks
I then repeated the process for the equipment racks. The tops and bottoms were glued up and ready to be assembled with the sides.
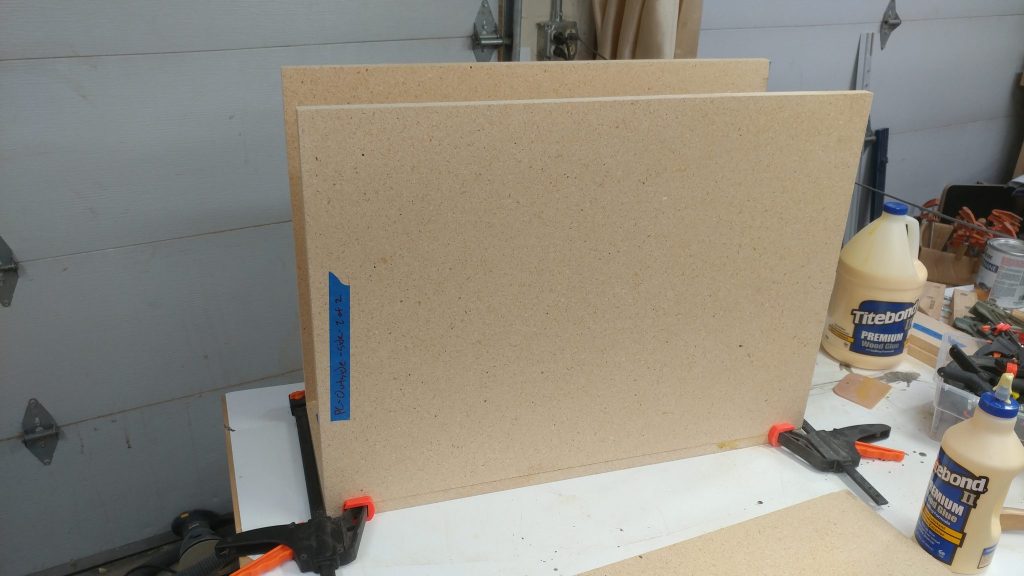
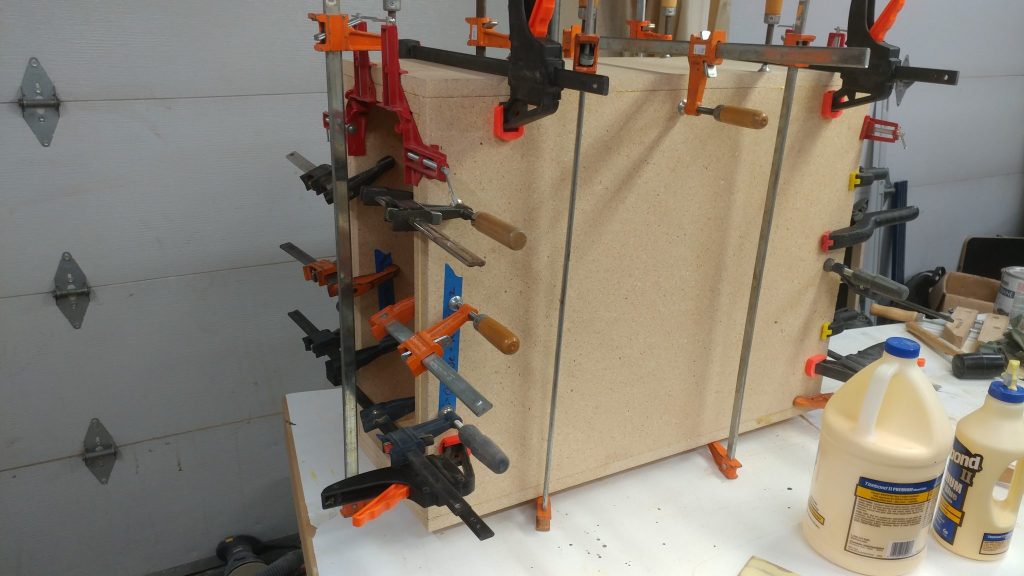
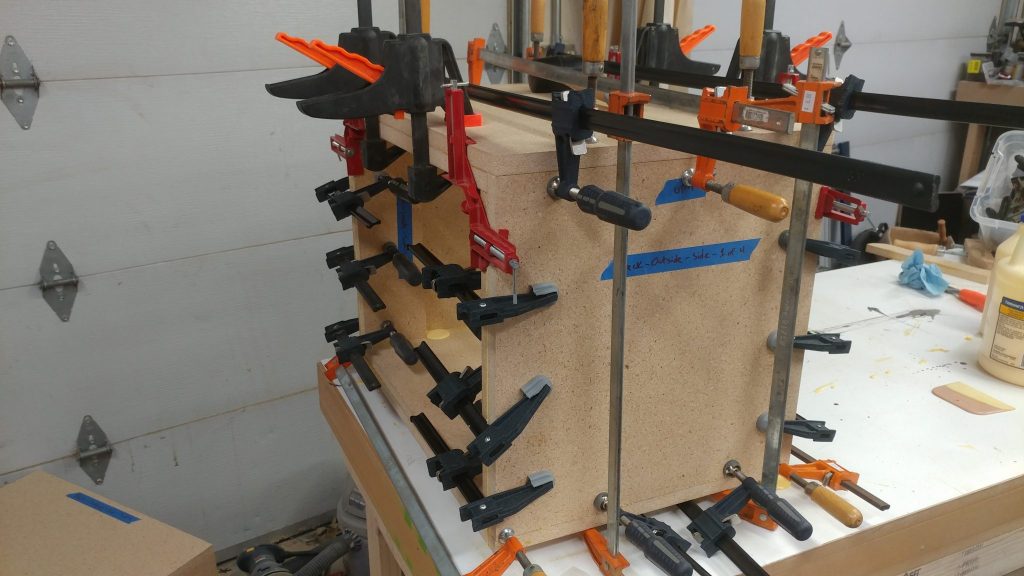
Lots and lots of clamps were used for the assembly since I am relying on glue to hold this all together.
As you can see, I got a little crazy with the wood glue. It cleans up easy enough and shouldn’t interfere with the finish at all.
Too much glue is better than not enough.
Cleaning up the Racks
I used a random orbital sander to clean up the edges on one face of each rack.
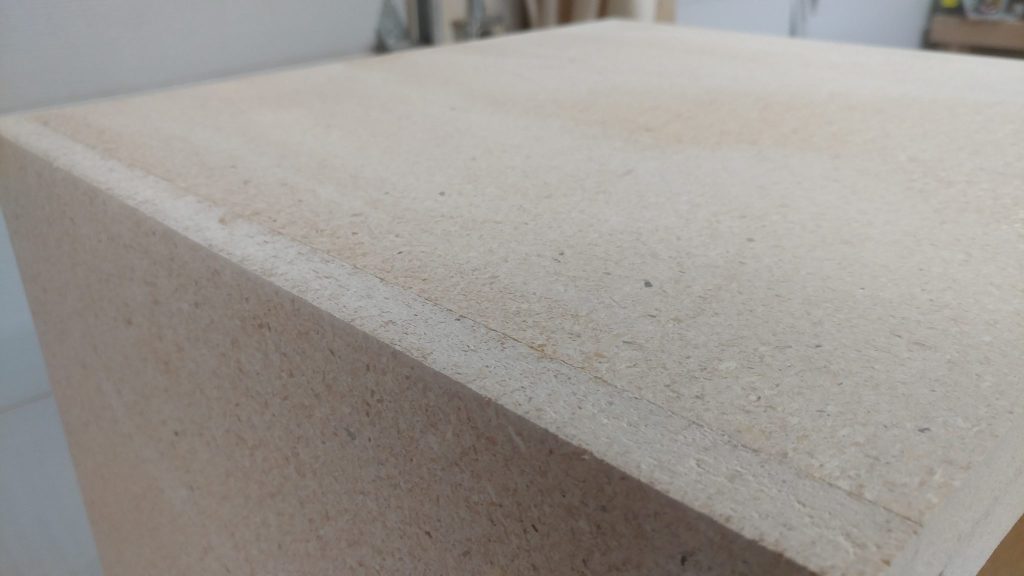
I also cleaned up the tops and bottoms.
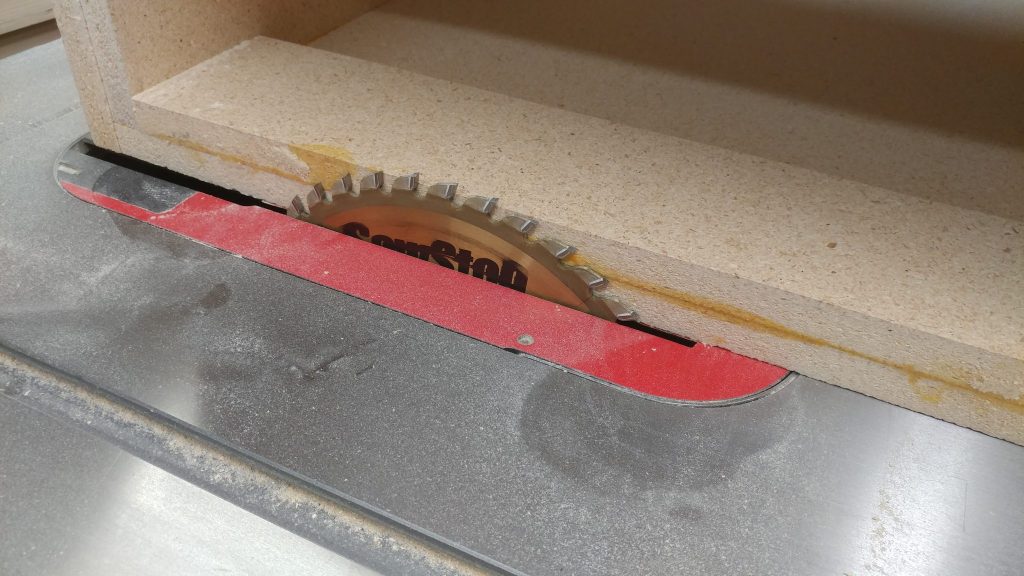
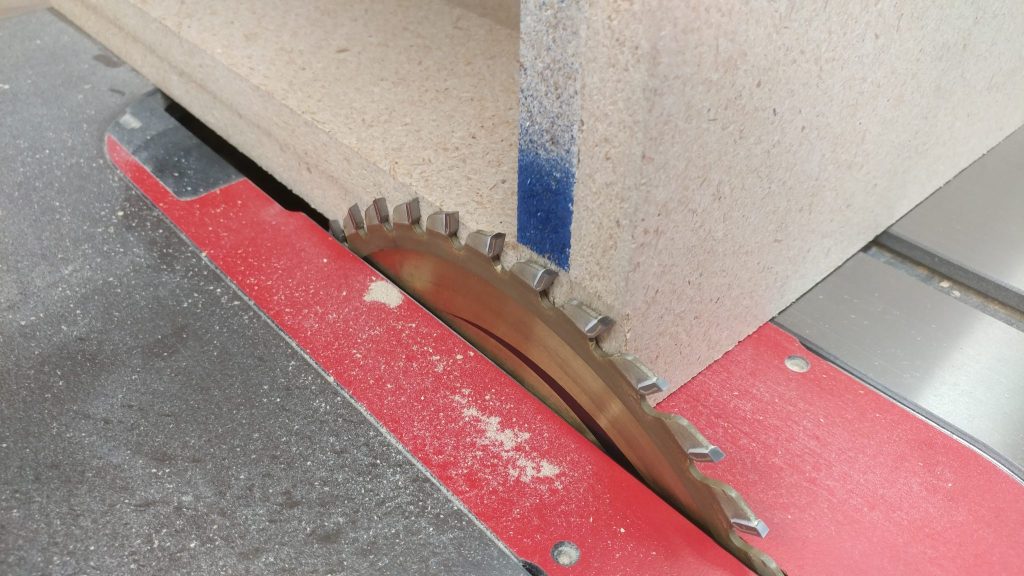
To clean up the final face, and to ensure that both of the equipment racks are the same depth, I shaved off the edge of the last side at the table saw.
I shaved off just enough to clean up each edge.
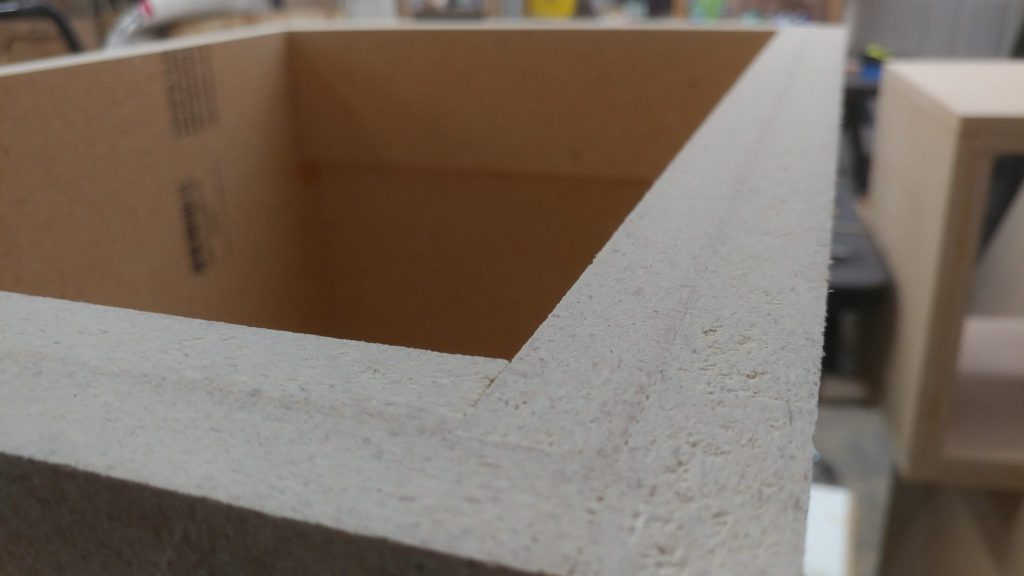
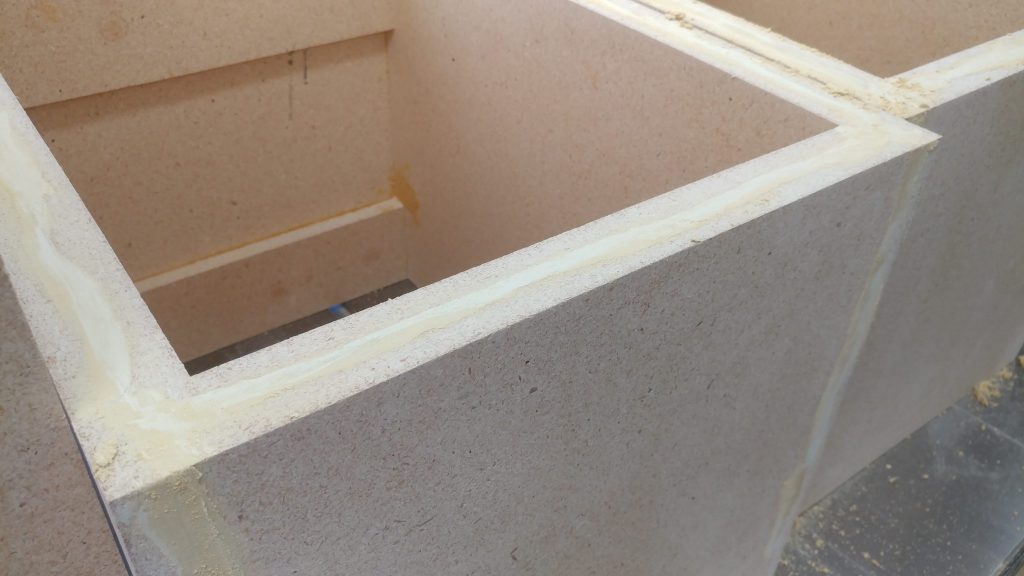
Once each face was clean, I decided to try something different. I’m going for a rough industrial look with this. I had seen a piece of furniture once that was made with MDF and had some (what I assume is) wood filler in certain parts. The way that the filler reacted with the stain and finish had a really interesting rough look. I decided that I would try this on the racks. If I end up not liking it, I can always just remake the racks.
I spread wood filler into each seam and let it sit for an hour.
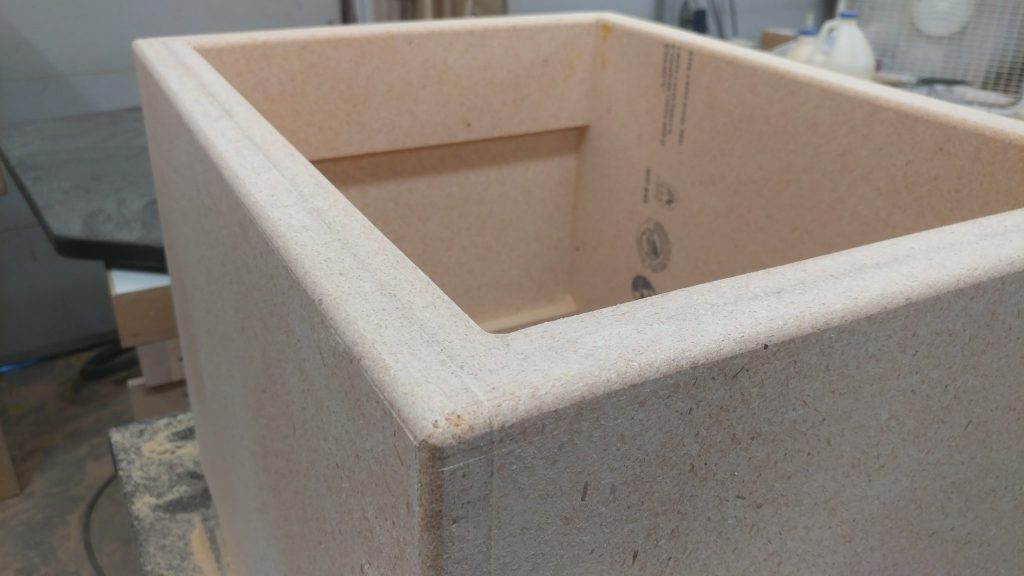
After letting it sit I cleaned up the edges with my random orbital sander then applied a 1/4″ roundover to each edge just like when I made the desk top and bottom.
I cleaned up the routed edges with my random orbital sander again as well as with some careful hand sanding.
This concludes part 3.
Closing remarks
They’re all ready to be stained and finished.
As I said before, I don’t have a lot of room in my shop right now so it’s difficult to get this built but it’ll be worth it in the end.
If you have any suggestions, please leave them in the comments below. I’d love to see any desk builds you’ve done. Also, if you haven’t already, please consider signing up for my mailing list so you get e-mail notifications when I post new articles.


Pingback: News – February 11th, 2019 – Cymbal Cart, Wood Paste, New Docs, Studio Desk, and Router Table Article - TrentDavis.net