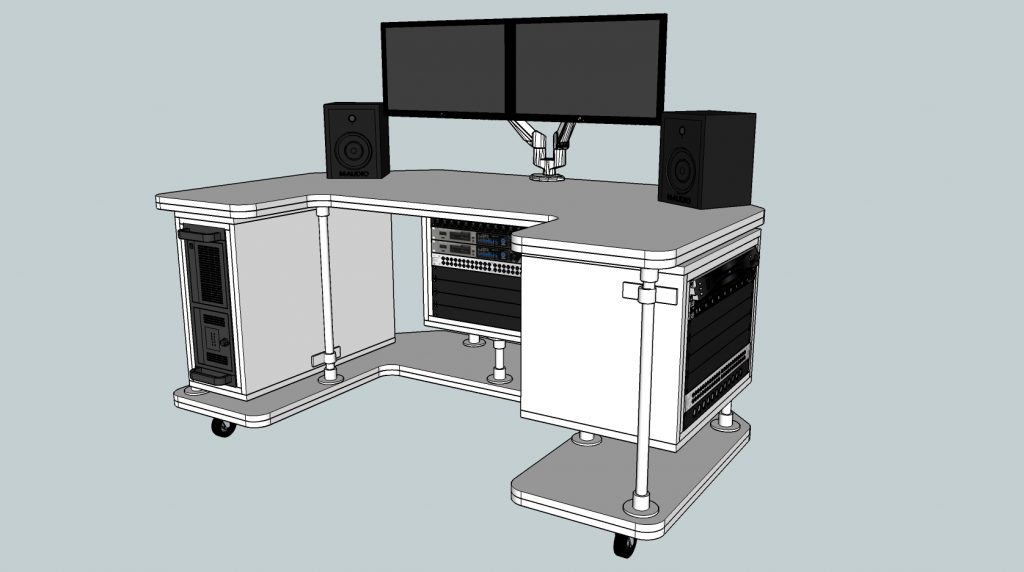
I finally settled on a design for my studio desk. It needed to fit into the breakfast nook, be mobile, and house the various racks of gear needed to record music. I went through almost 20 designs before I settled on this one, not because it was the best, but because I knew I would never find the “perfect” design so I should just pick one and go with it.
The desk will mainly consist of a top and a bottom that are joined with vertical pipe sections. The electronic gear will be stored in racks that will be modular, in that I can change their placement at a later date if I decide to. I decided to use two layers of particle board for both the top and bottom. It’s not apparent in the rendering but I’m also going to do a roundover on the tops and bottoms of each piece. I’m also planning on staining the particleboard a dark color and protecting them with several layers of polyurethane.
Cutting the pieces to size
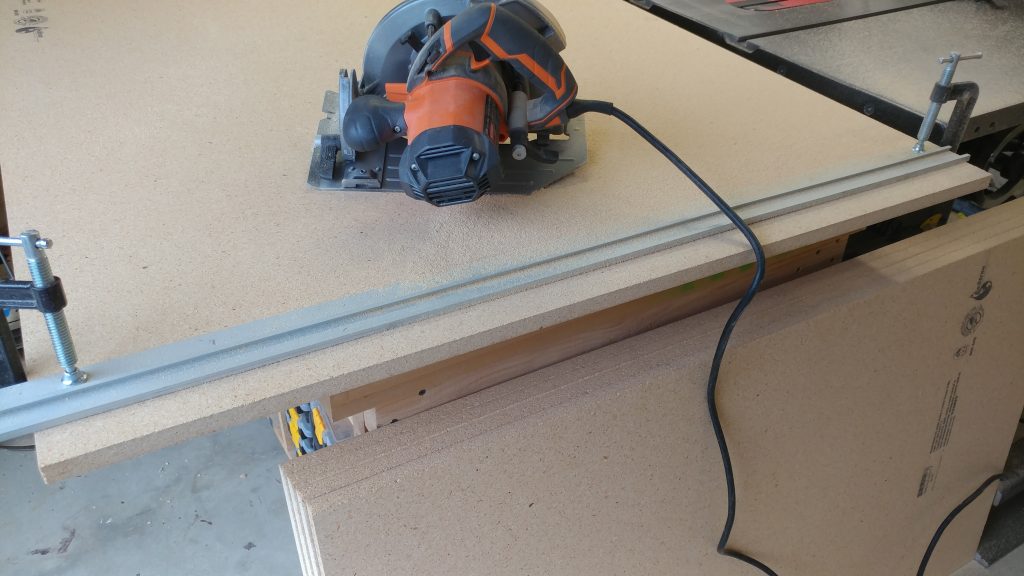
I started with the pieces cut slightly oversized on the panel saw. Then I cut them to their exact length with a circular saw. I did this by cutting a little bit off one side then flipping the board around and cutting it down to the exact length on the other side. I did it this way so I wouldn’t have any factory edges on the final board, which may have nicks on them.
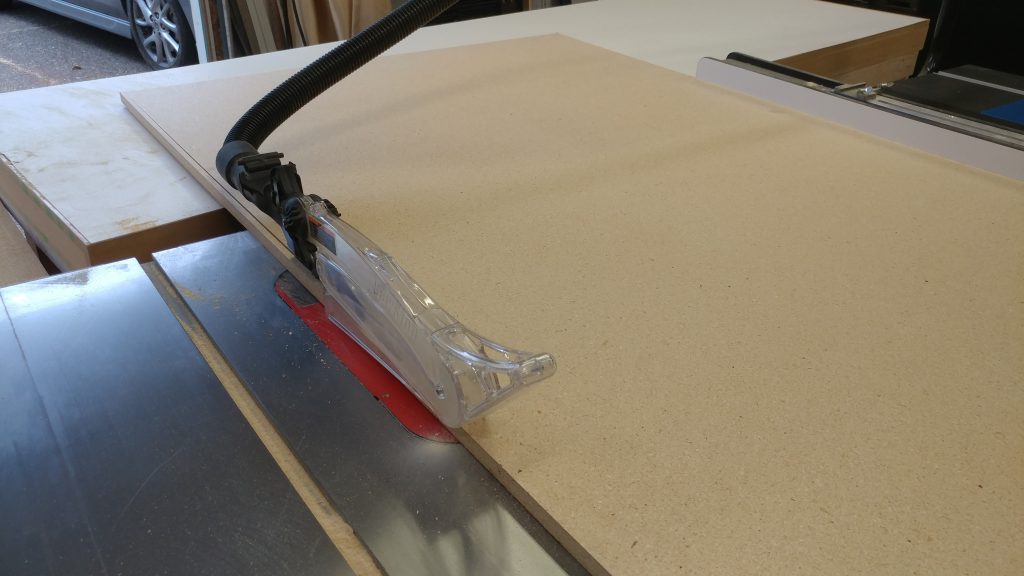
Next, I ripped them on the table saw to get them to their final width. I did the same thing where I took a little off one edge then flipped it and ripped it to the final width.
Marking the outline
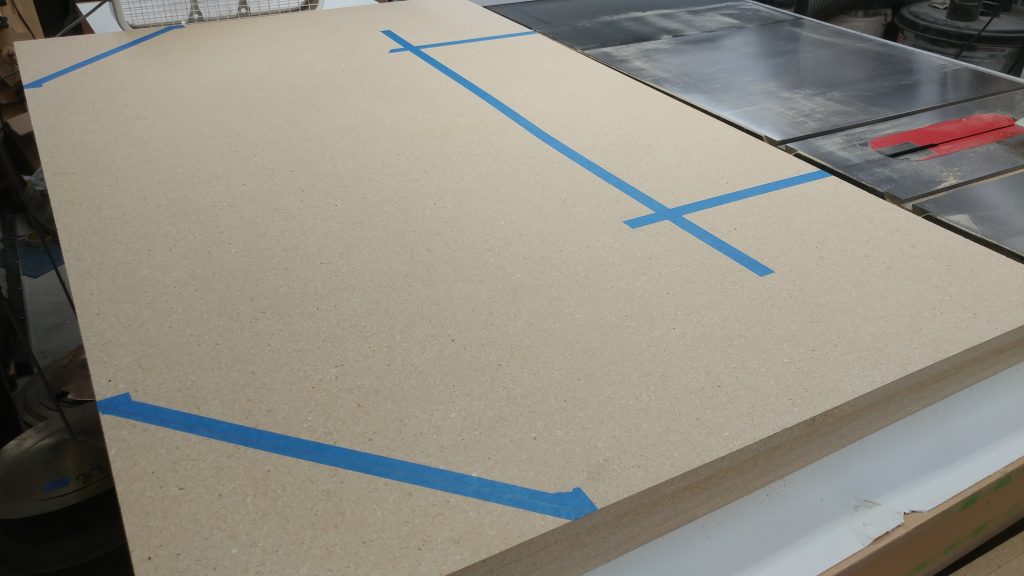
The next step was to mark out where I was going to cut. Now, I should mention that although this desk has been planned out, some of it is dealt with on the fly. I had some measurements but they were just guidelines. The important thing is that it isn’t too wide to fit in the breakfast nook, or “control booth” as I’m now calling it. That being said, the marks for cutting aren’t permanent so I drew them on painters tape at first.
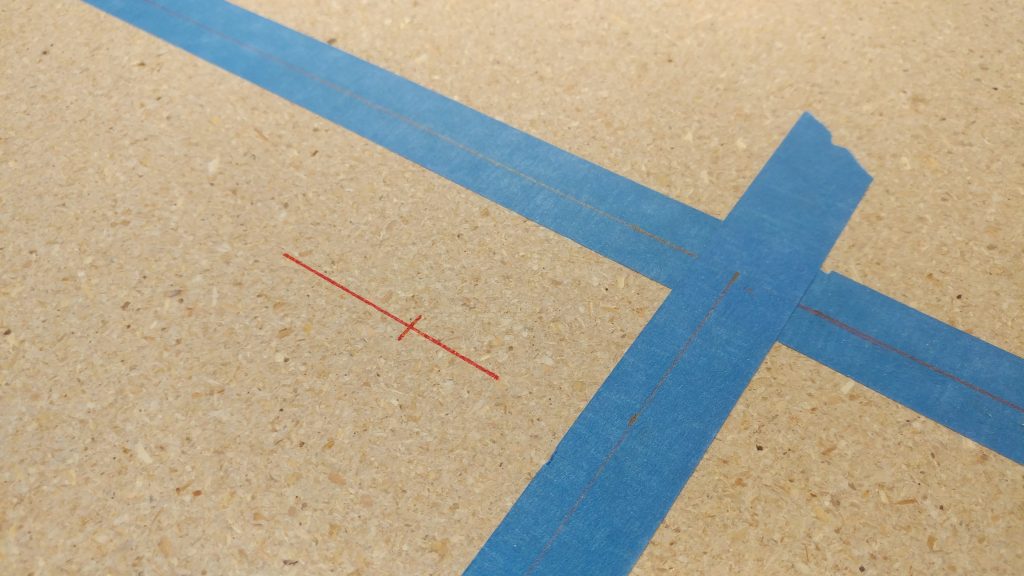
Once it was decided where the cuts will be, I marked 2″ over in both directions from the inside corner so I could drill a 4″ hole. This will be clear in a little bit.
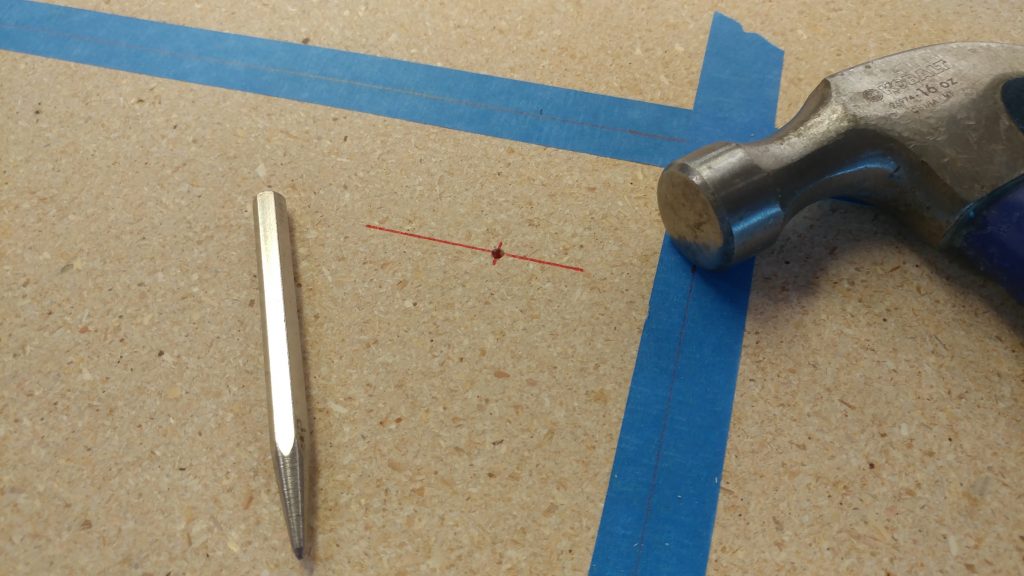
I didn’t want my hole saw to wander so I grabbed a hammer and a punch and made an indentation where I wanted the hole to be centered.
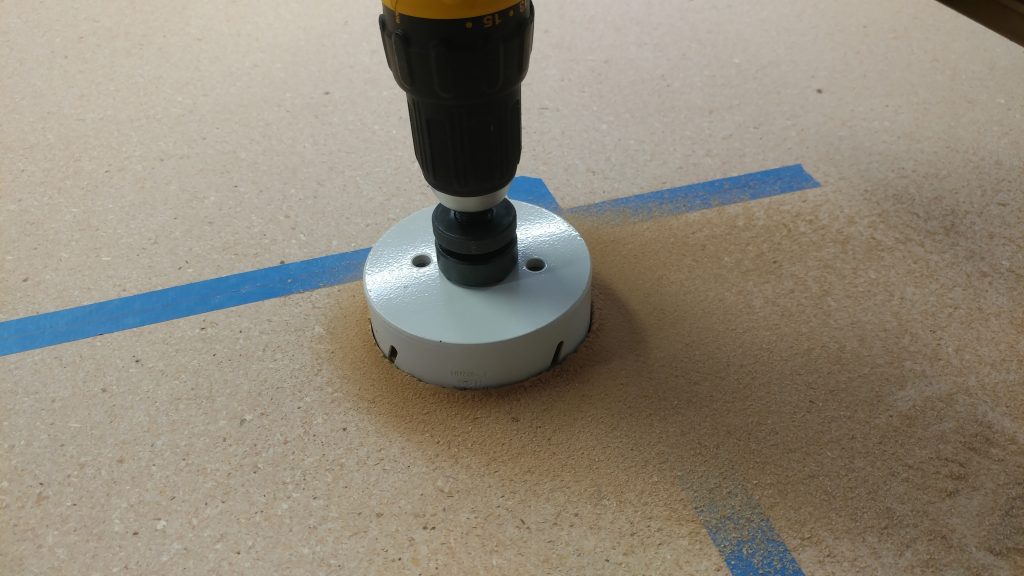
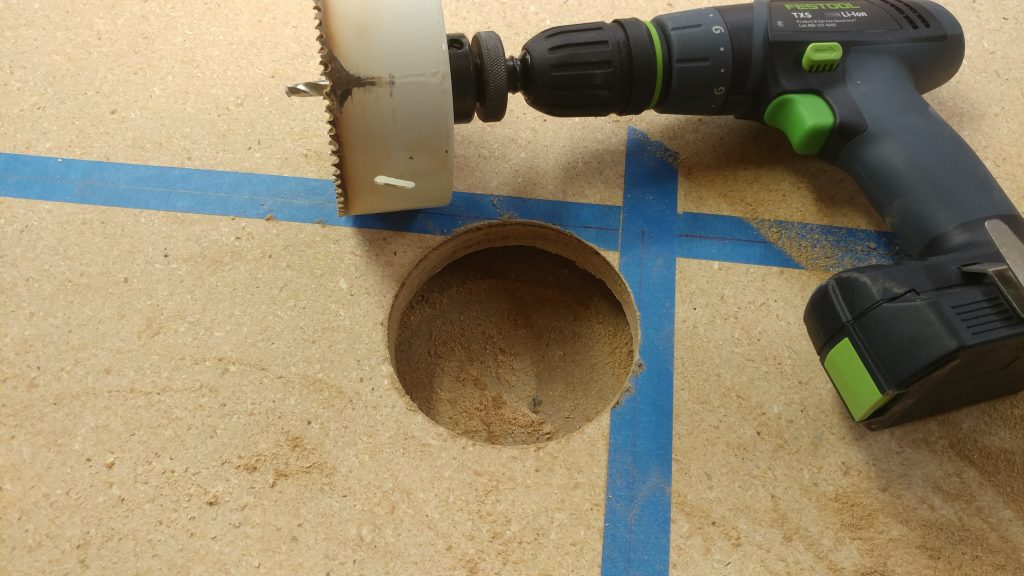
Then I was able to use my (dull) 4″ hole saw to make this cut.
I wasn’t too concerned about blowout on the other end because of the roundover I plan on adding. as such, the material wasn’t supported underneath.
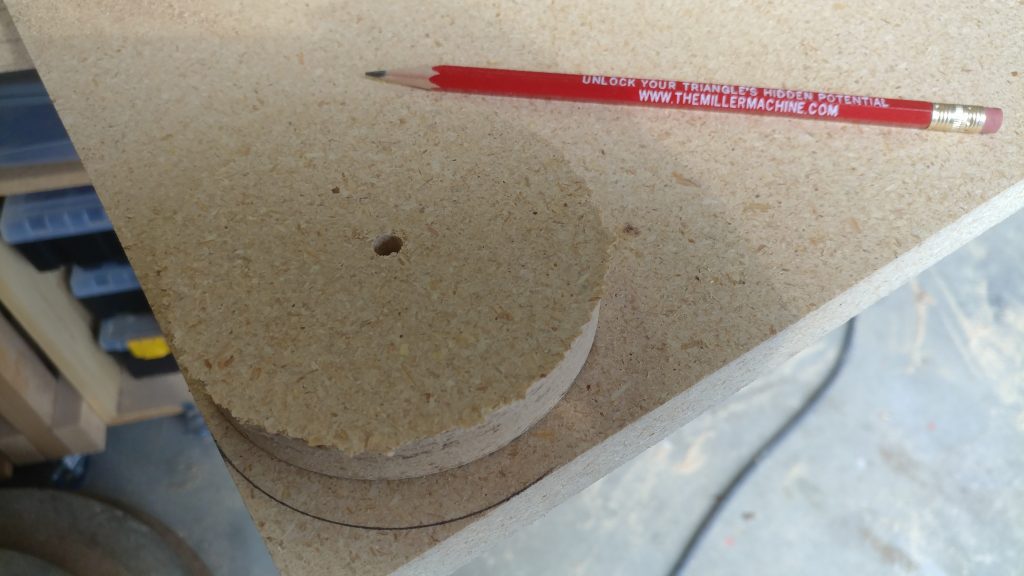
I wanted similar radius’s on the outside corners, but they didn’t need to be exact. I used the cutout from the hole I made to trace a corner radius on each of the outer corners.
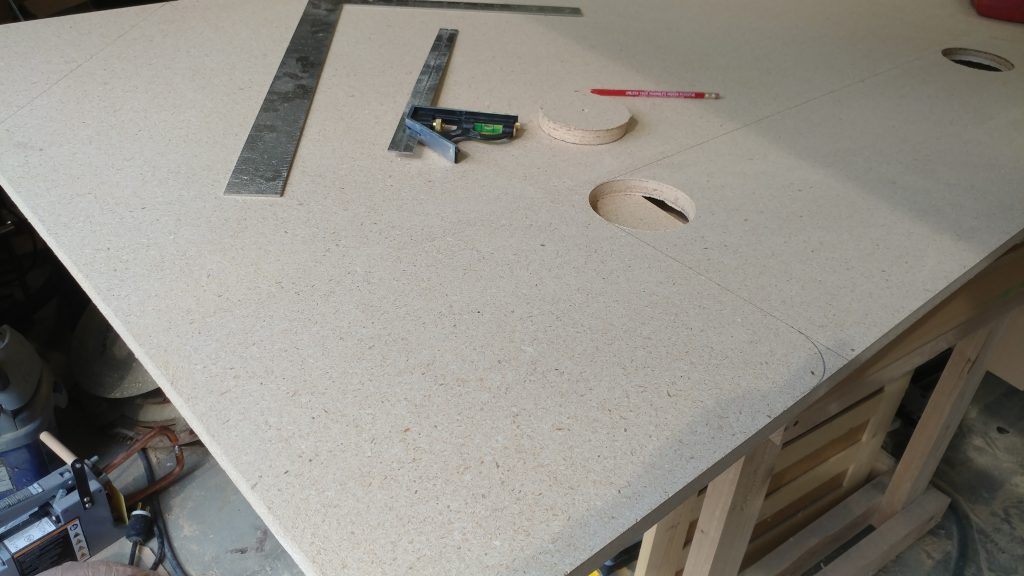
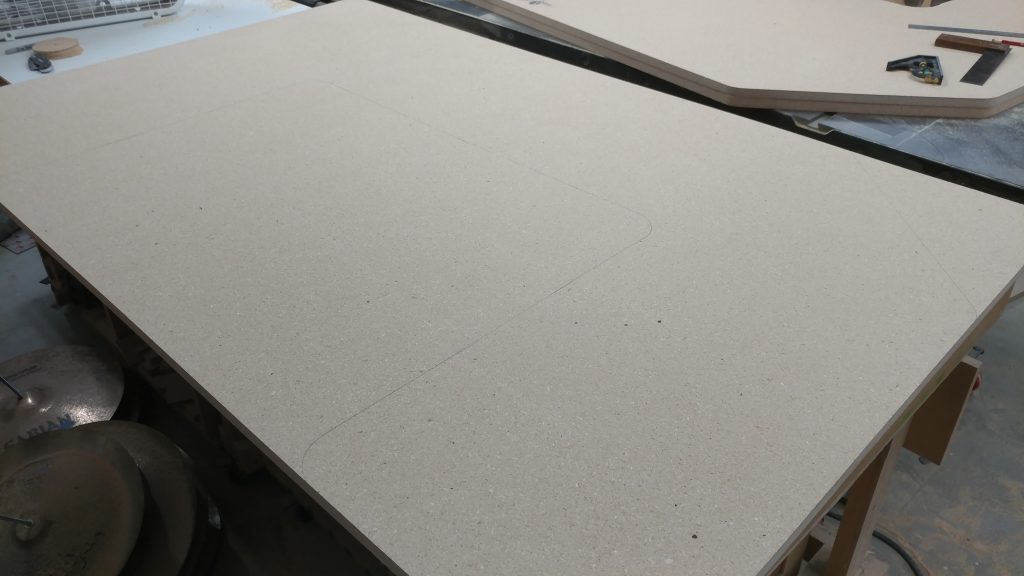
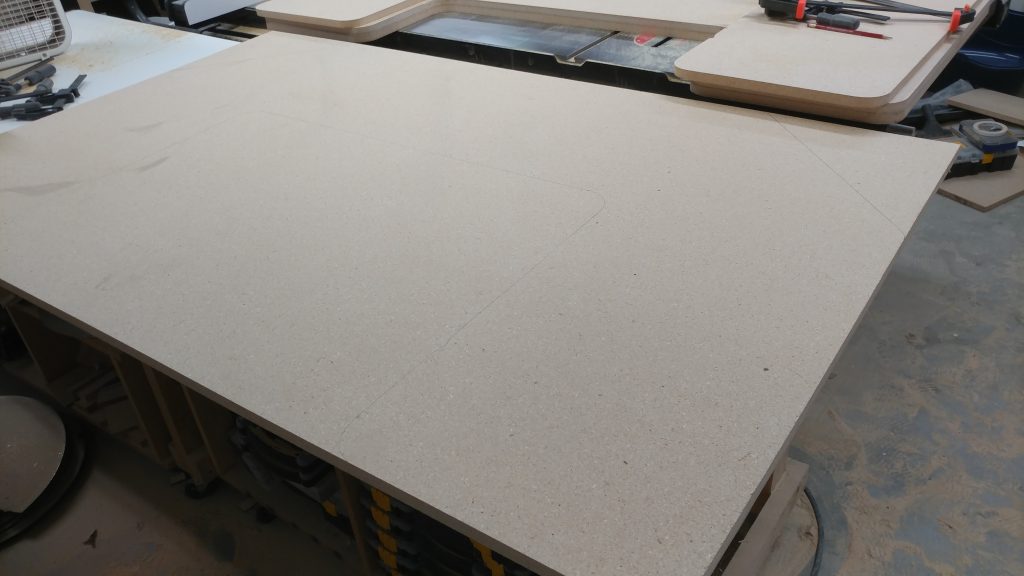
I had the entire thing planned out and traced on the board.
Cutting out the first (and most important) piece
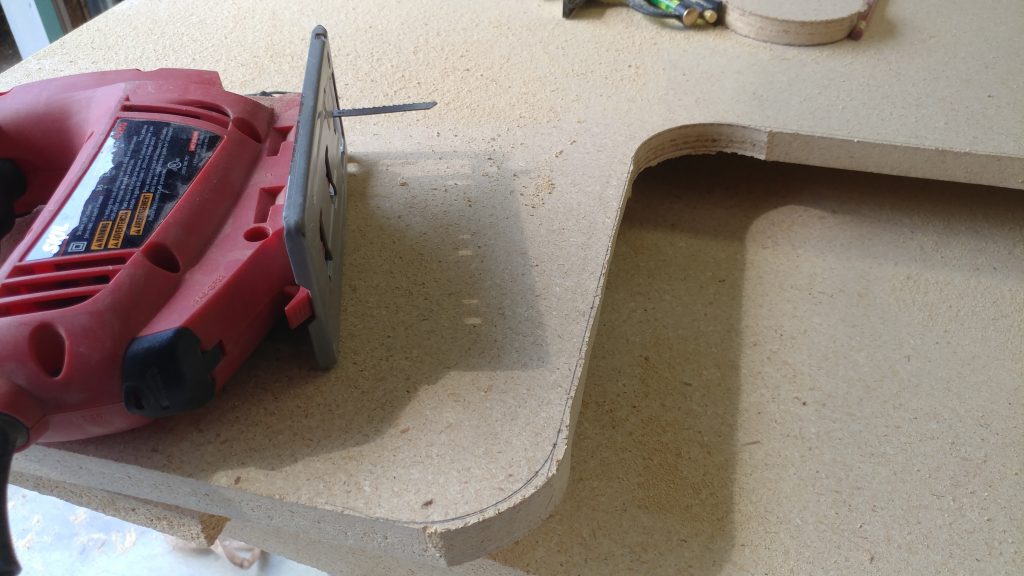
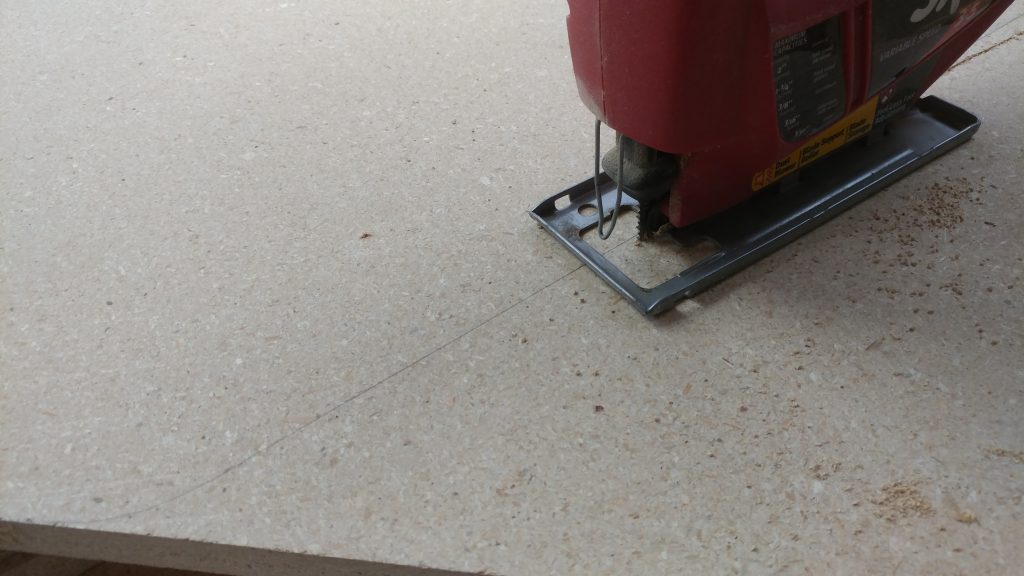
With the outline traced, I used a jigsaw to cut close to the line.
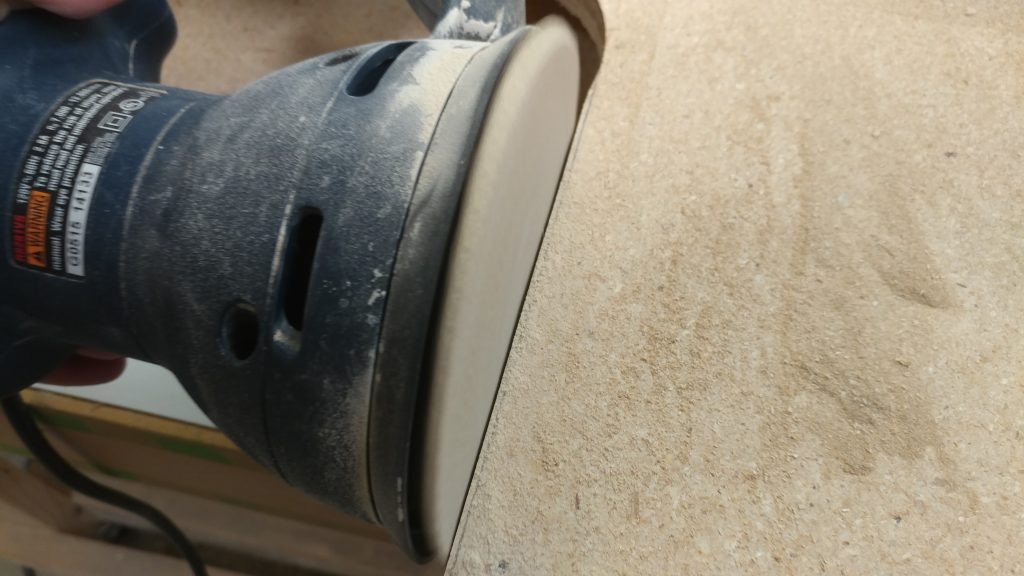
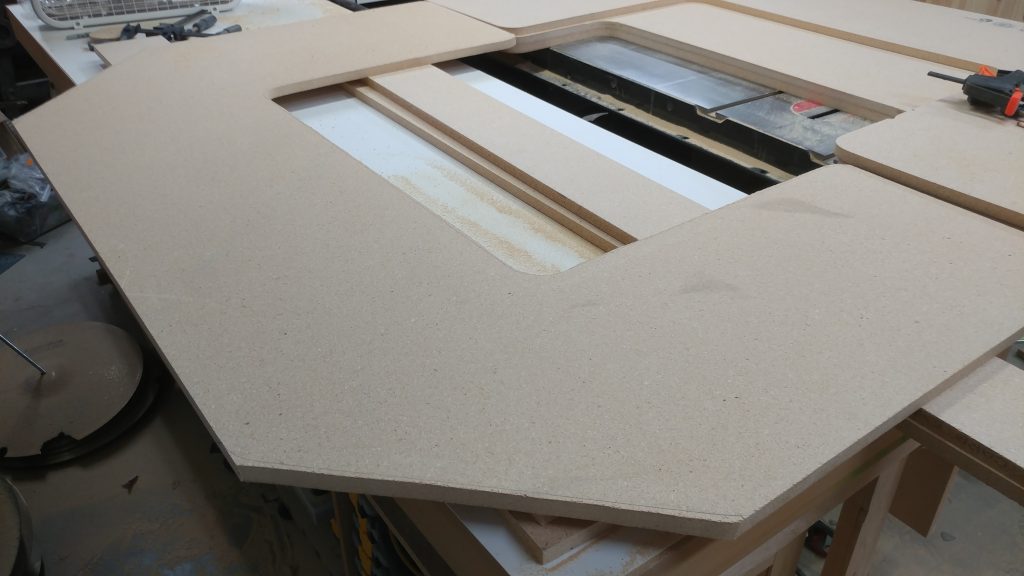
With the desktop shape cut out, I used a random orbital sander and a belt sander, both equipped with an 80-grit sanding disc and belt, to sand up to the line.
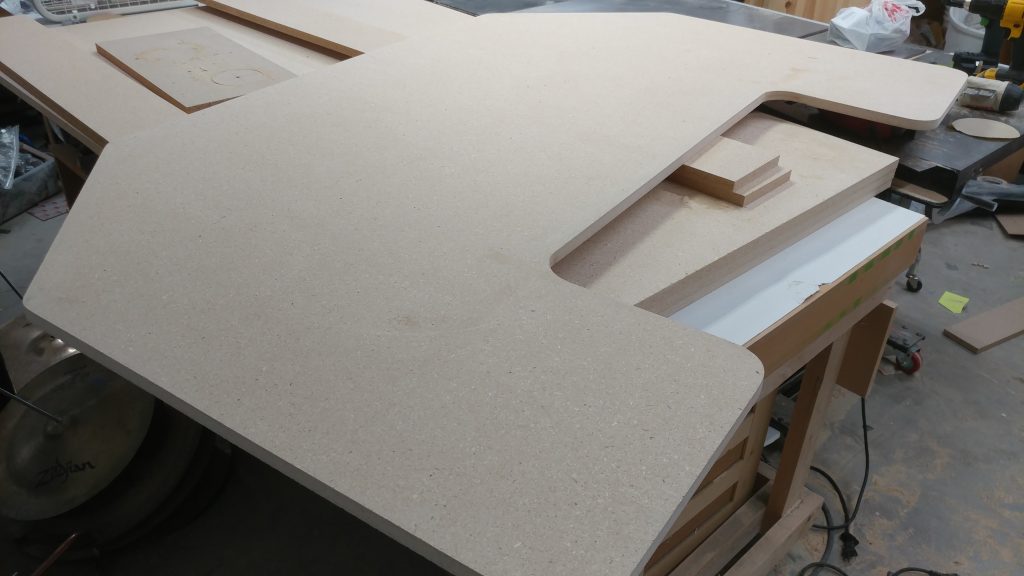
One layer of the desktop is complete. I’m going to use this as a routing template for the other three pieces, with a slight modification for the two bottom pieces.
Using the first piece to cut out the second
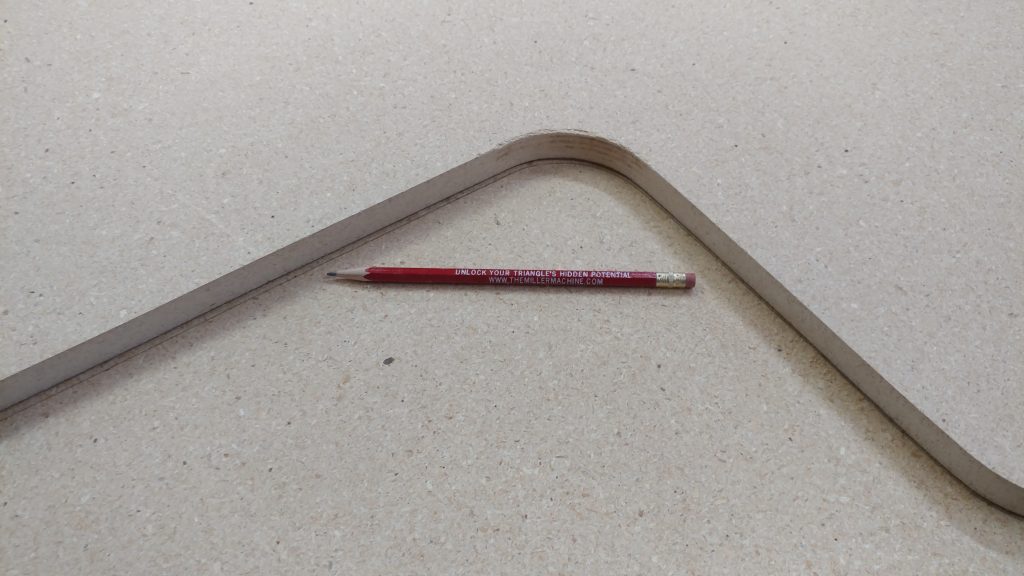
To cut out the second piece of the top, I use the piece that I just shaped and trace an outline in pencil on the second piece.
Once again I use a jigsaw to cut out the shape just outside the line.
I attempted to secure the two pieces with some double-stick tape (which although it looks wimpy, has never let me down in the past).
After placing the second piece in place, I realized that the double-sided tape that had never let me down, was letting me down. As a solution, I added two screws since this was going to be the underside of the desktop and wouldn’t be seen.
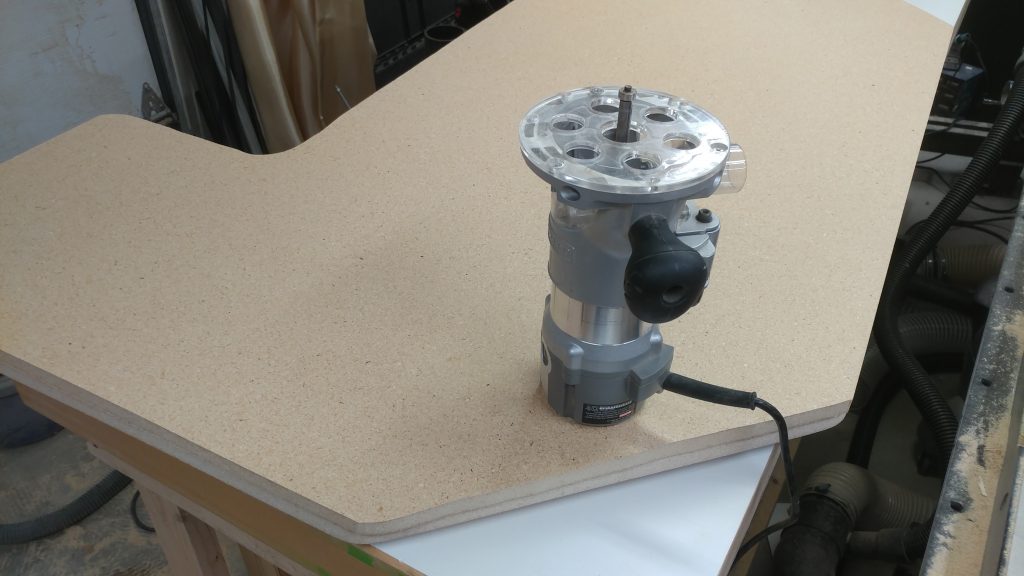
I equipped my router with a 1/2″ straight pattern bit.
I then routed out the second piece of the top.
An exact replica.
Cutting out the first bottom piece
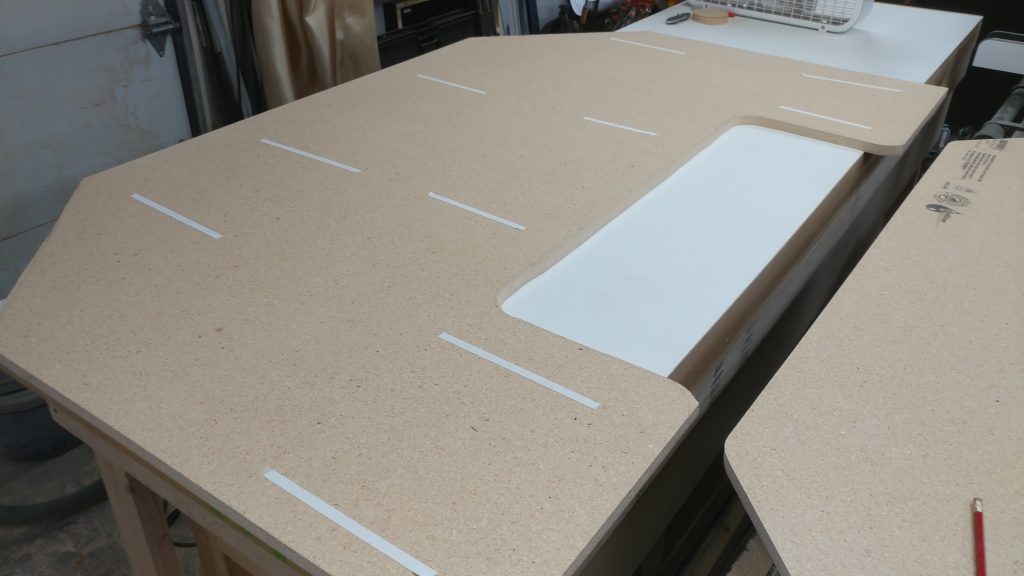
This is where it got tricky. The bottom needed to match the top but with the central area a bit deeper than on the two top pieces. I accomplished this by tracing most of the outline then I pushed the top piece back a bit and traced the inner section.
Once again I cut it out with the jigsaw.
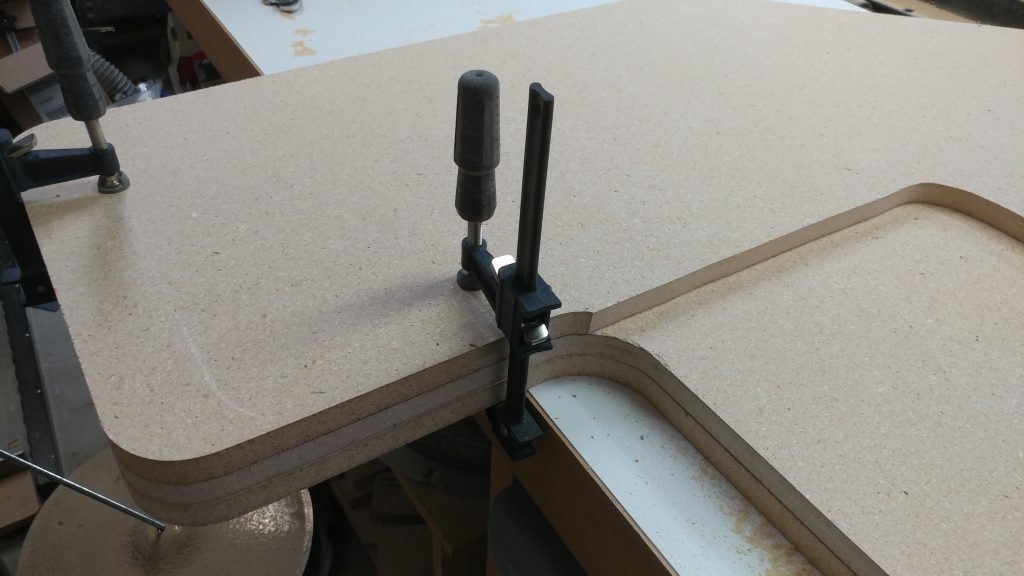
I then clamped the bottom piece to the top pieces, which were still screwed together.
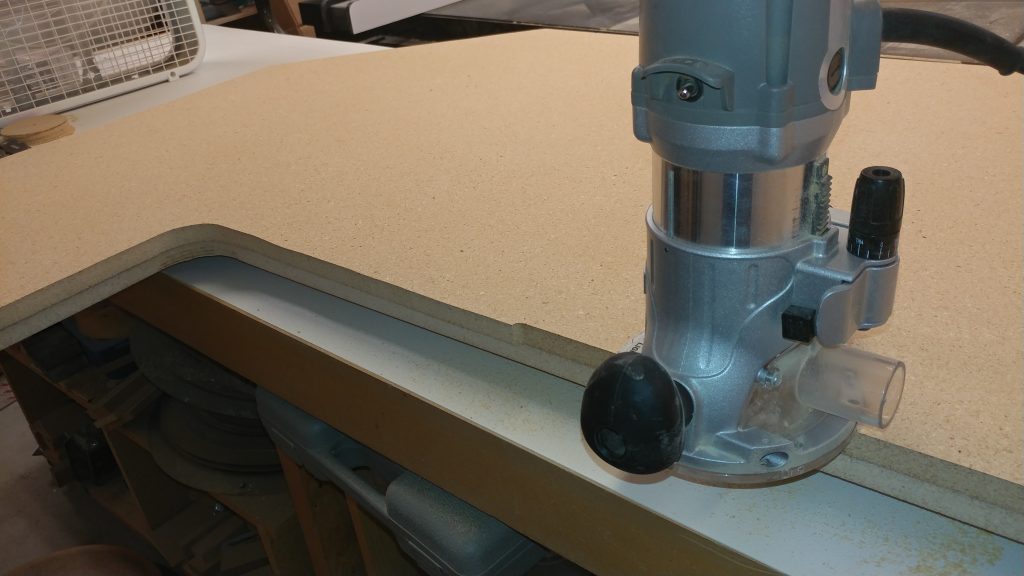
I routed as much as I could.
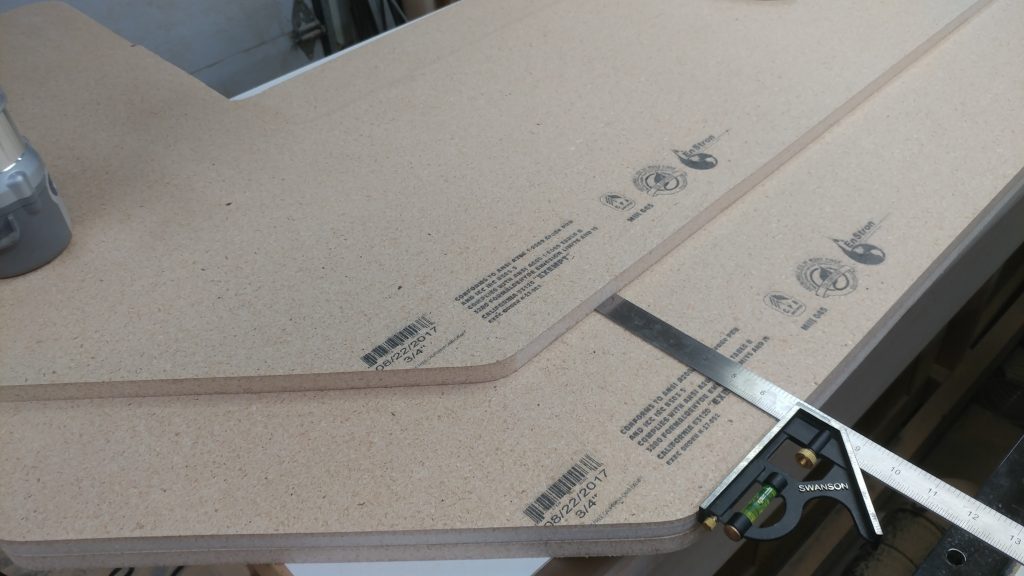
I then moved the bottom piece a bit forward so I could route a bit more of the inner edges using the top pieces as a template. To make sure I got it pretty even, I used a combination square to move each edge forward the same amount.
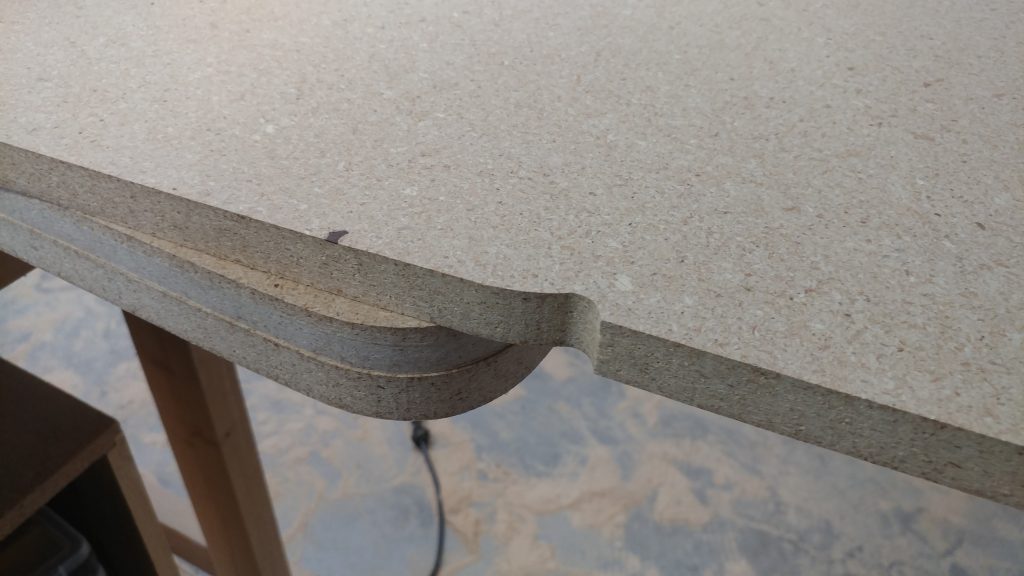
And this is where I screwed up. I got a bit of the inner left edge routed fine then I went over to the right side. Because of the placement of the router, I couldn’t see that I was coming up on the front corner of my template. As a result, I took a chunk out of the bottom piece. Fortunately, this will be easy to fix later since I’m using particleboard. I’m just going to keep going and fix it later before I put the roundover on them.
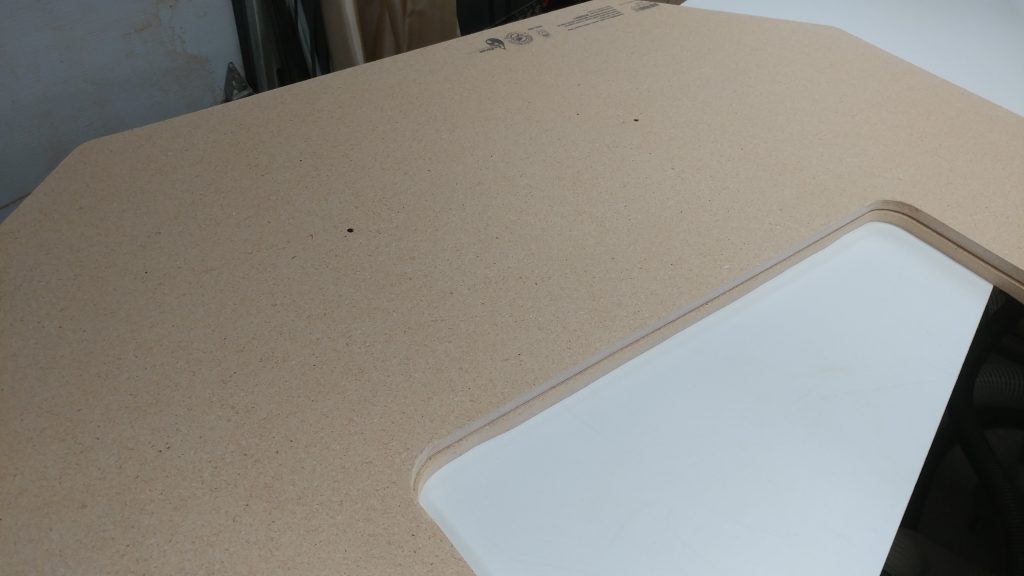
After moving the bottom piece forward again I was able to get the inner corners to match those on the top pieces.
Cutting out the second bottom piece
I then traced the bottom piece onto the last piece of particleboard.
Then cut it out with the jigsaw.
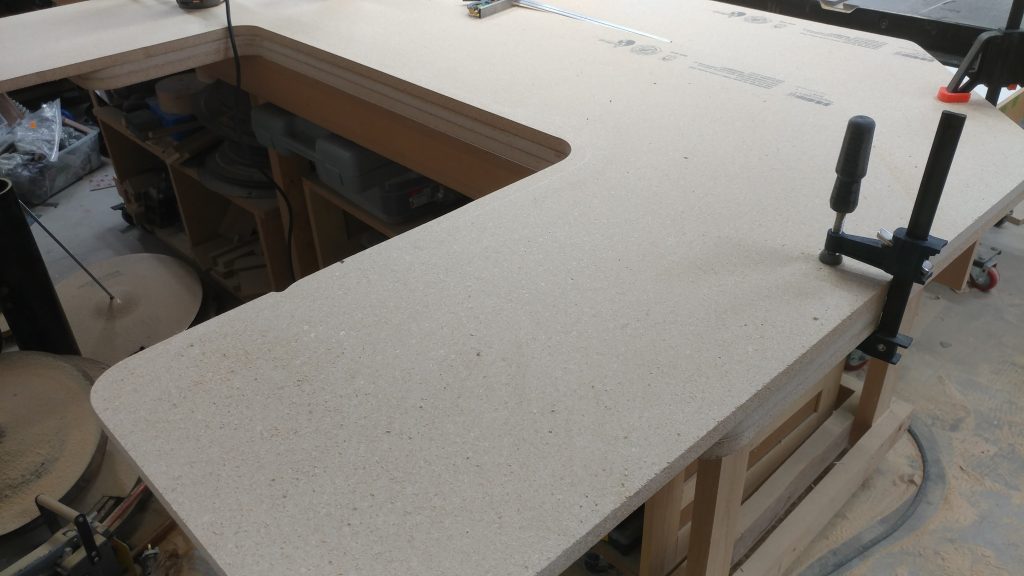
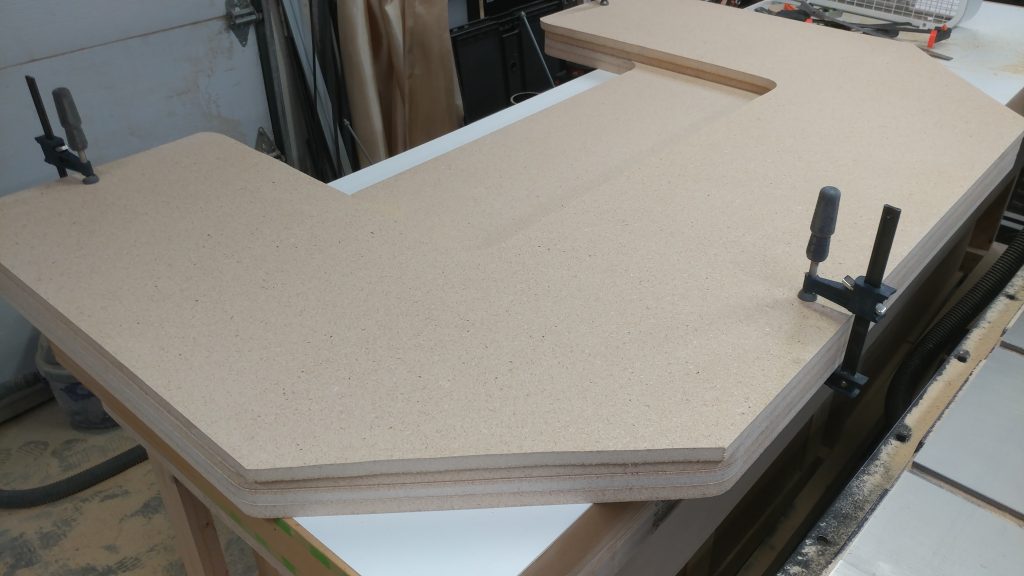
Due to space limitations, I’m working with all the pieces stacked on top of each other. Here, I’ve got all the pieces clamped together. I’ll be using the bottom piece that I routed out (and screwed up) to route out the second bottom piece.
I managed to not screw this piece up in the same location. Instead, I accidentally tipped the router as I was going around the inner corner. Both bottom pieces will need some repair work before I do the roundovers.
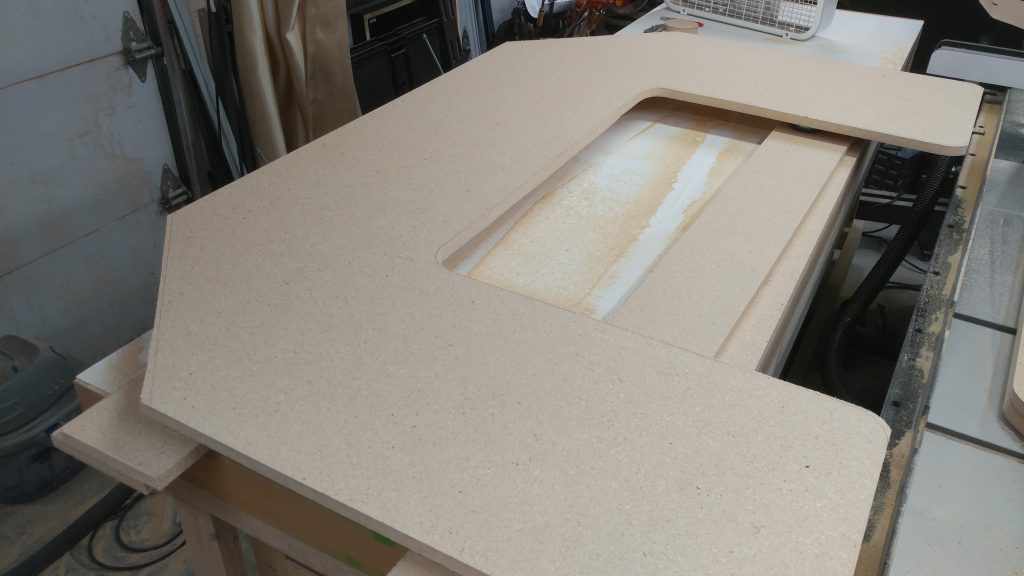
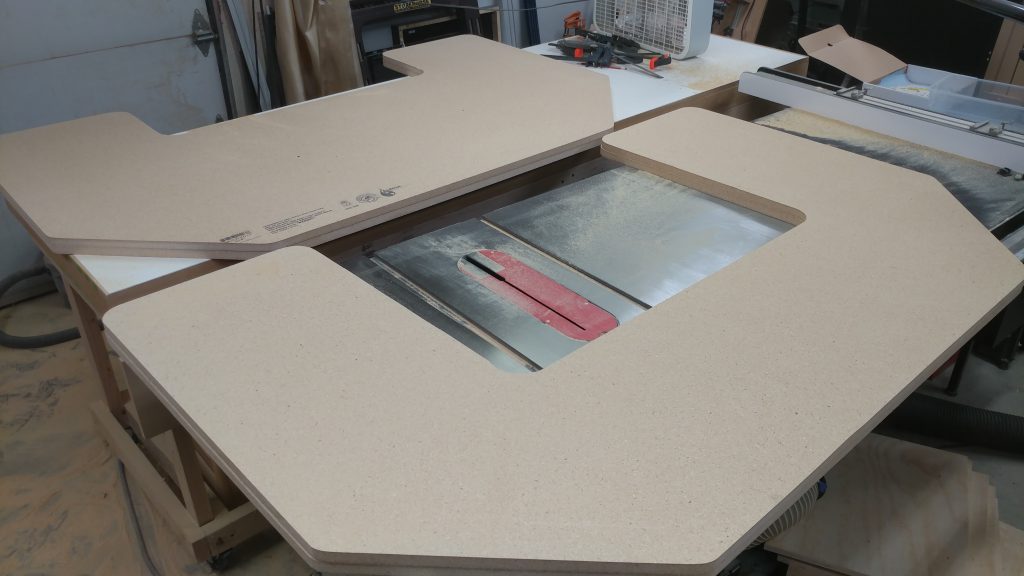
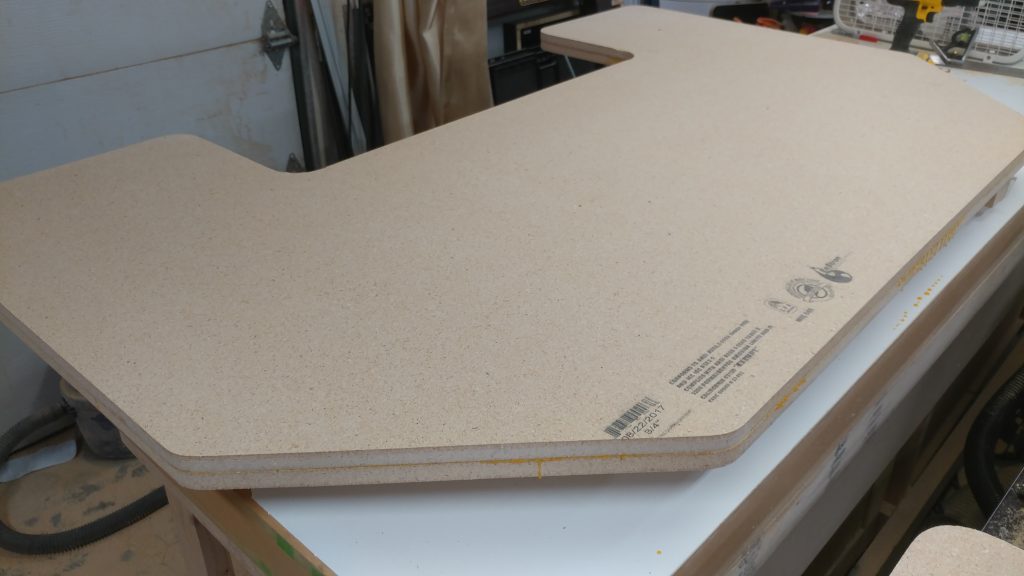
All four pieces are cut to shape. Time to glue them up.
Gluing the tops together
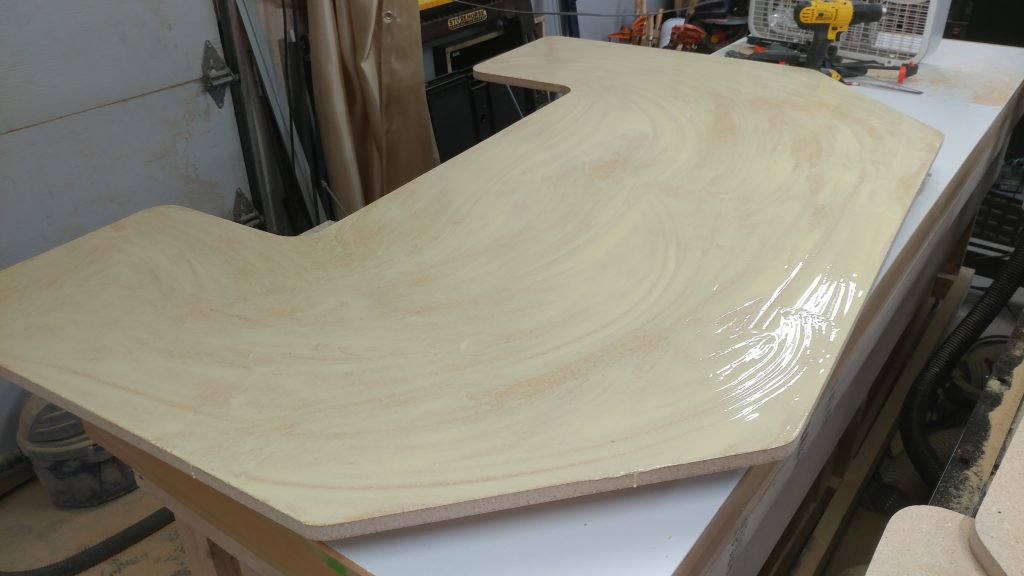
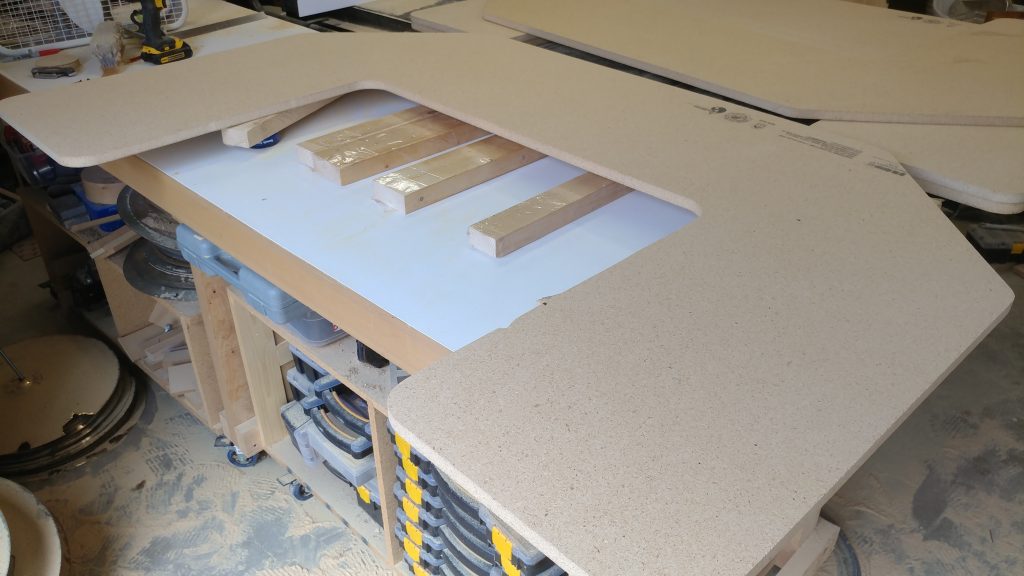
I apply a liberal coat of glue to one of the top pieces.
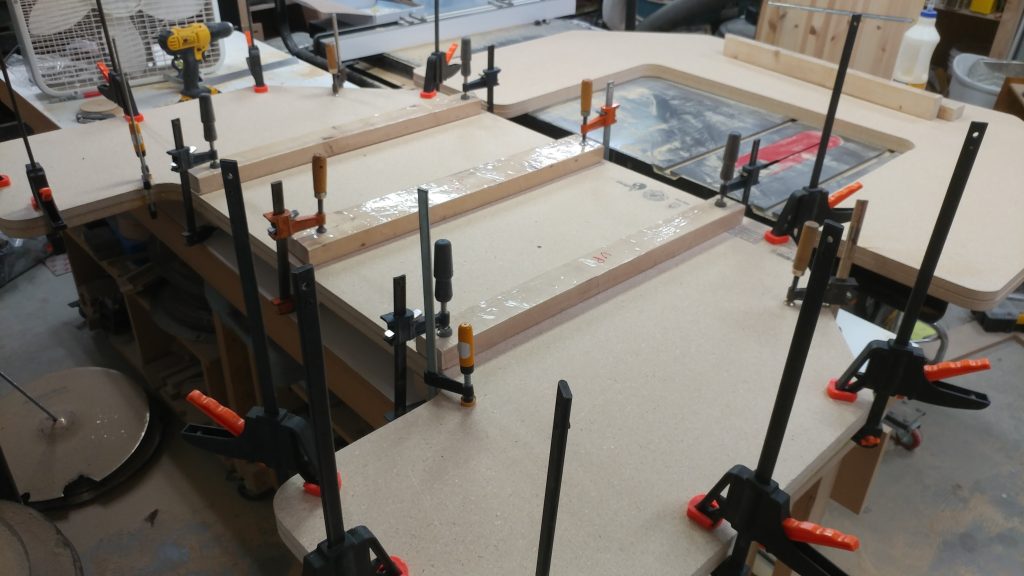
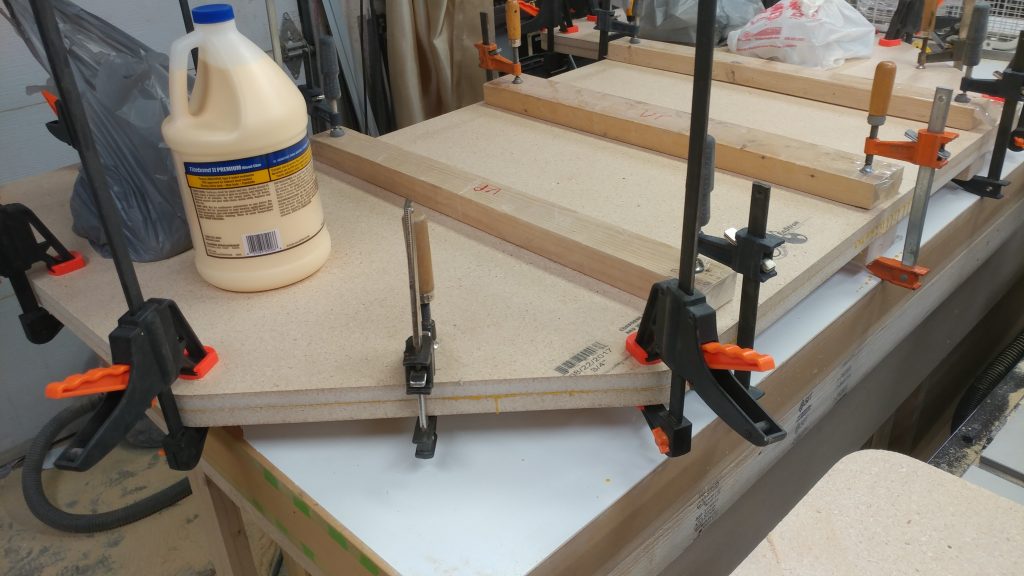
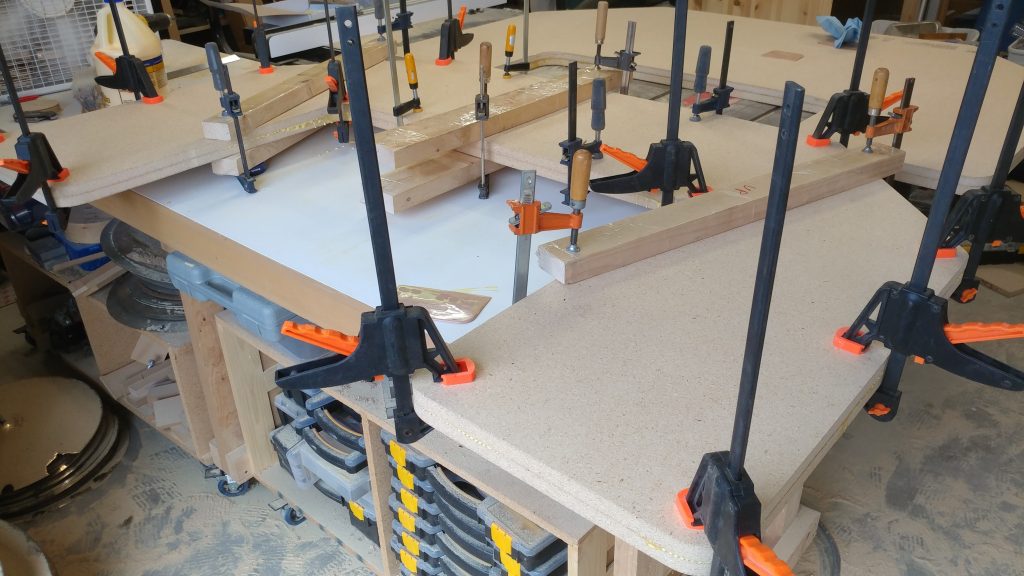
I then place the second top piece in place and clamp them together. I’m using clamping cauls to help provide some firm pressure on the wider parts.
I let it sit overnight to cure.
After removing the clamps, the top is very sturdy. I didn’t notice the two pieces coming apart anywhere when I removed the clamps.
Gluing the bottom pieces together
Now to do the same with the bottom pieces.
I glued this up in the morning then came back to it in the evening after performing at a show.
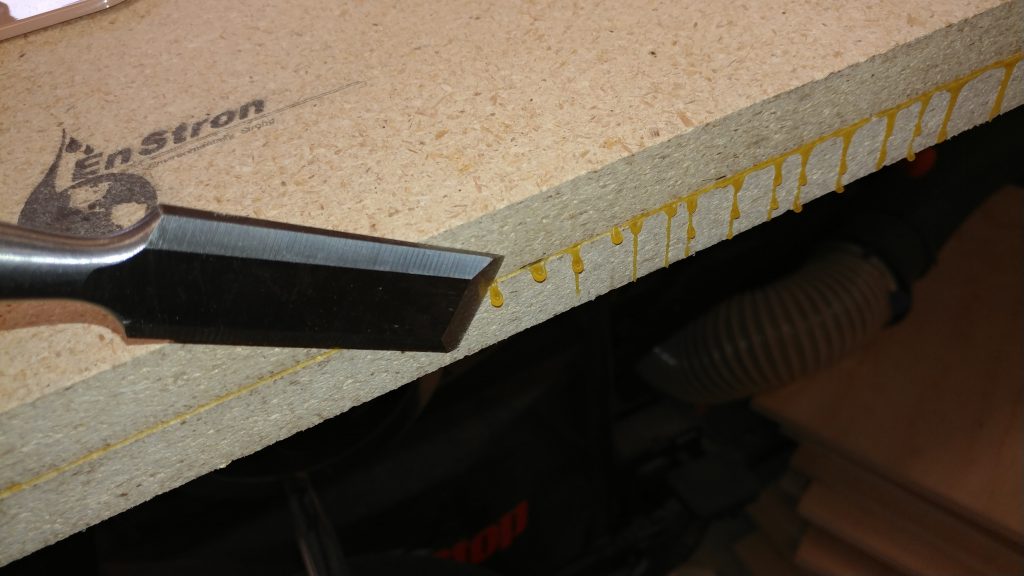
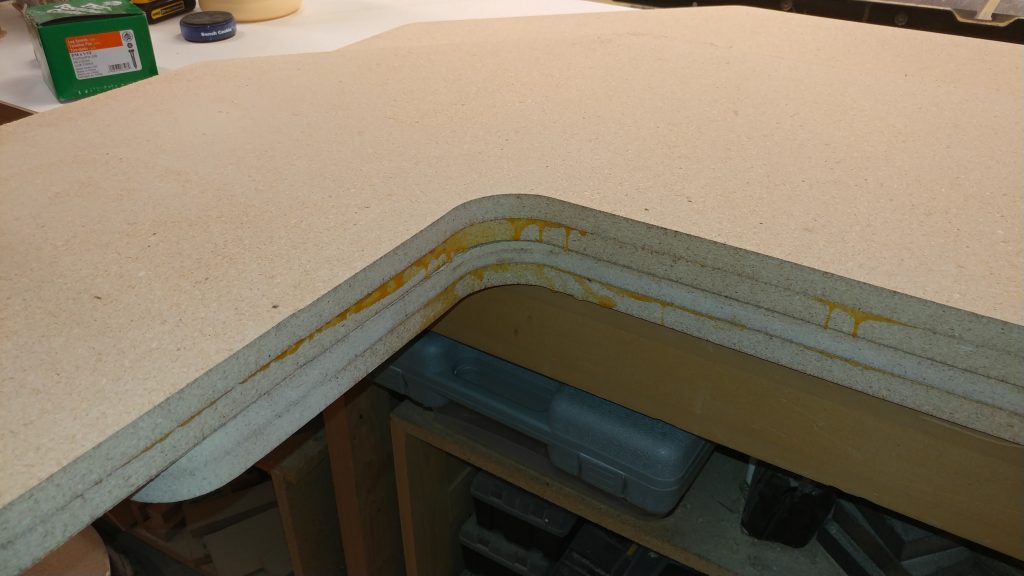
I don’t like to wipe the glue squeeze out when working with particleboard. I’d rather let it cure in drips which can be easily removed with a chisel.
Final shaping
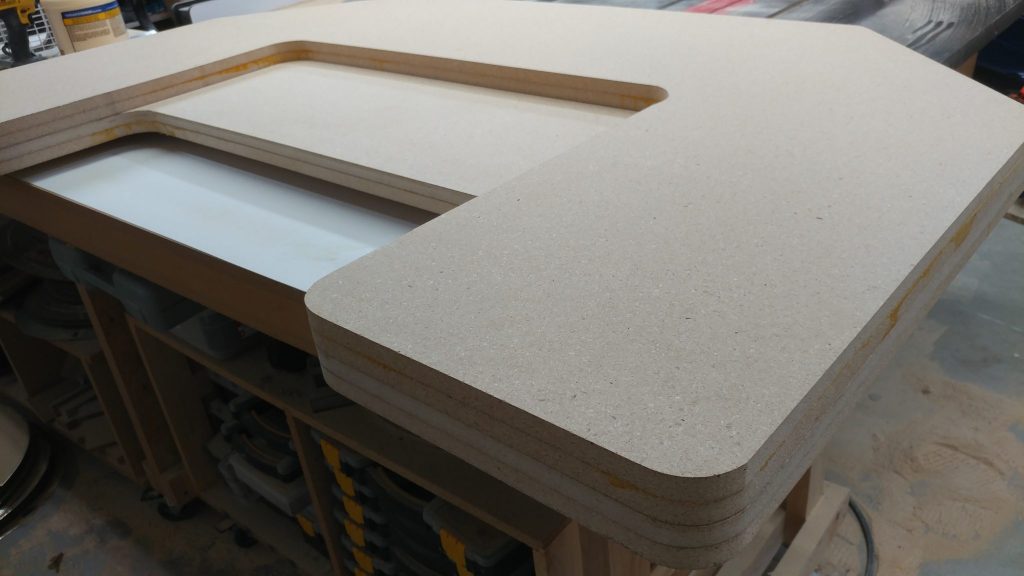
Both the top and the bottom are fully cured. Now I’m going to do some final shaping and cleanup.
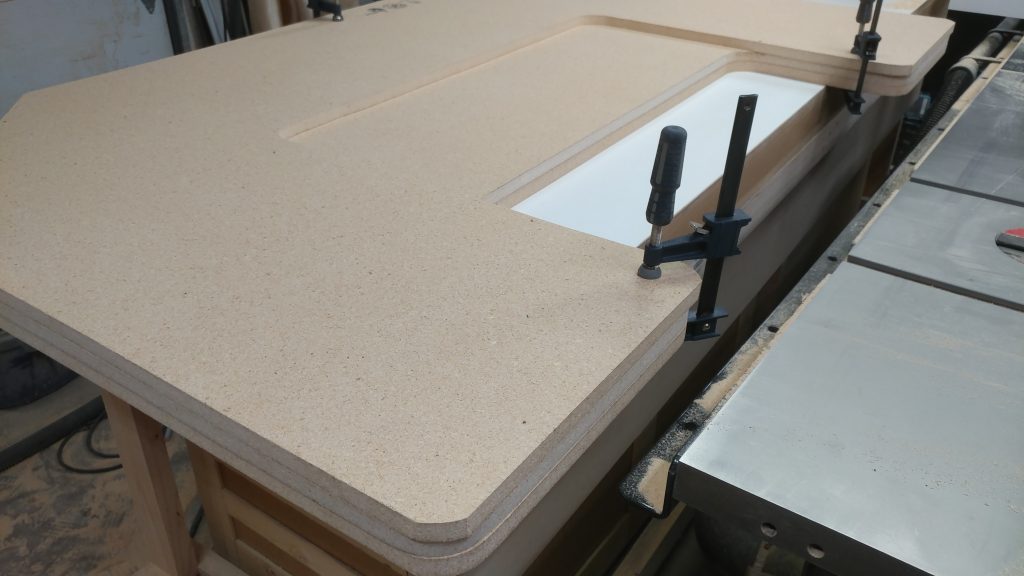
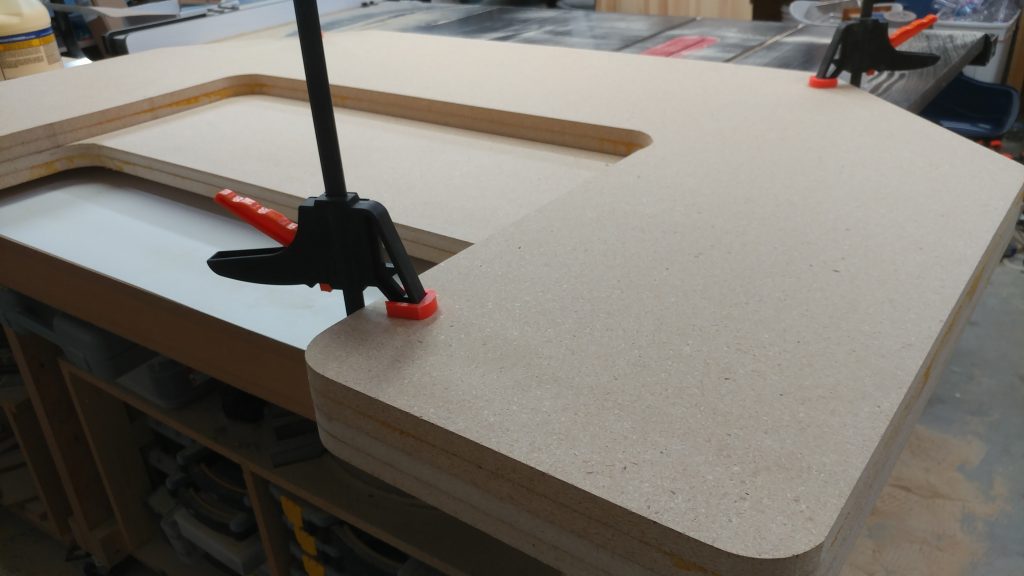
To ensure that both pieces are the same shape and have smooth edges I clamp them together so I can sand them smooth as if they were all one piece.
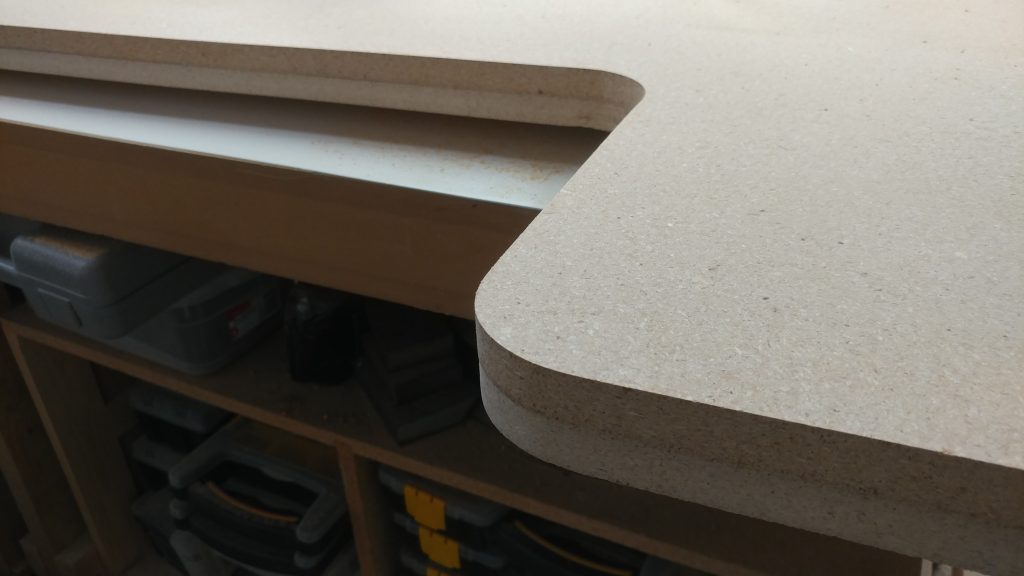
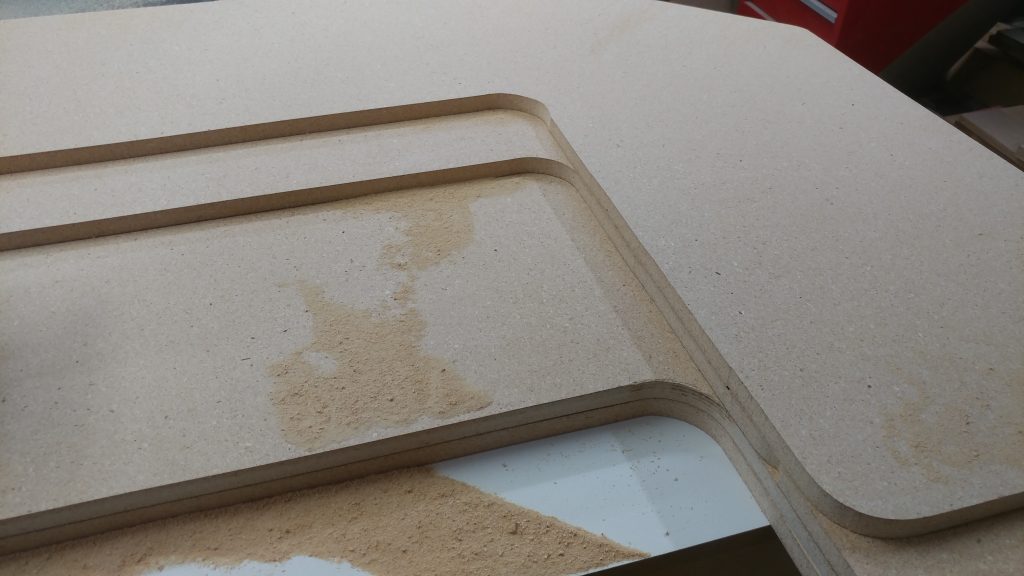
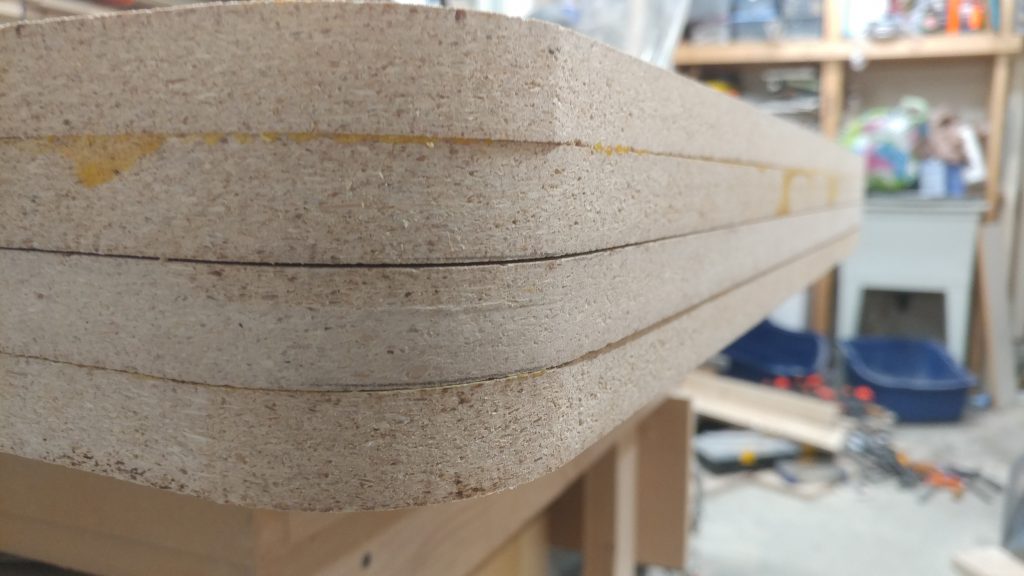
Here you can see that the edges are still a bit rough and there is still some glue squeeze-out to deal with.
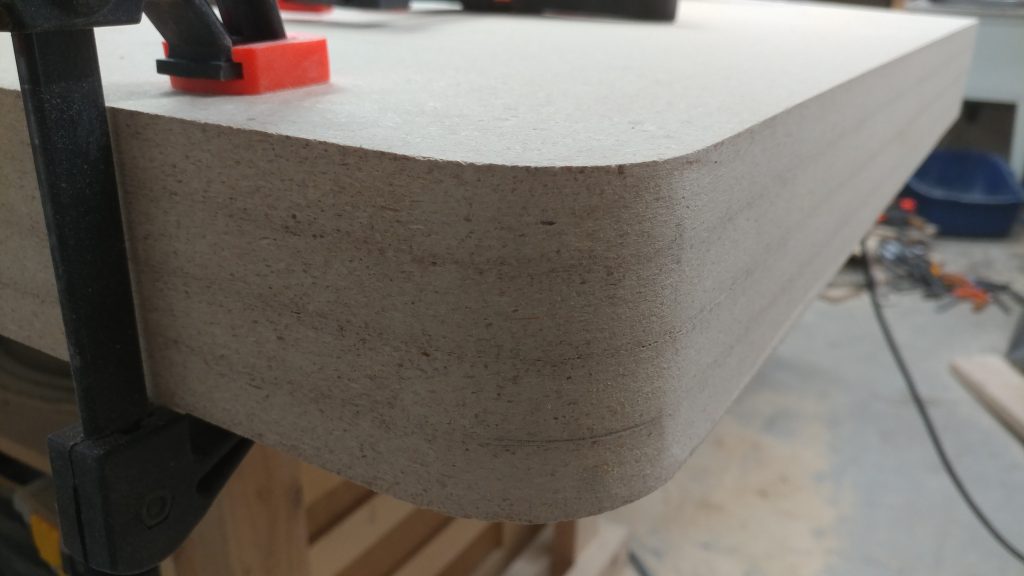
After hitting them with my sanders, they are all much smoother and a uniform shape.
I had to get creative on the inside area. This took a bit of moving and sanding, then moving again, and sanding some more.
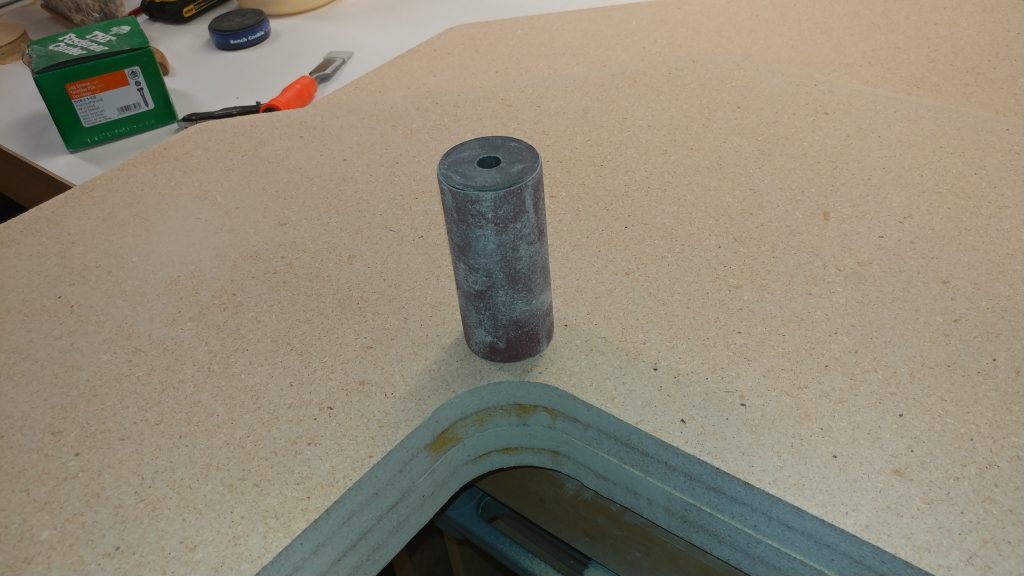
Getting the inside corners was pretty tricky. I used sanding sponges but that was taking a long time. I then tried using the large spindle for my spindle sander and that worked a lot better. I still have a lot of work to do on the inside corners but it’s getting there.
That’s it for part 1.
Closing remarks
I’m still working on the inside corners but I ran out of steam for the weekend.
The next steps are to put the roundovers on the edges and do some more sanding. Then I’ll be staining them and adding several coats of polyurethane.
I haven’t decided on the size of the roundover I’m going to put on the edges. My original intent was to put a 3/4″ roundover on both the top and bottom edge which would effectively make the edge a half-round. I might try a 1/4″ or a 1/2″ to see how I like them. It sounds like I need to do a mock-up on some scraps first…
If you have any suggestions, please leave them in the comments below. I’d love to see any desk builds you’ve done. Also, if you haven’t already, please consider signing up for my mailing list so you get e-mail notifications when I post new articles.


Pingback: News – February 11th, 2019 – Cymbal Cart, Wood Paste, New Docs, Studio Desk, and Router Table Article - TrentDavis.net