
UPDATE:
I’ve tested this for almost a year. Read my final opinion here.
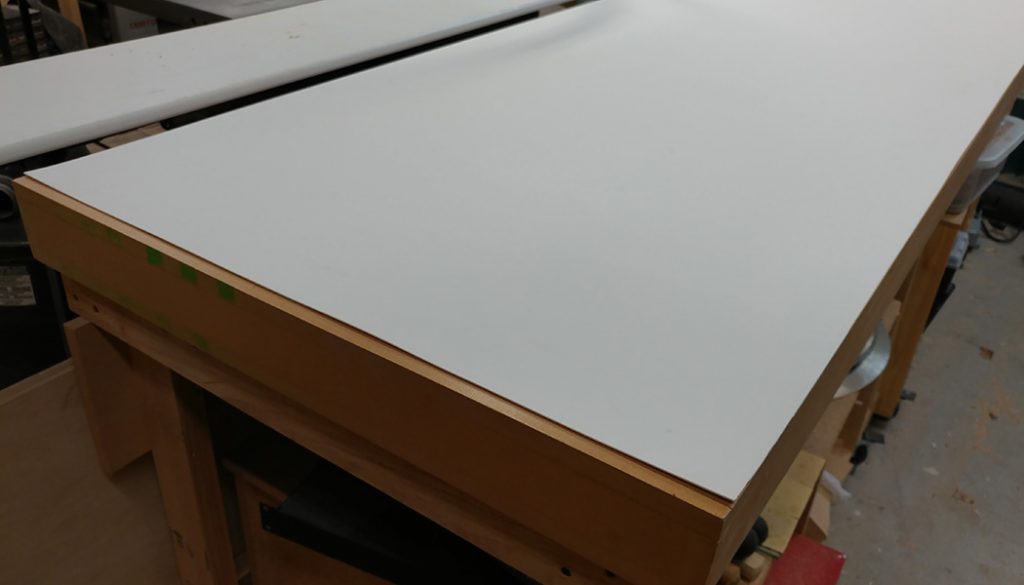
Behind my table saw is a large outfeed/assembly table that consists of a torsion box top that sits a little bit lower than my table saw. Since this table is used for glue-up, finishing, andlots of other destructive activites, I have a sacrificial work surface that sits on top of the table and takes my abuse rather than destroying my torsion box.
Removing the Existing Work Surface
My current work surface has seen better days. It’s probably time to replace it. In reality, it’s actually not that bad, I’m just sick of the sight of it.
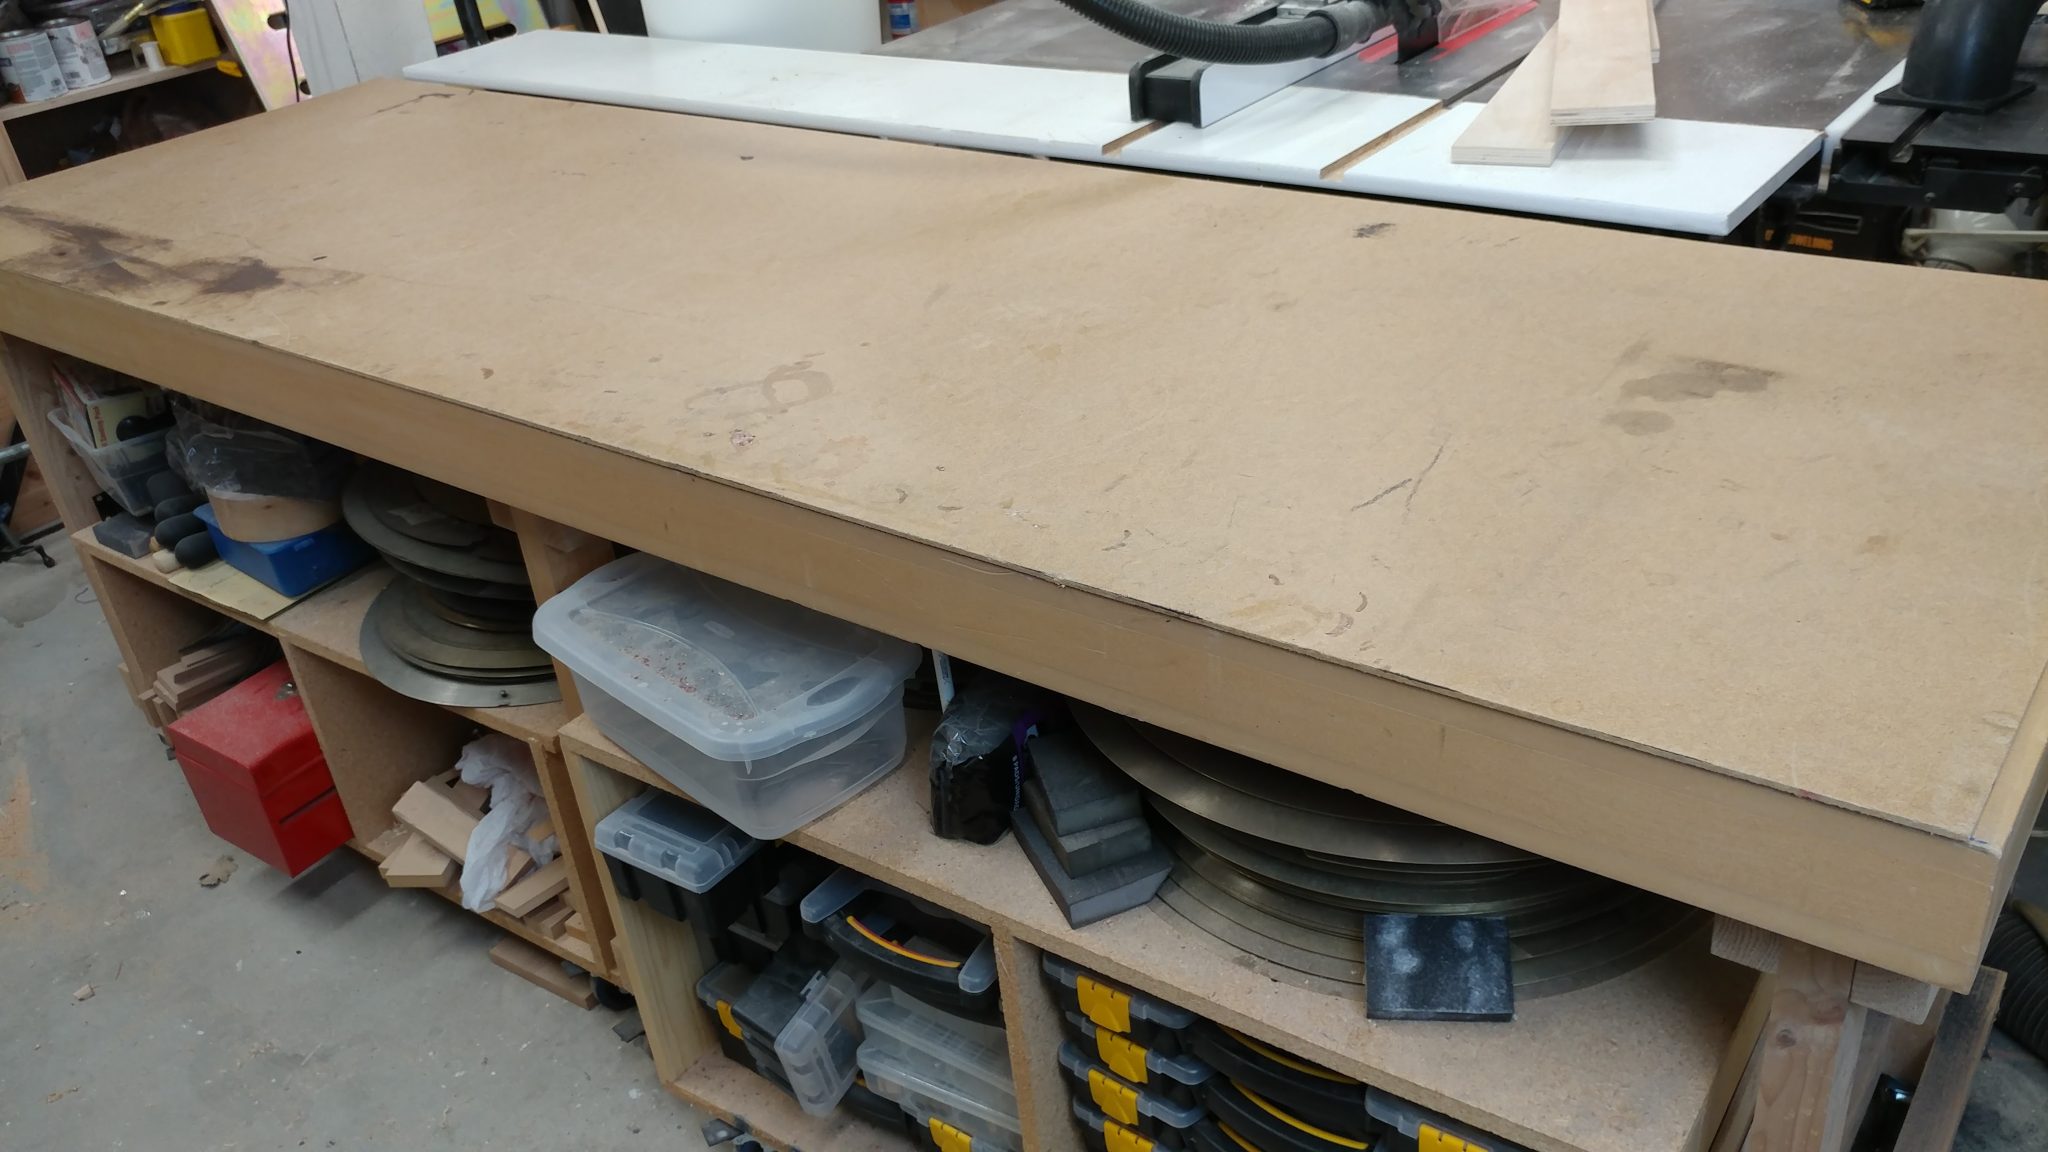
I typically use a sheet of 1/8″ hardboard that sits loosely on top of the torsion box which is made out of MDF and finished with a few layers of polyurethane.
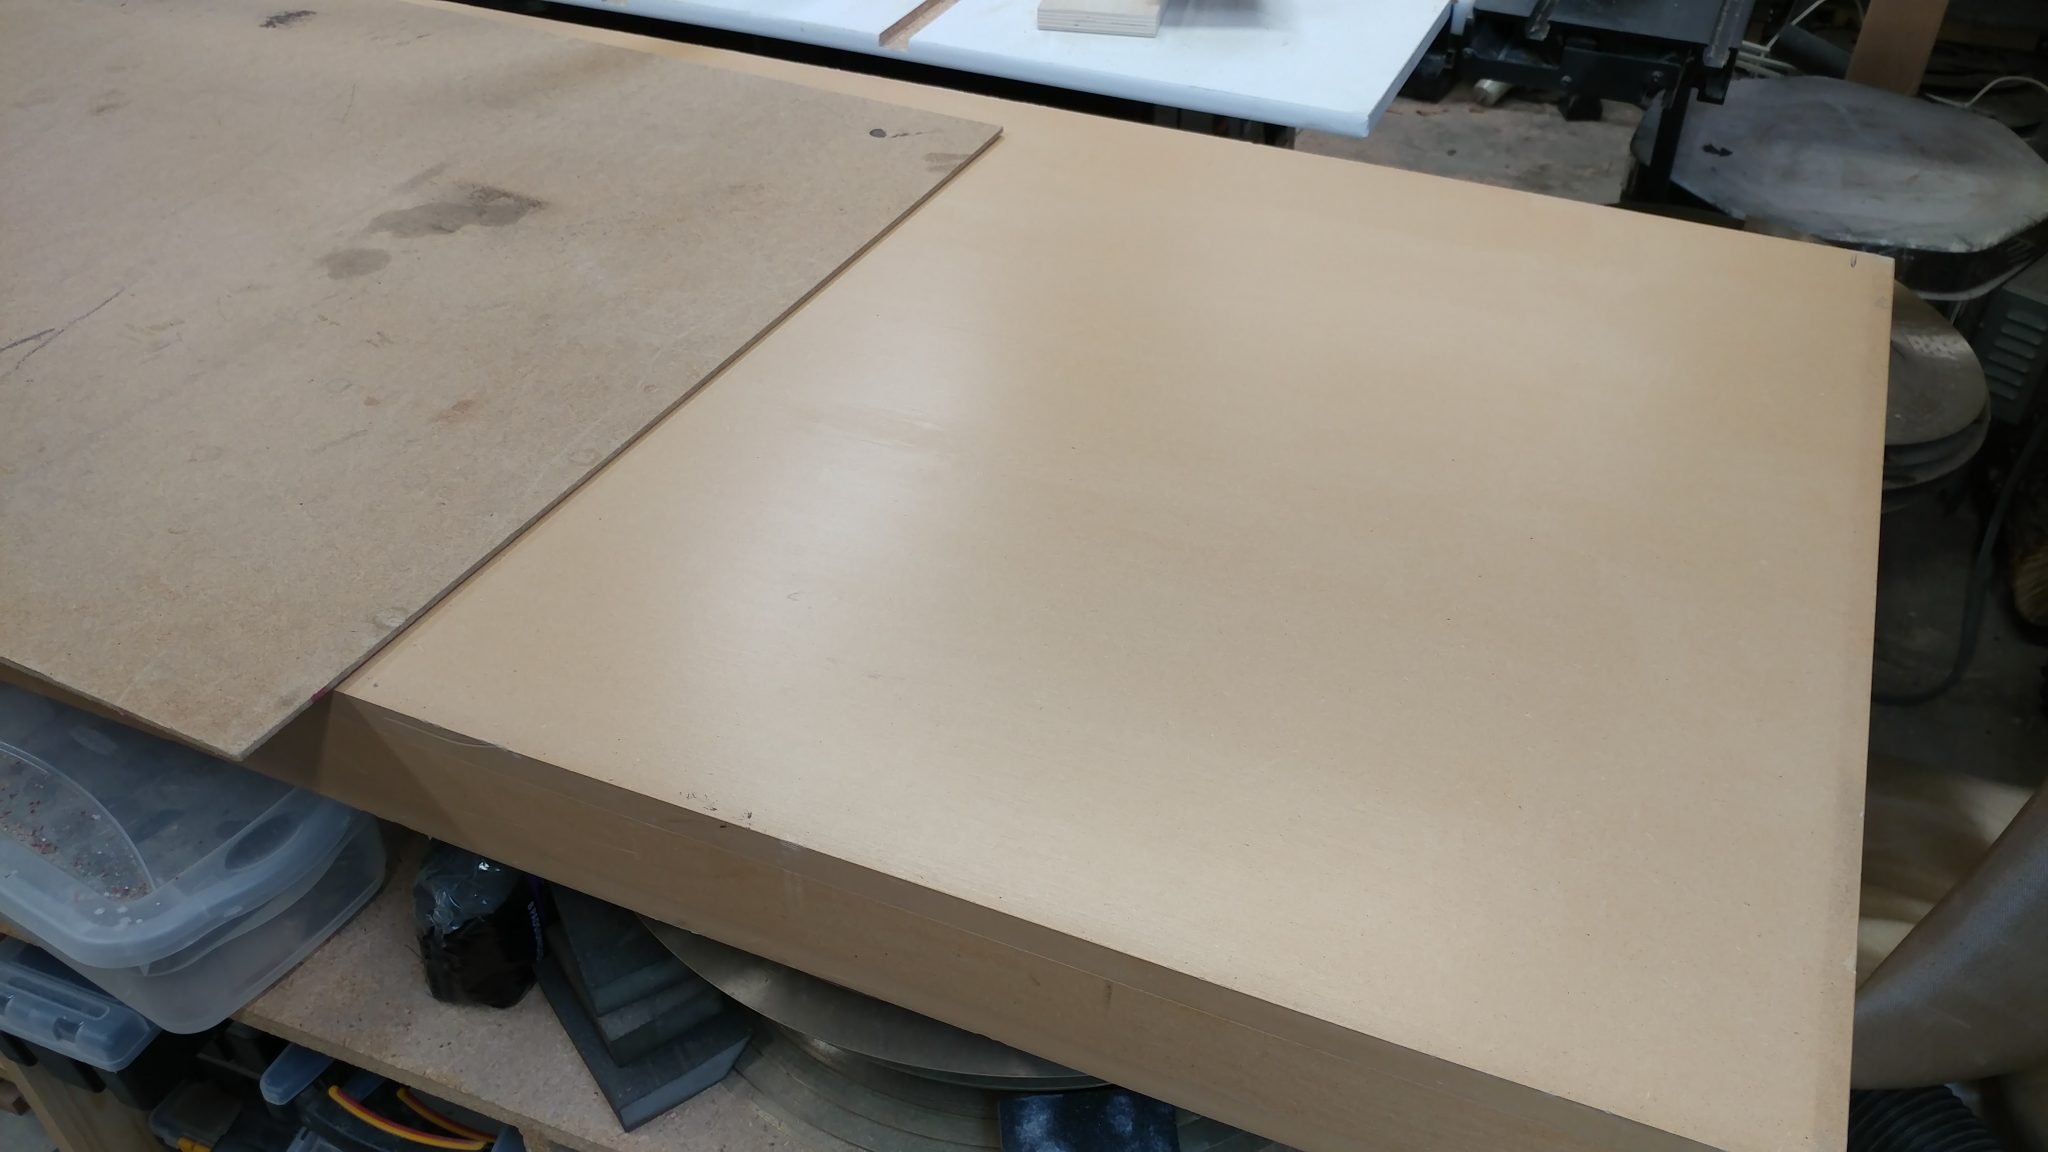
By using a sacrificial work surface I am able to keep the actual bench-top relatively nice looking and flat.

Laying Out and Sizing the New Work Surface
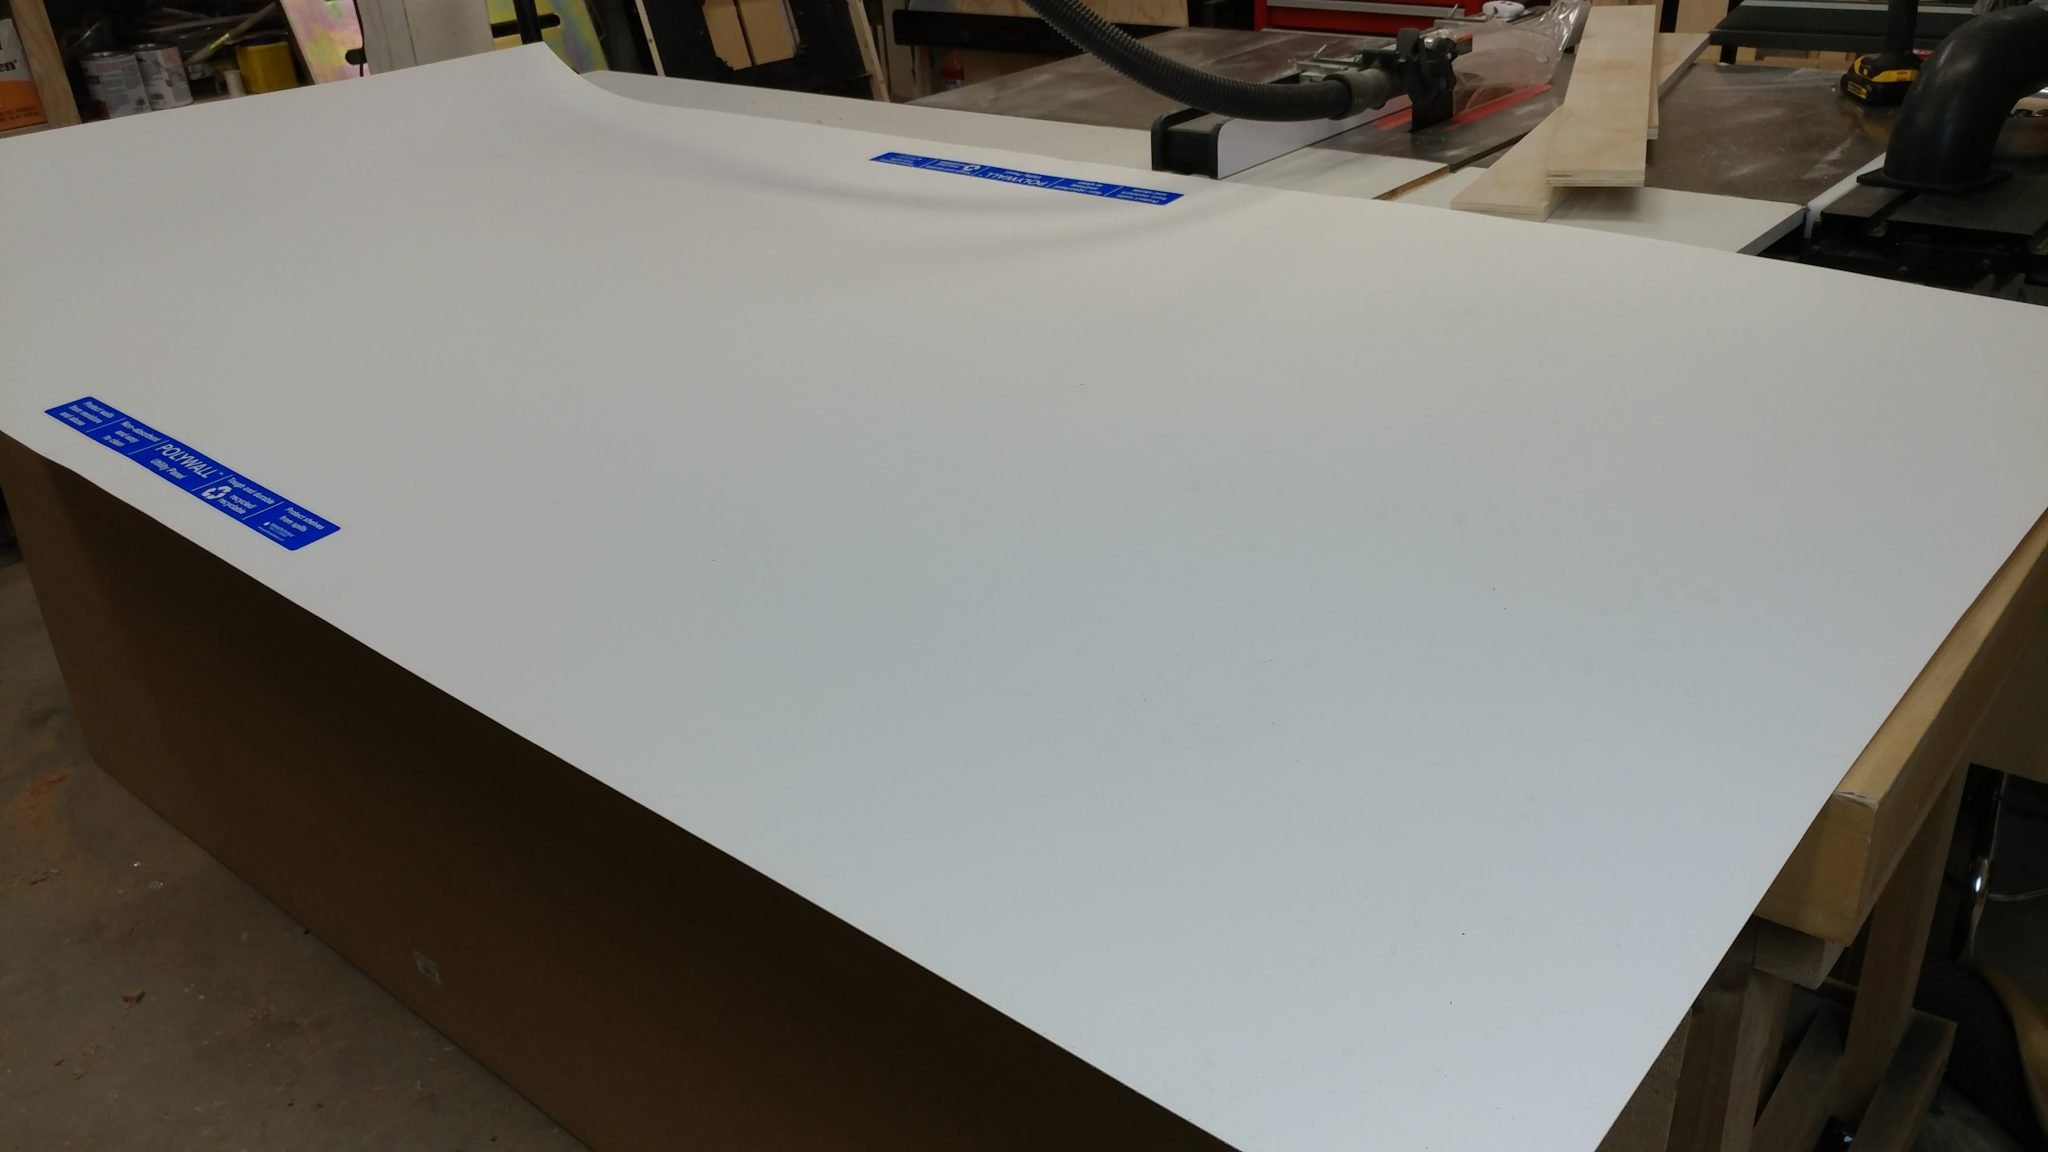
I originally wanted to change things up and replace it with a sheet of hardboard with a smooth white coating, sometimes referred to as markerboard. My reasoning was that glue and paint could be easily scraped off. When I went to the local big-box home store, I saw a material I hadn’t worked with yet and I decided to give it a try.
I got a sheet of PolyWall, which is advertised as being a good way to protect walls. It’s thinner than hardboard and has a slight texture to it. The sheet is larger than my bench-top which measures 30″ deep and 8′ in length. I’ll need to cut this down.
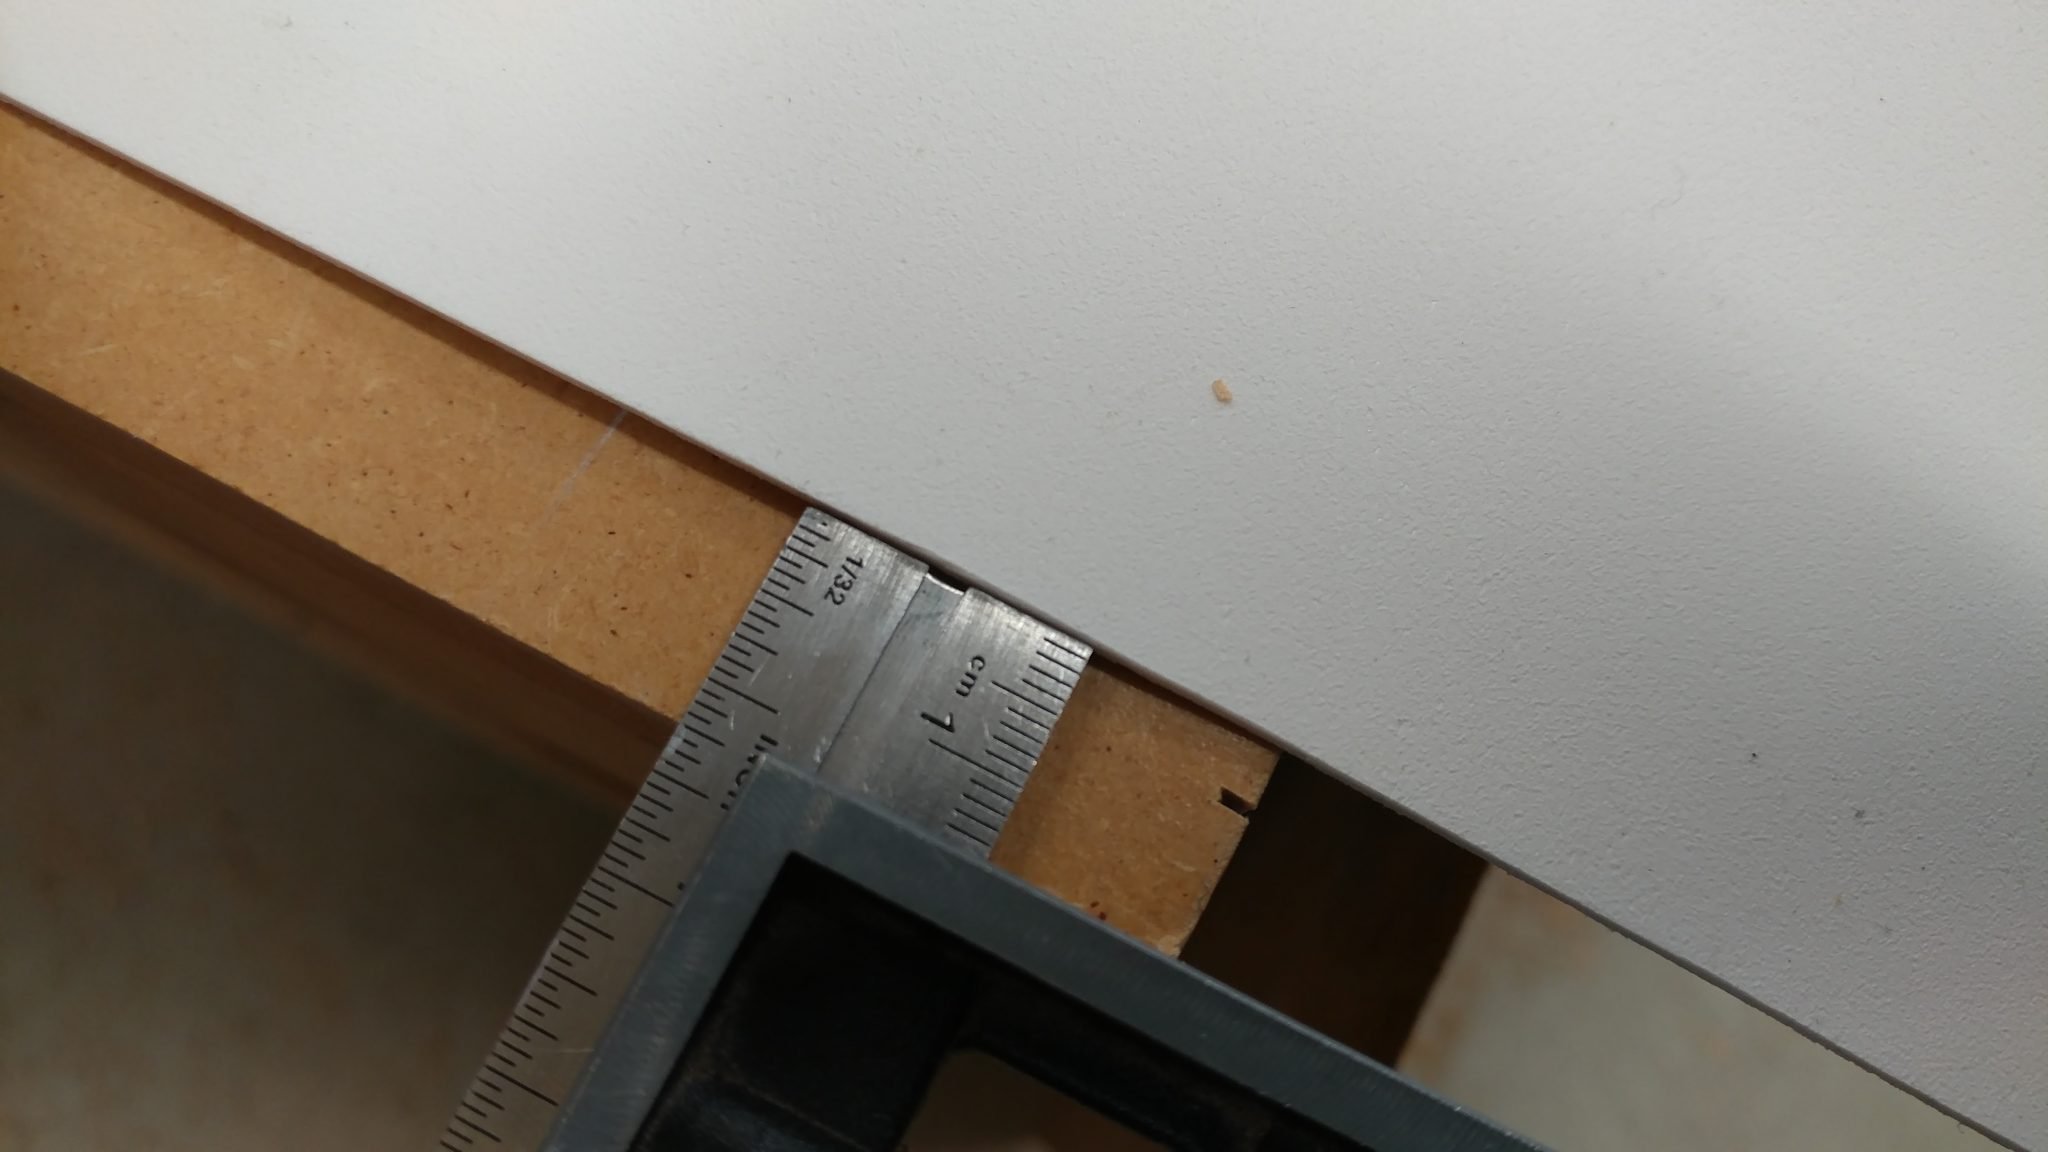
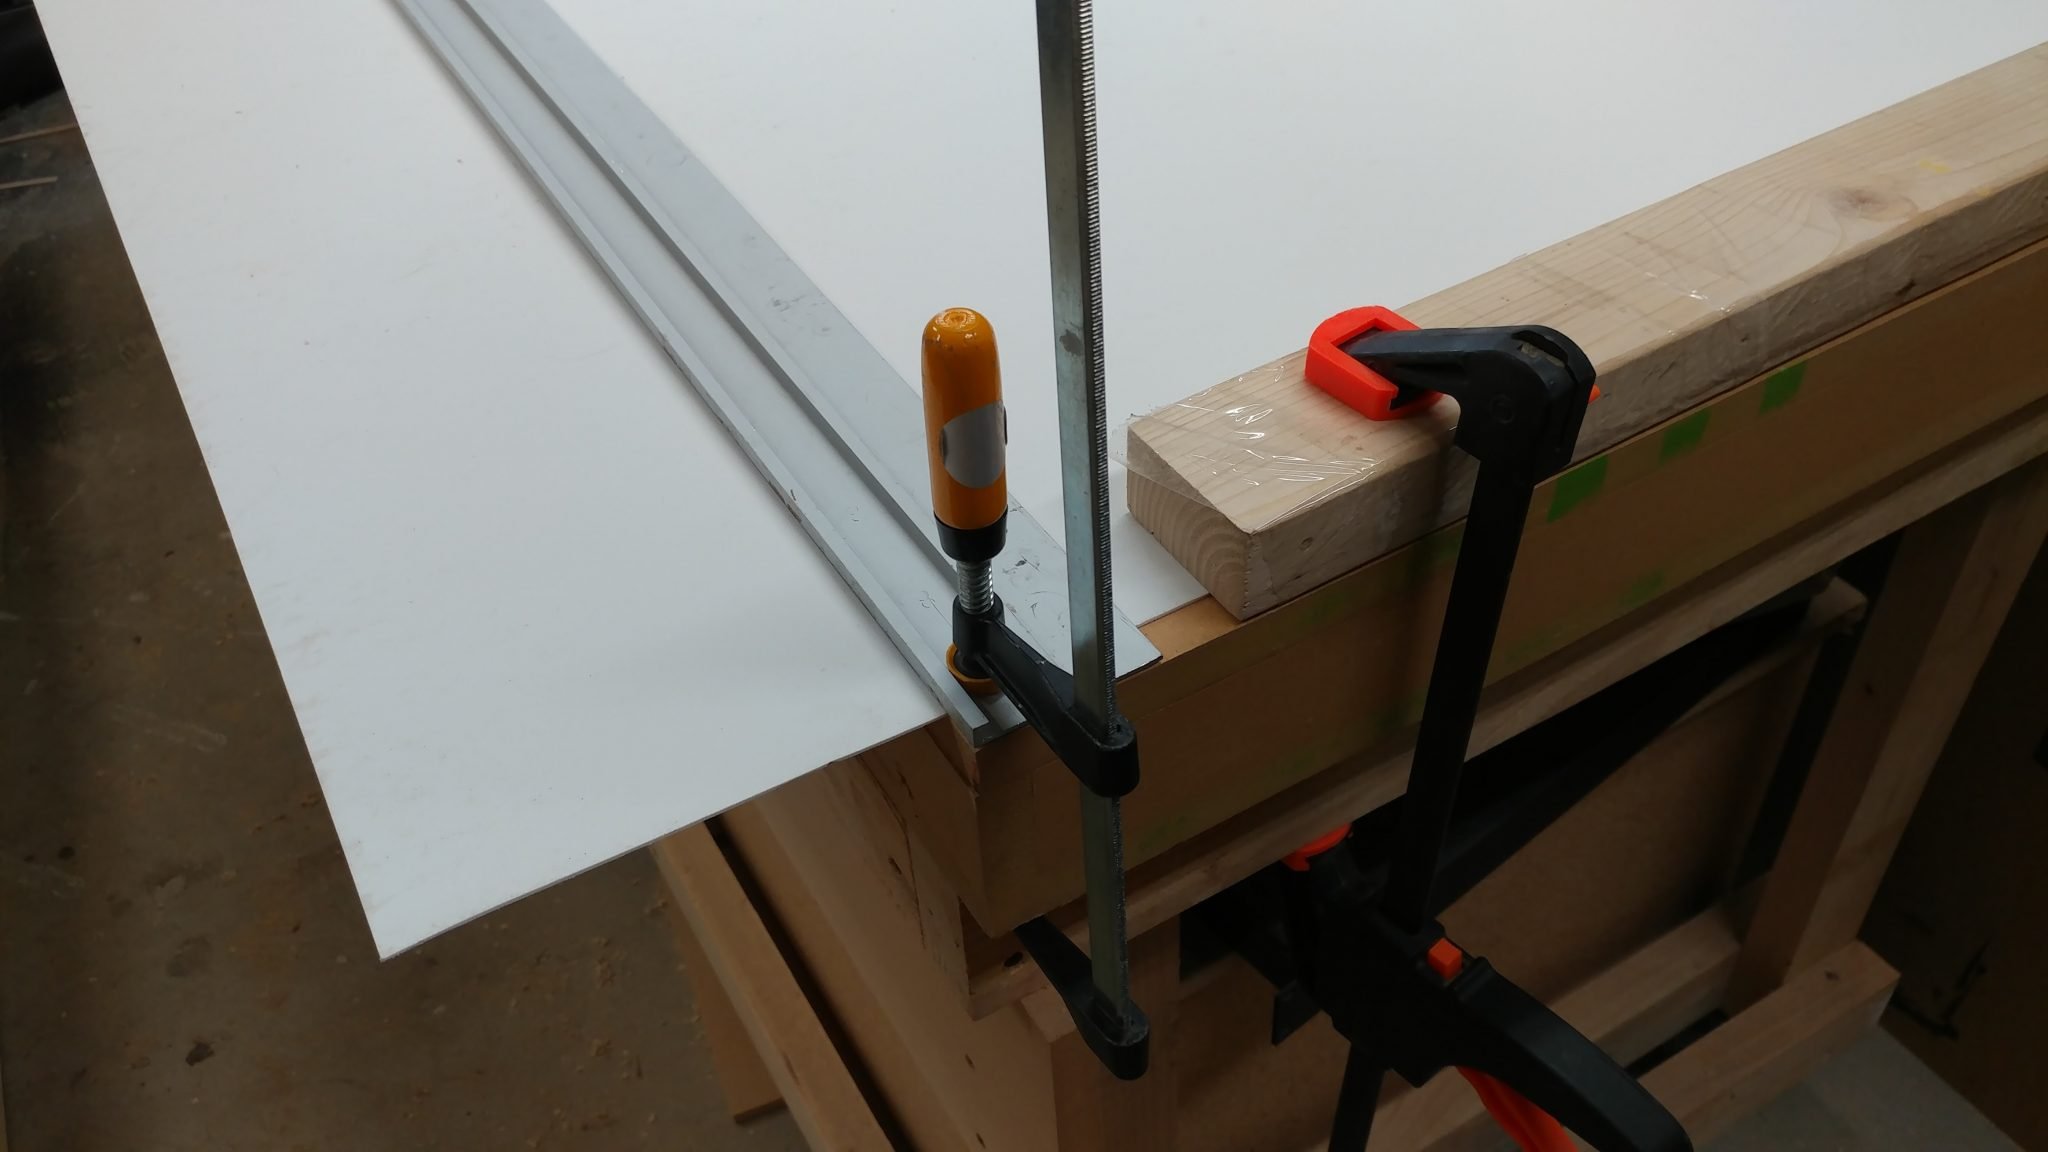
My workbench is actually a little longer than 8′. This will actually help me cut it down as you’ll see in a later step. For now, I leave a little bit of the workbench exposed on each end. To make sure I trim this down squarely, I am using a combination square on one side and set the new work surface the same distance from the edge of the workbench all along that end.
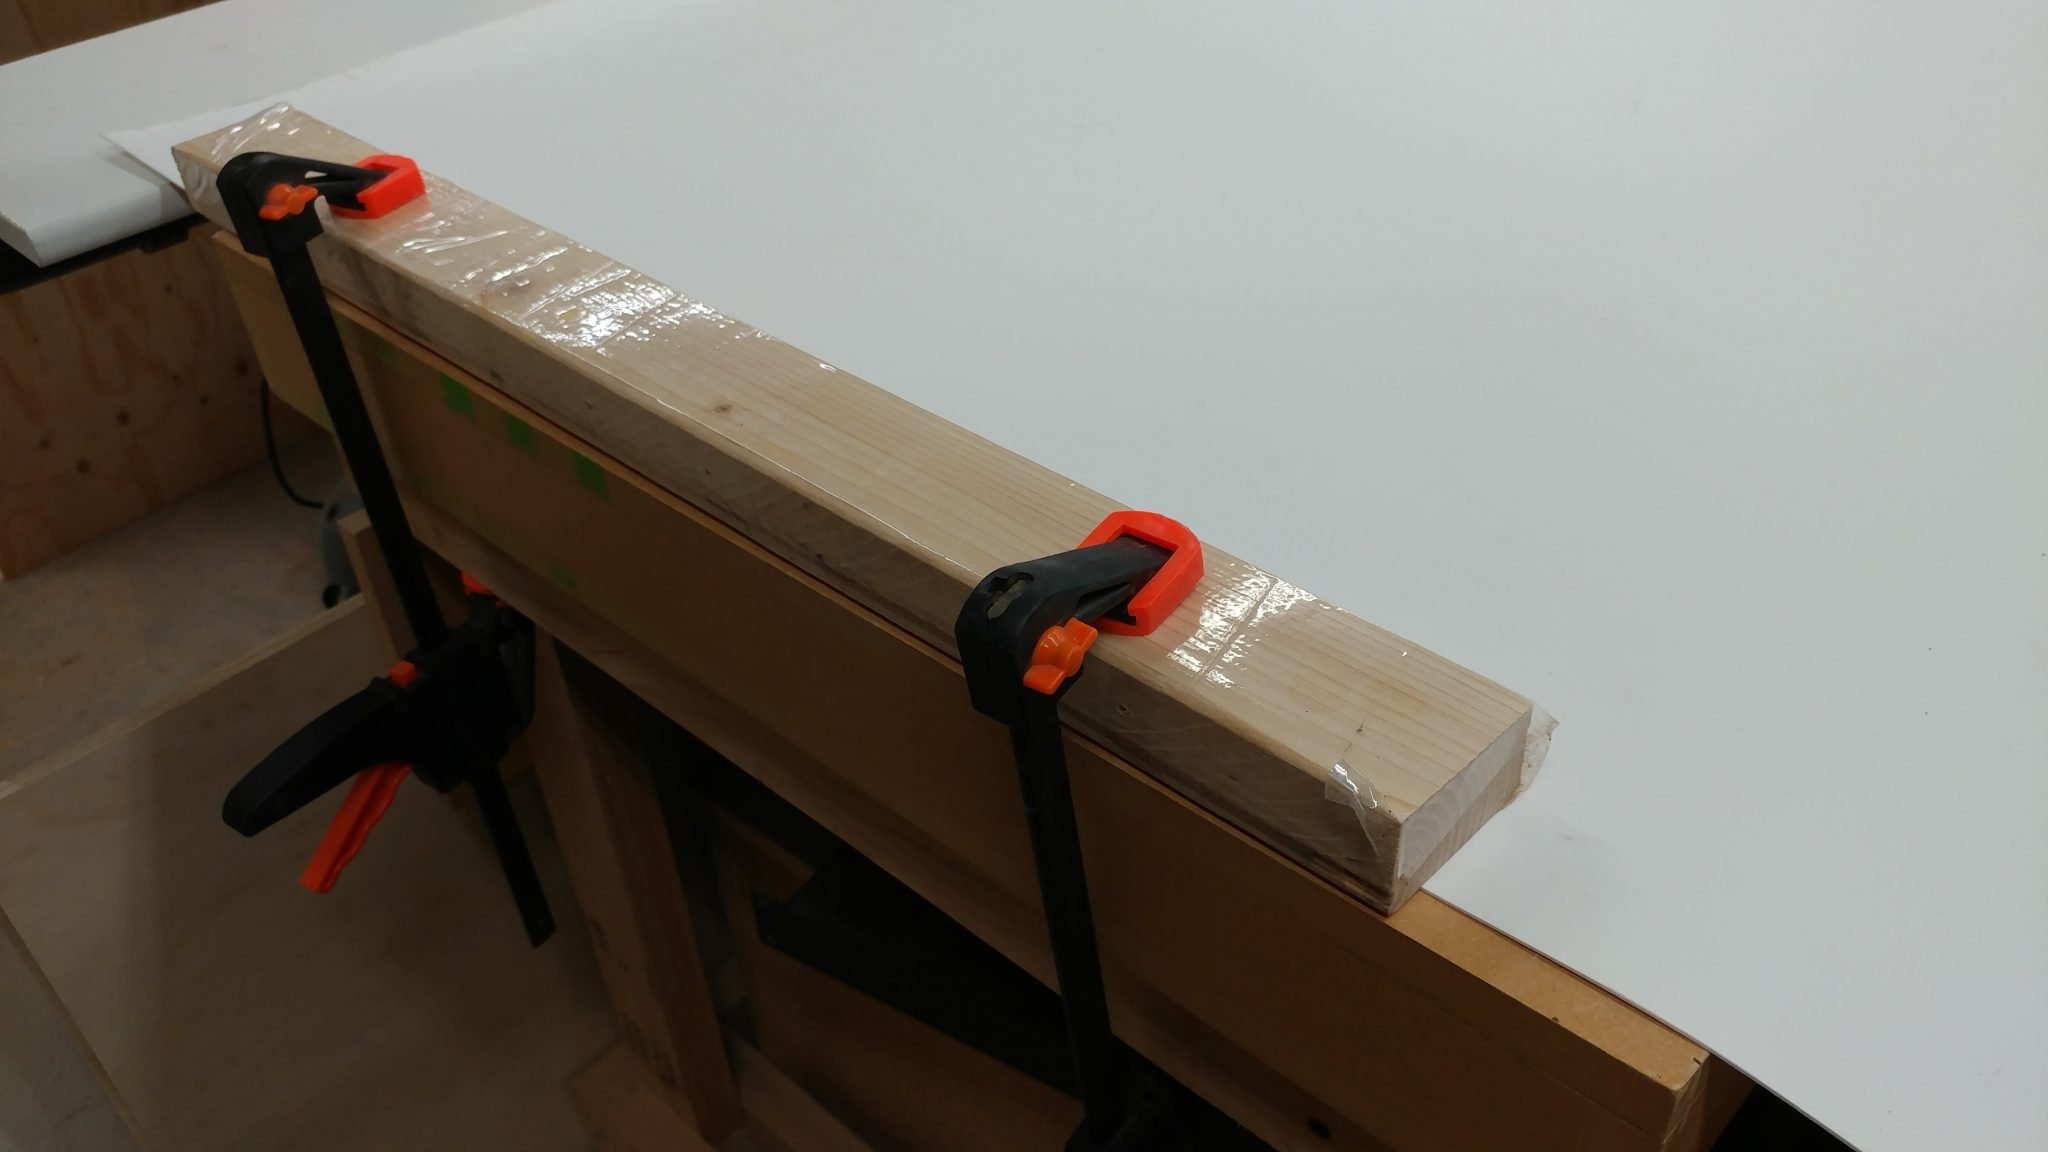
Now I’m using something to hold the new work surface down. For this I just grabbed one of my cauls and clamped it down with some quick release clamps. I did this on each end.
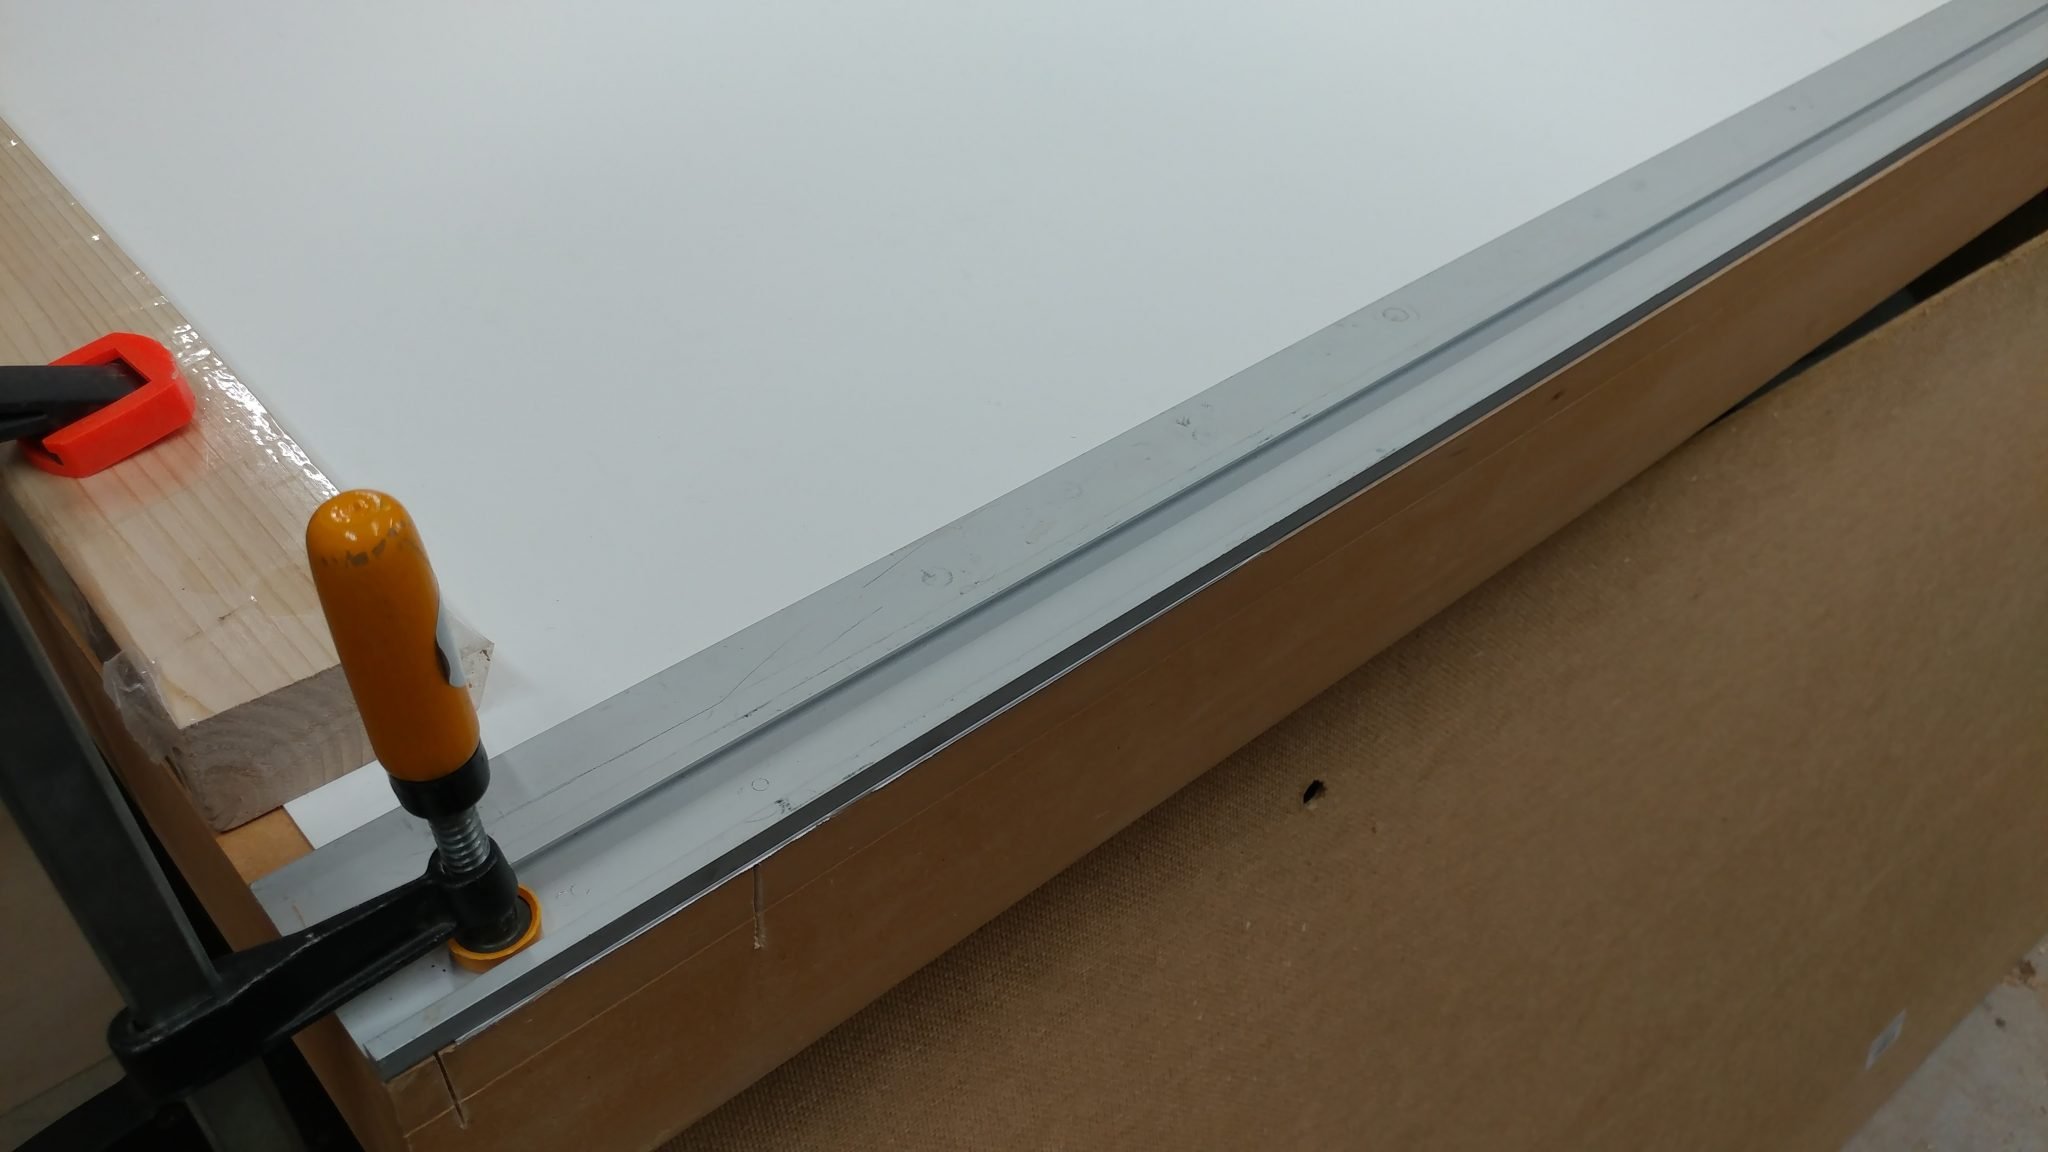
Then I clamped a straightedge along the front edge. This is where it helps to have the workbench stick out from under the work surface. Since my straightedge is also a little bit longer than 8′ in length, I used the workbench to line up the straightedge and clamp it down on each end.

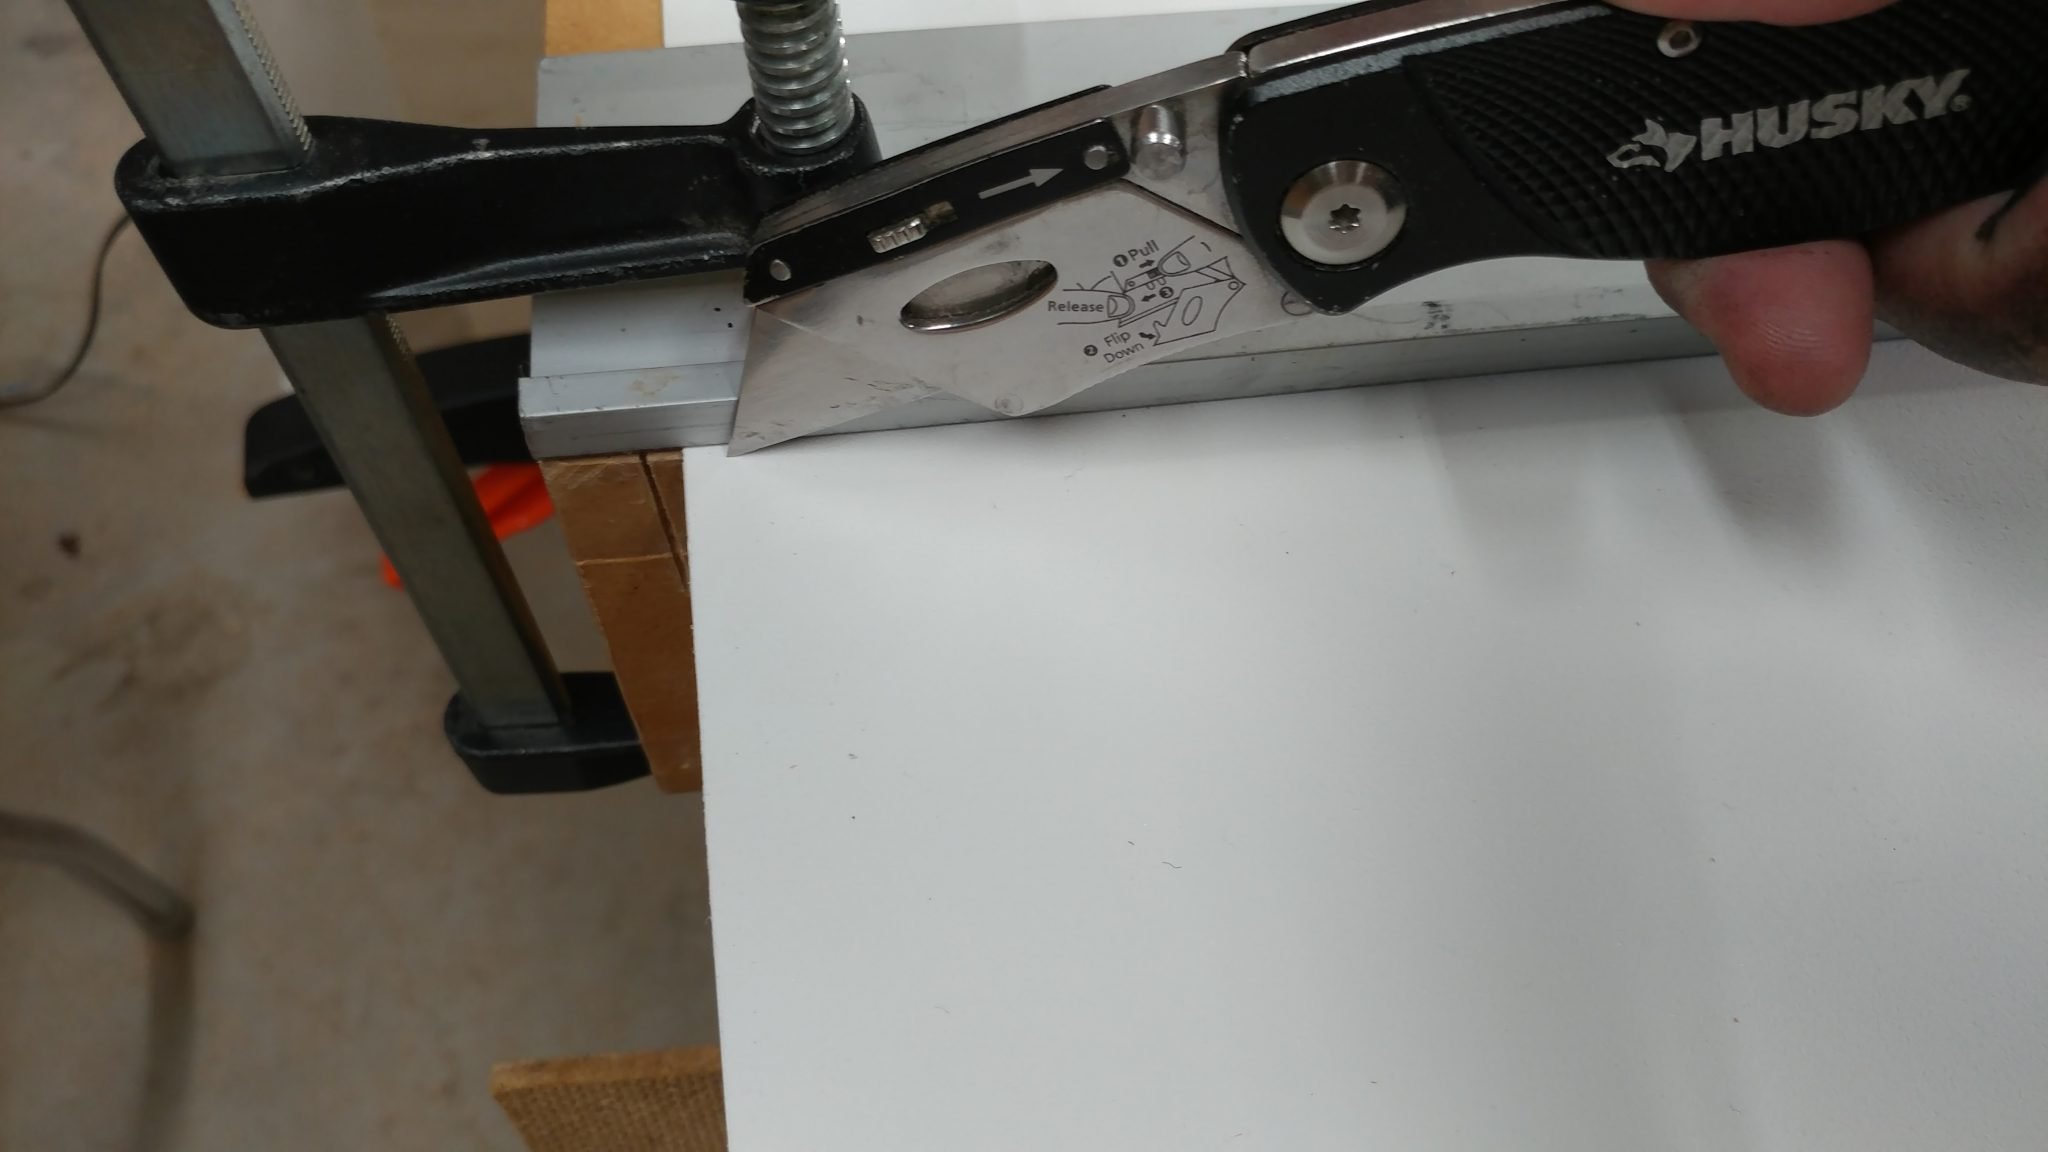
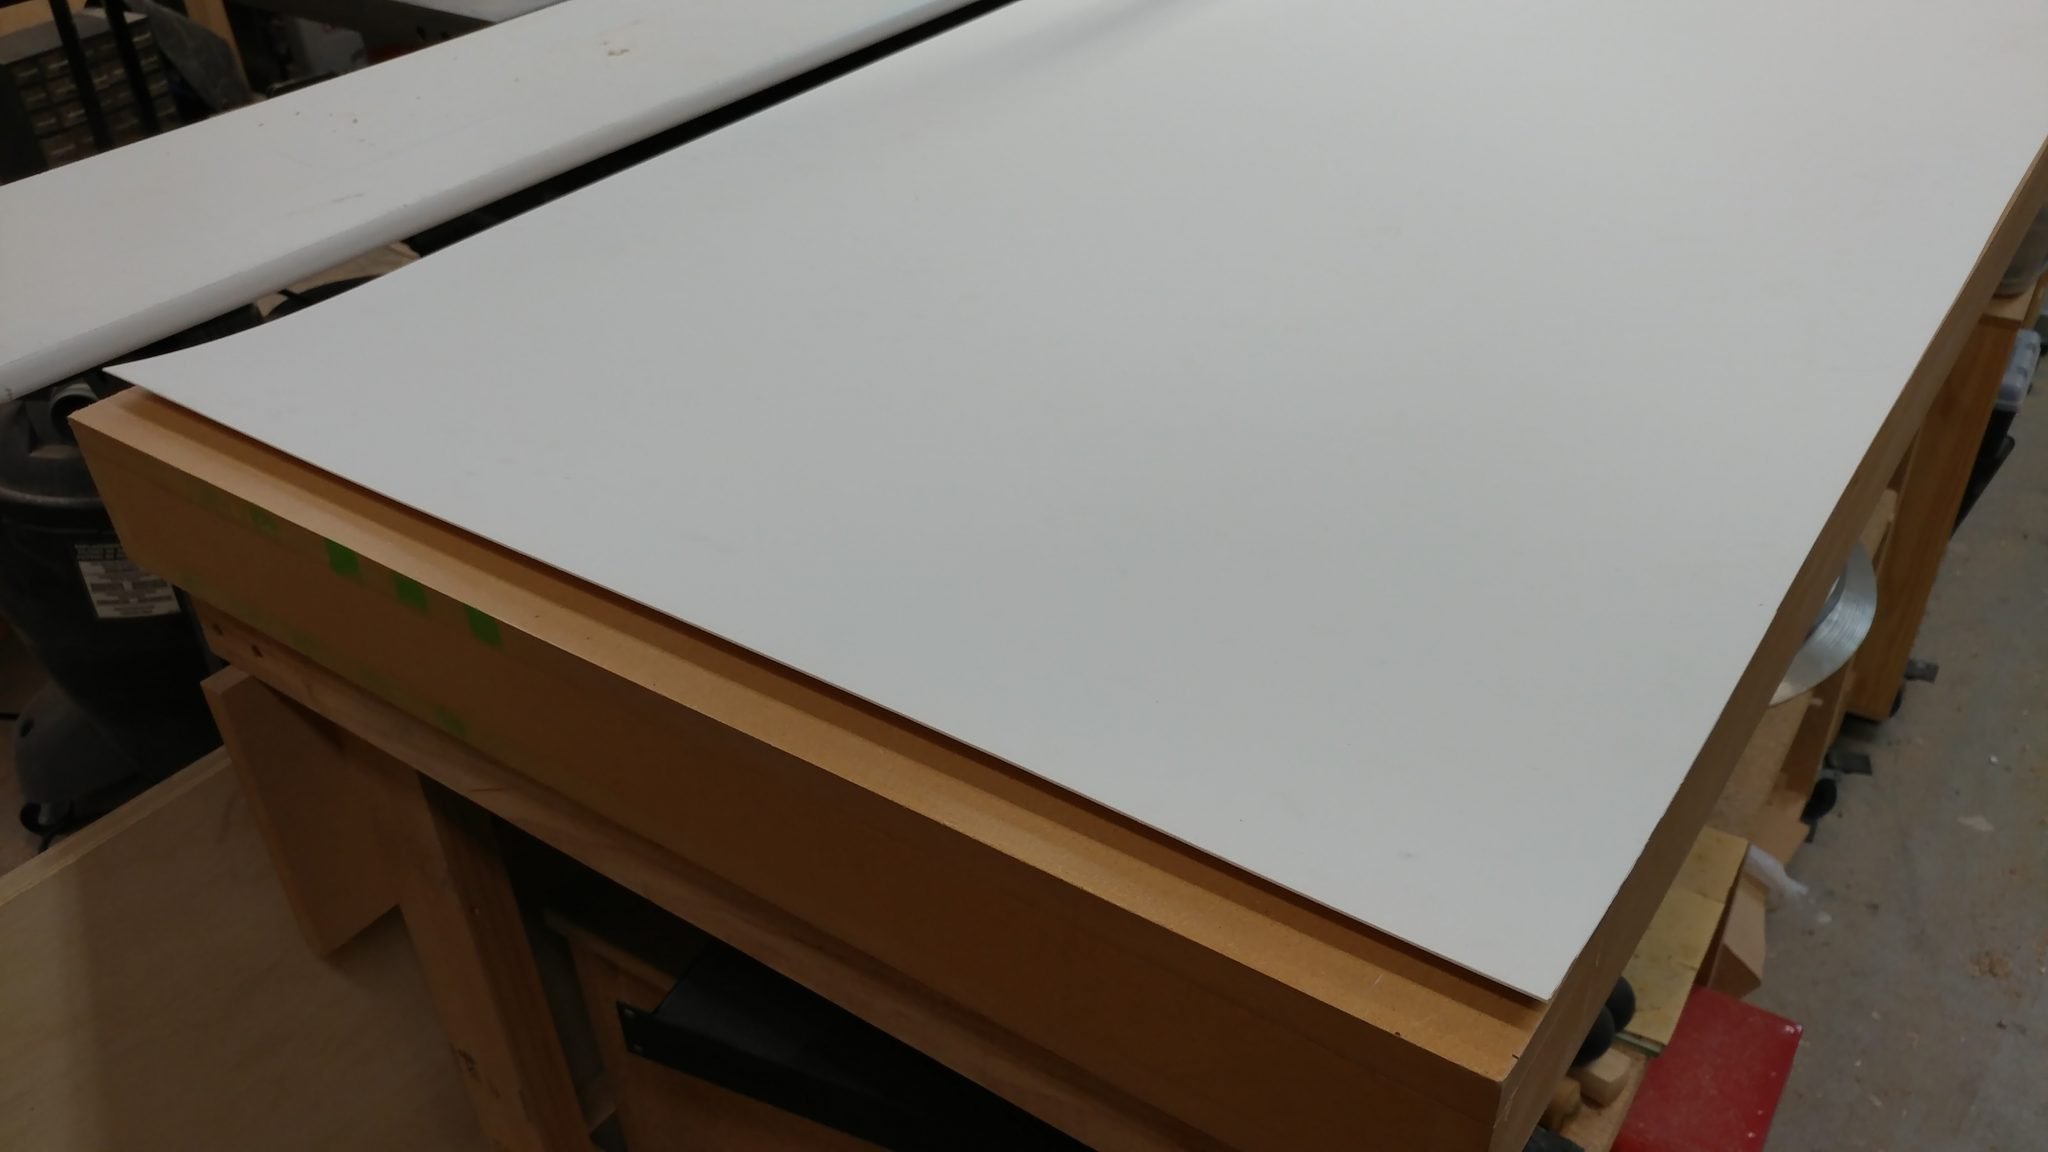
Cutting this material is really simple. I just ran a utility knife along the straightedge to score the material, then repeated a few times until it simply fell away.
The finished edge has a slight burr to it that can be removed with a file, sandpaper, or a scraper.
After that I moved the straightedge to the back of the workbench and repeated the process there. To simplify, I could have just lined up one of the factory edges of the material with either the front or back of the workbench top but I just felt like doing it this way.
Securing the New Work Surface
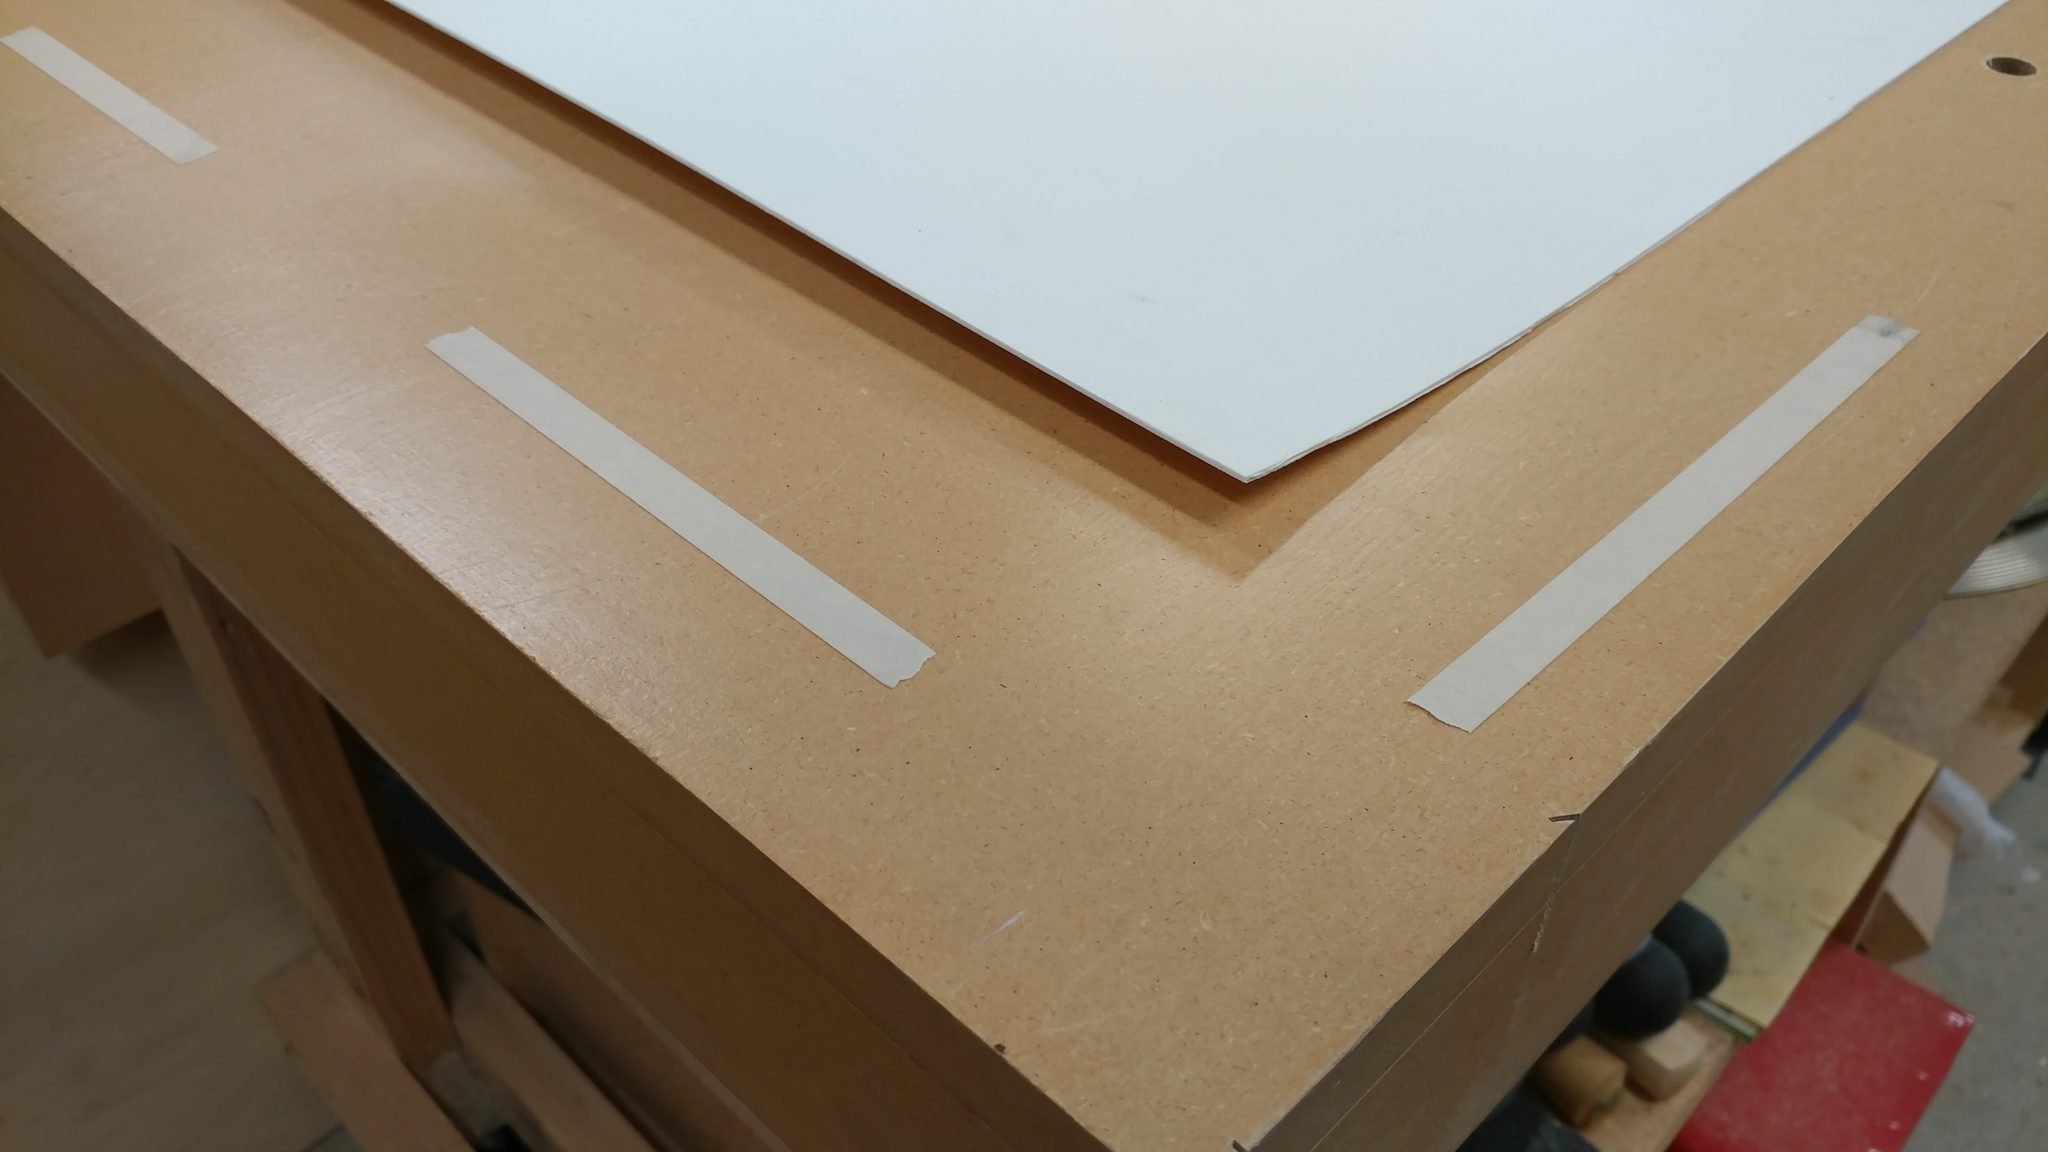
That’s all the cutting I’m going to need to do. As you can see, the material likes to raise up at the far edges. This is because I had to roll up the sheet to fit in my car when I bought it and it tends to have a memory to it that fades with time. I can fix this by simply letting the sheet lay on the workbench for a few hours.
To keep the sheet from slipping, I am applying some strips of double-stick tape between the benchtop and work surface.
Now we have it.
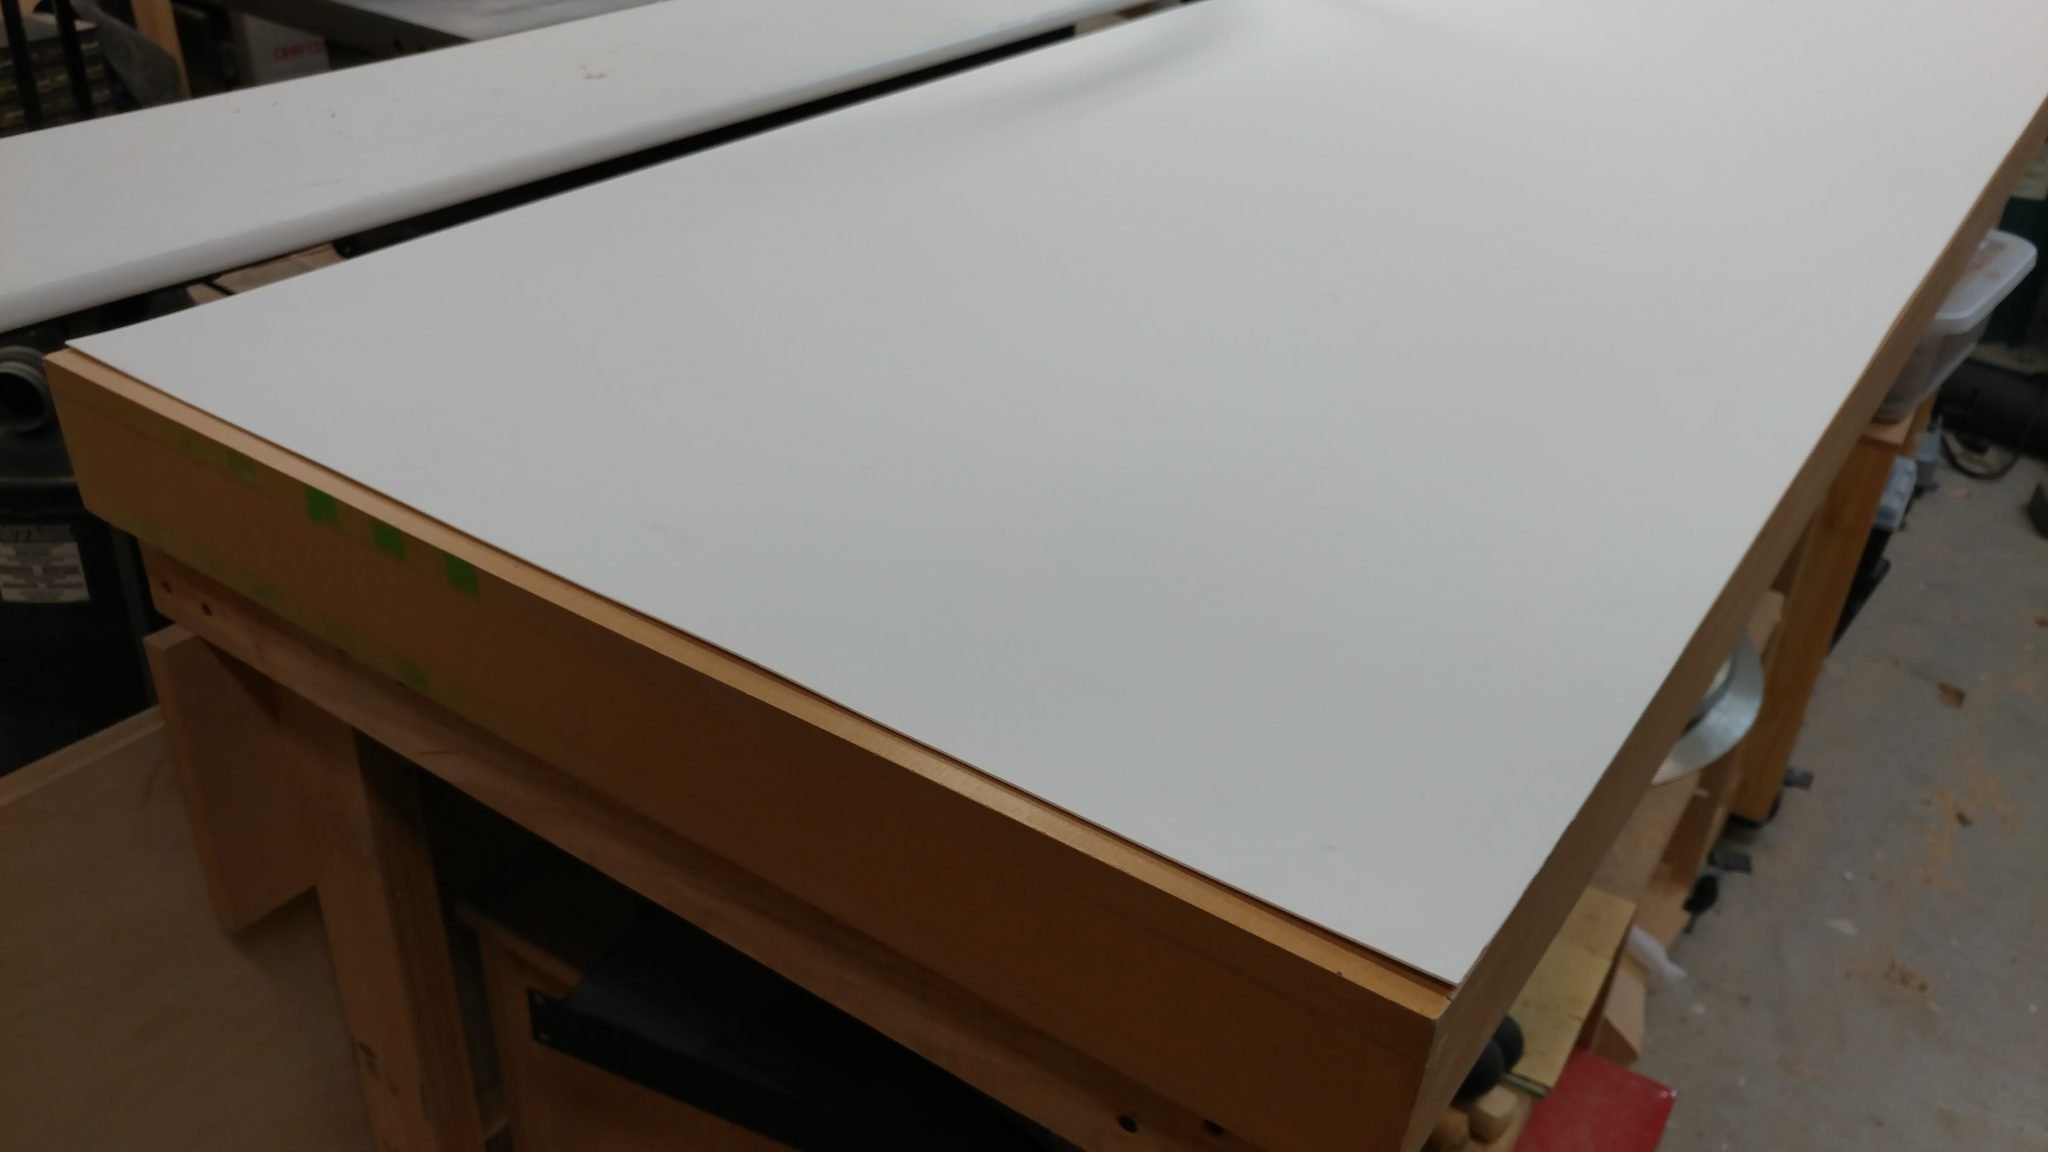
I’ve never used this material as a work surface before. I’m going to test it out for a few months under normal use and report back with how it works. So far, I like the slightly textured surface since it causes the material to glide across it much easier. I’m mostly concerned with the toughness. It seems pretty tough but awfully thin. I’ll let you know how this holds up.
Have you ever used this material for anything? What do you put on the top of your workbench? Share it with us in the comments below.
UPDATE:
I’ve tested this for almost a year. Read my final opinion here.
I’m just setting up my shop now so will be interested in how that material works out. Is that a Sawstop with its over head dust collector or a different brand?. Looking for a decent table saw with good dust collection capabilities and sawstop is a little more than I want spend.
Yeah, it’s the SawStop overhead dust collection system. It works well but just like every other system, it isn’t perfect. It’s great for the airborne sawdust that you get when cutting MDF. If you’re just shaving a little bit off the edge of a board then the blade guard can’t make a good seal around that side so some of the sawdust can escape that way. Still, it’s better than nothing. Even without the overarm dust collection system, the SawStop has much better internal dust collection than most table saws on the market.
Do have a cabinet sawstop or the contractor series?
It’s the Industrial 3 HP. Some of my other articles show modifications I’ve made to it. More are on the way.
What type of saw are you wanting to get?
Really wish I could afford a sawstop. Looked at the contractor series, but after seeing reviews about the cheap side tables (can replace for $ 180) and looking at the dust collection under saw, and having to upgrade fence another $200. I’m over $2000 with a not very efficient dust collection. I’m just retired and just getting into woodworking as a hobby. So I’ll have a number of tools to buy as I see where this hobby takes me. So I’ve been looking at hybrid lines. Baileighs hybrid came up when I was googling saws. When I was looking into their company I find out their headquarters is only 85 miles from me ( they only sell on line no store fronts). I take a run up there to check them out. Wasn’t empressed with sales/tech. Not much woodworking experience and when asking about price if I picked up saw there he wouldn’t commit to a solid price but said he would check and get back to me. That was four days ago and no response. So I will be crossing them off my list. Could only imagine how service after sale would be. Was looking at the Laguna Fusion( same price range) and I’m pretty sure they’re the exact same saw. I’m not in a real big hurry to purchase because I’m just starting to build my shop. But if a sale pops up I want to be ready to pull the trigger. Well there’s your short answer of what saw I’m looking at. LOL
Pingback: News – January 8th, 2018 – Outfeed surface - TrentDavis.net