12" Wuhan "Lion" cymbals cut down to 8 1/4" hand cymbals.

Cutting down a pair of Wuhans

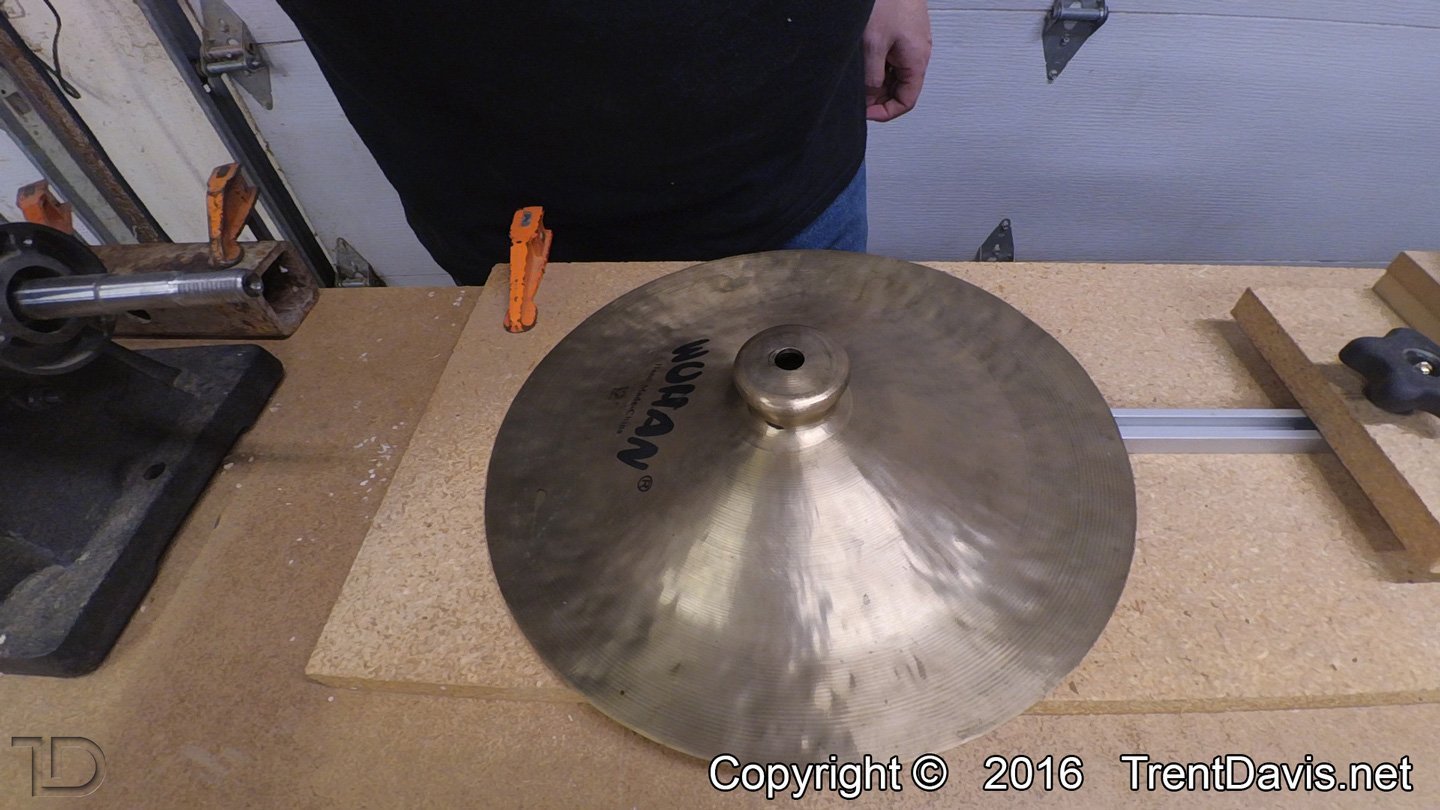
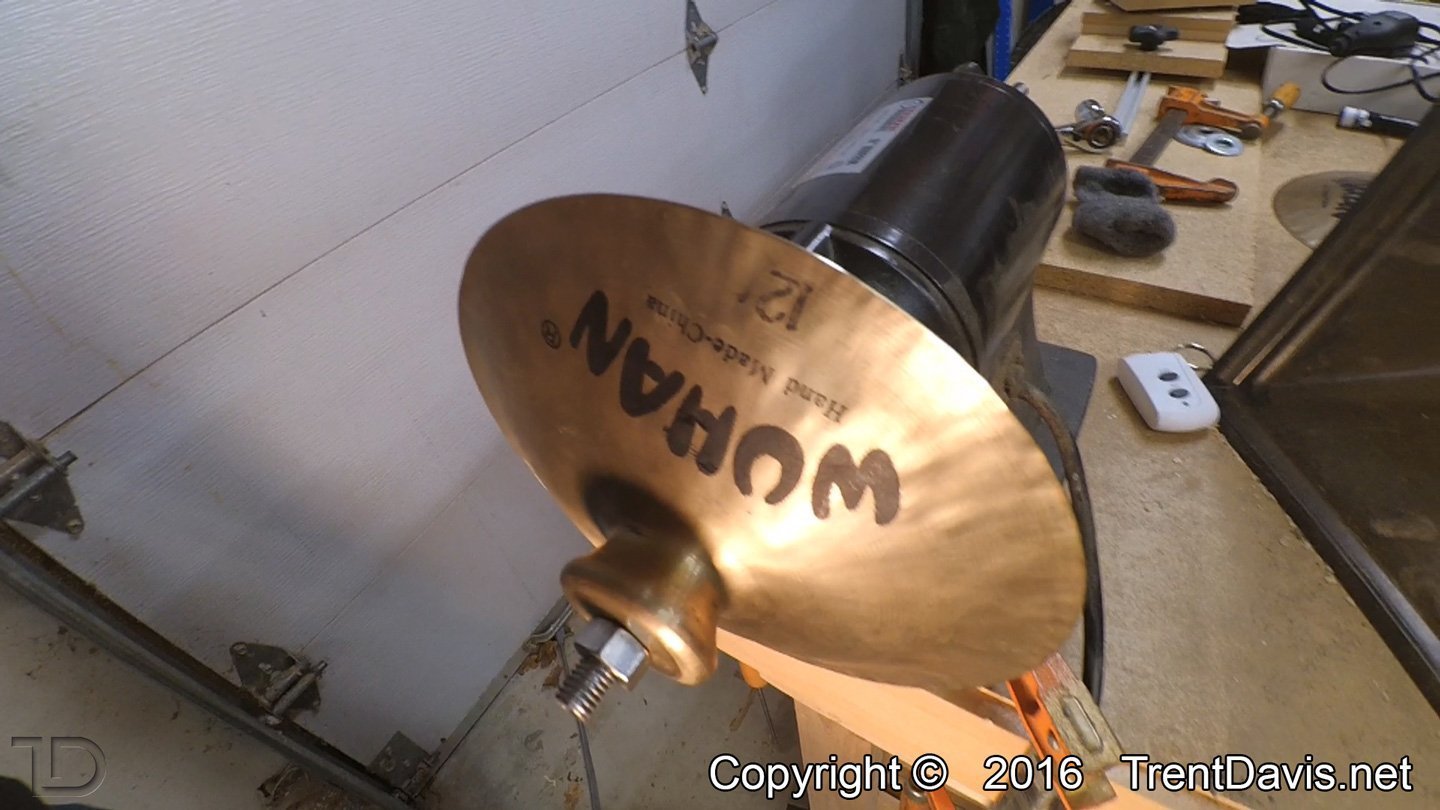
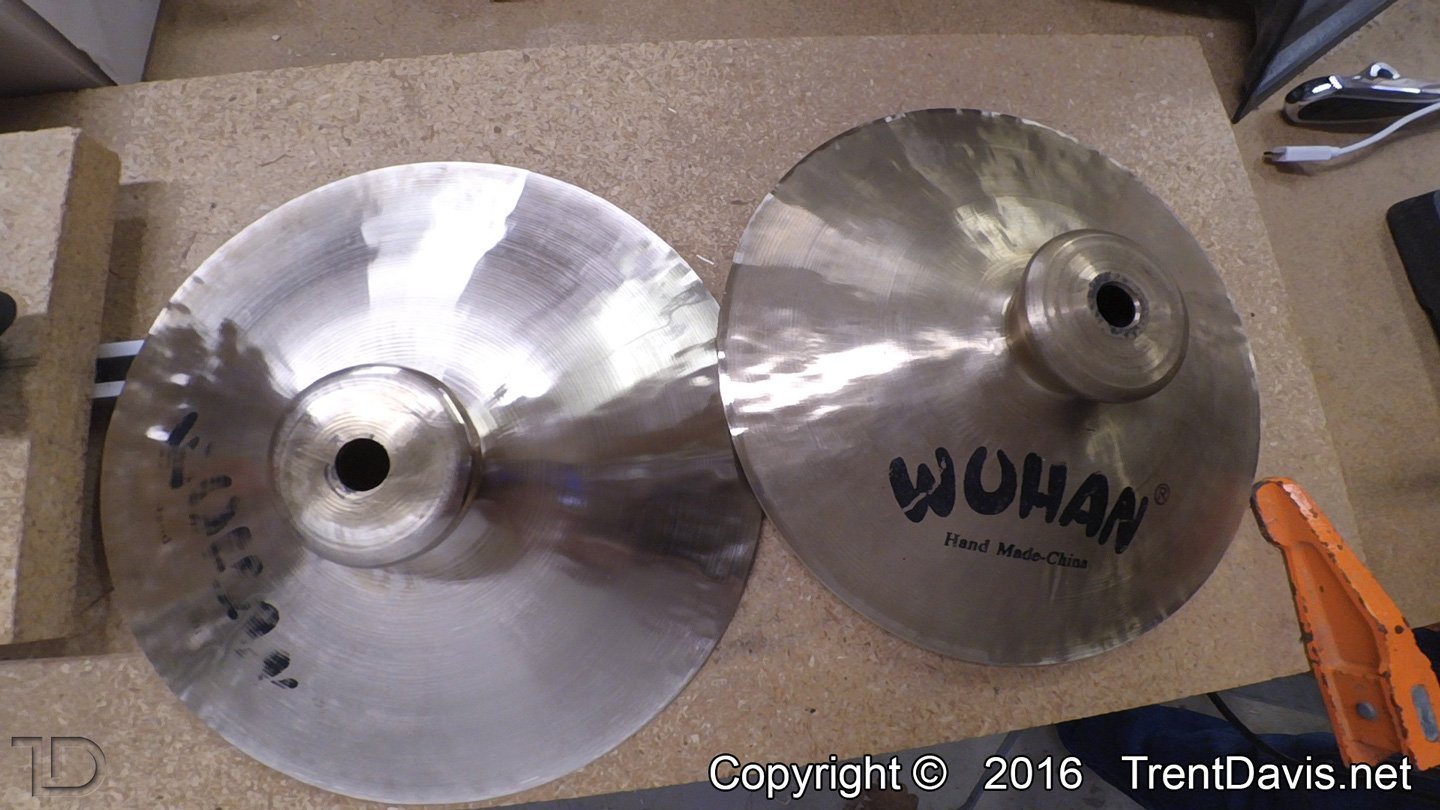
I was asked by a friend of mine to cut down her pair of 12″ Wuhan China (or “Lion” cymbals, as they call them) into a smaller set to use as hand cymbals.

Fig. 1 - One of the unaltered Wuhan "Lion" cymbals.
Fig. 1 – One of the unaltered Wuhan “Lion” cymbals.


There was one slight problem.  Years ago when I first got into repairing cymbals I took my own version of the Hippocratic oath where I swore to “do no harm” to a set of undamaged cymbals.  I was a little conflicted but I figured that since these cymbals aren’t for me and that the owner really wanted this to be done, I was okay to do this procedure.  Plus, she had been using these as a set of hand cymbals already and they sounded truly awful.  Therefore, I was only making improvements.  Much like adding rivets to a cymbal.

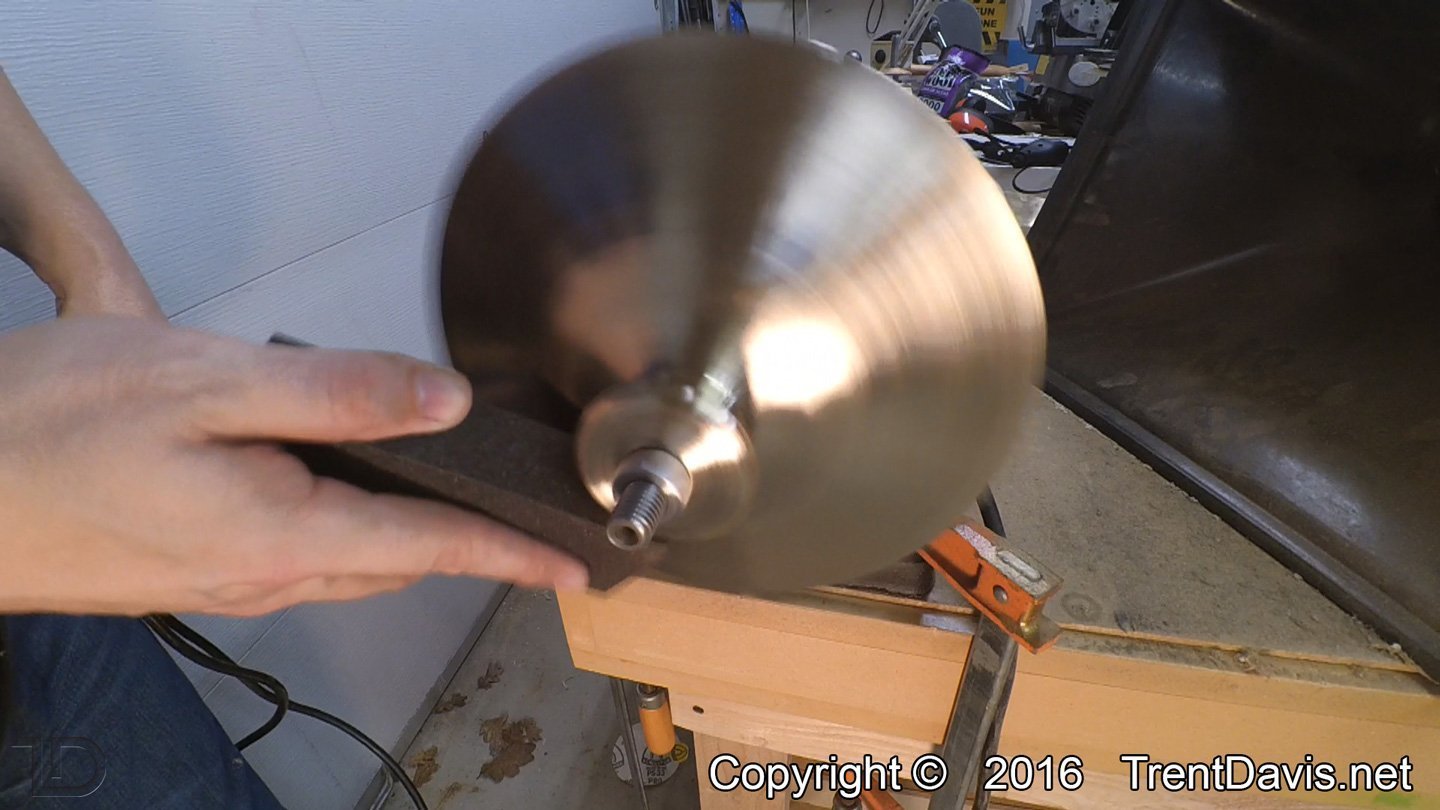
I started by putting both cymbals on my cutting jig and finding the best diameter to use.  I wanted to retain as much of the cymbal as I could but eliminate the flare.  Once a diameter was decided upon I started cutting.

Fig. 2 - The first cymbal on the cutting jig.
Fig. 2 – The first cymbal on the cutting jig.
Fig. 3 - Getting close to finishing the cut on the first cymbal.
Fig. 3 – Getting close to finishing the cut on the first cymbal.


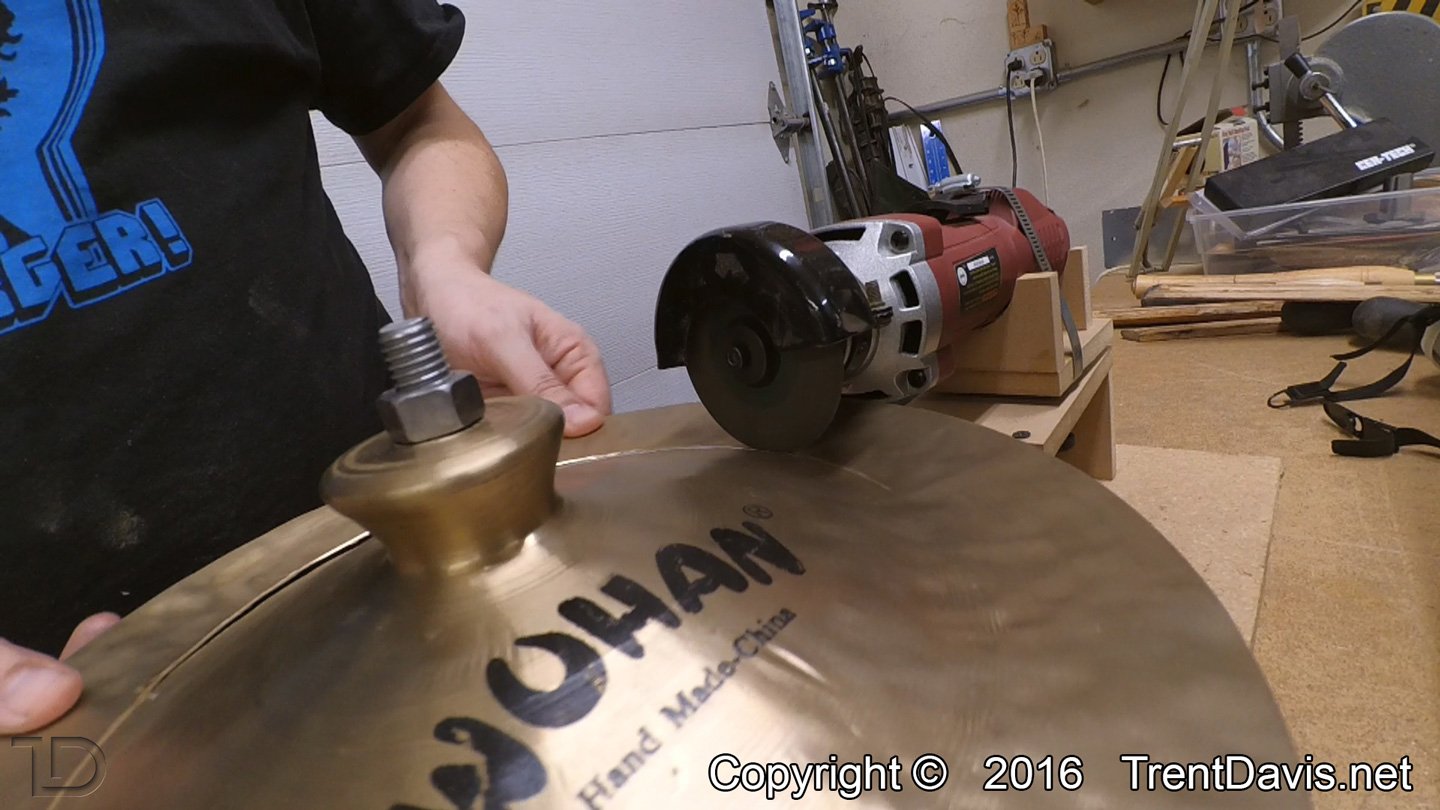
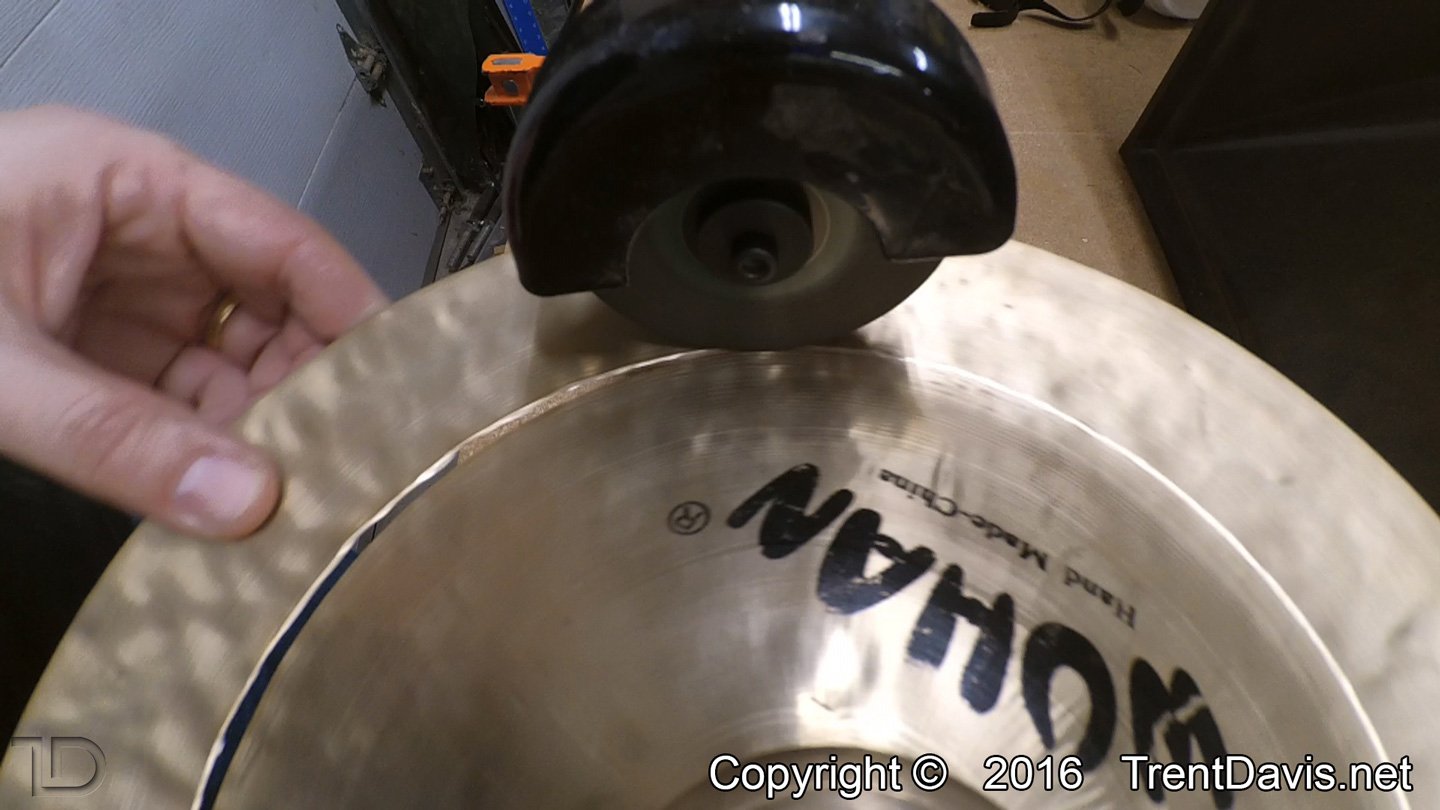
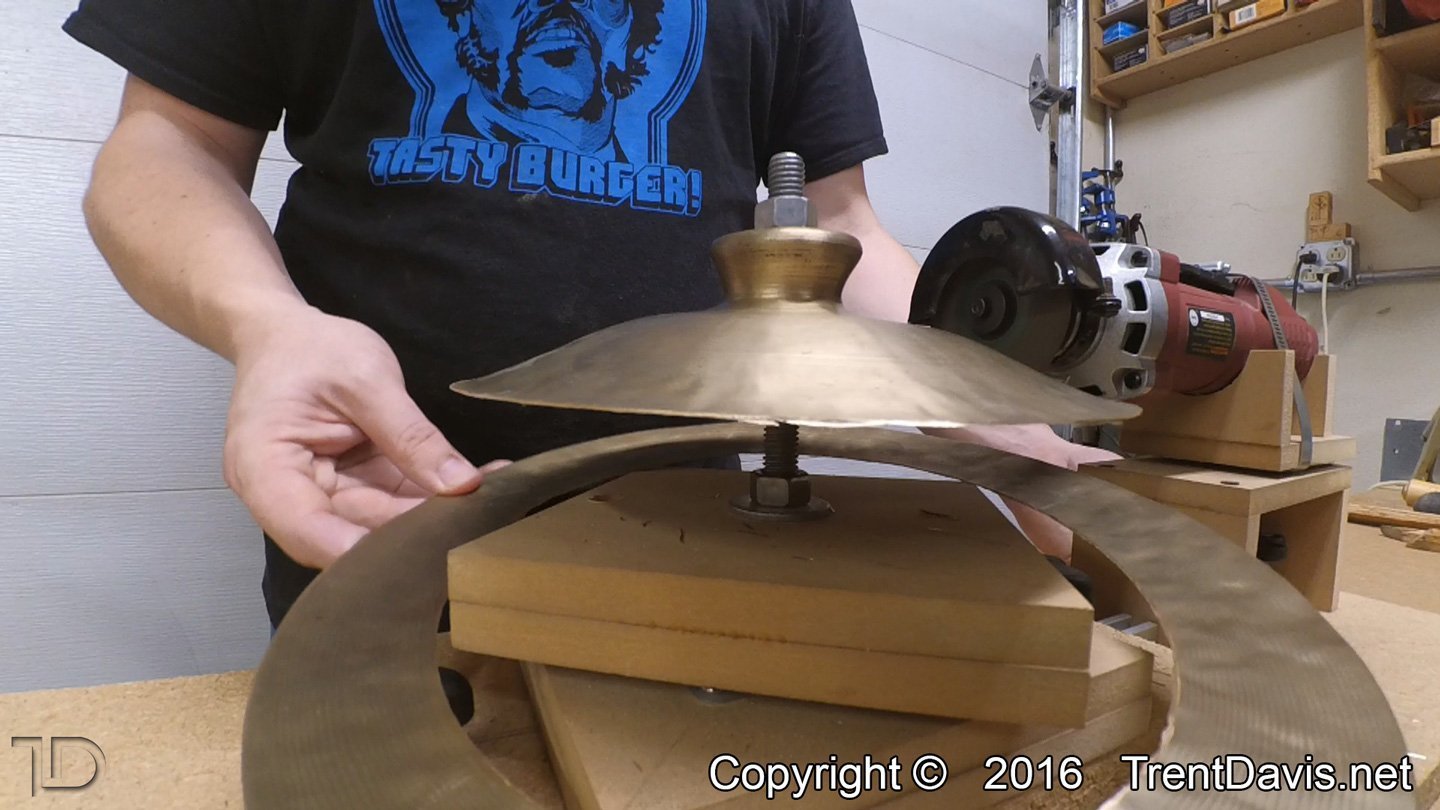
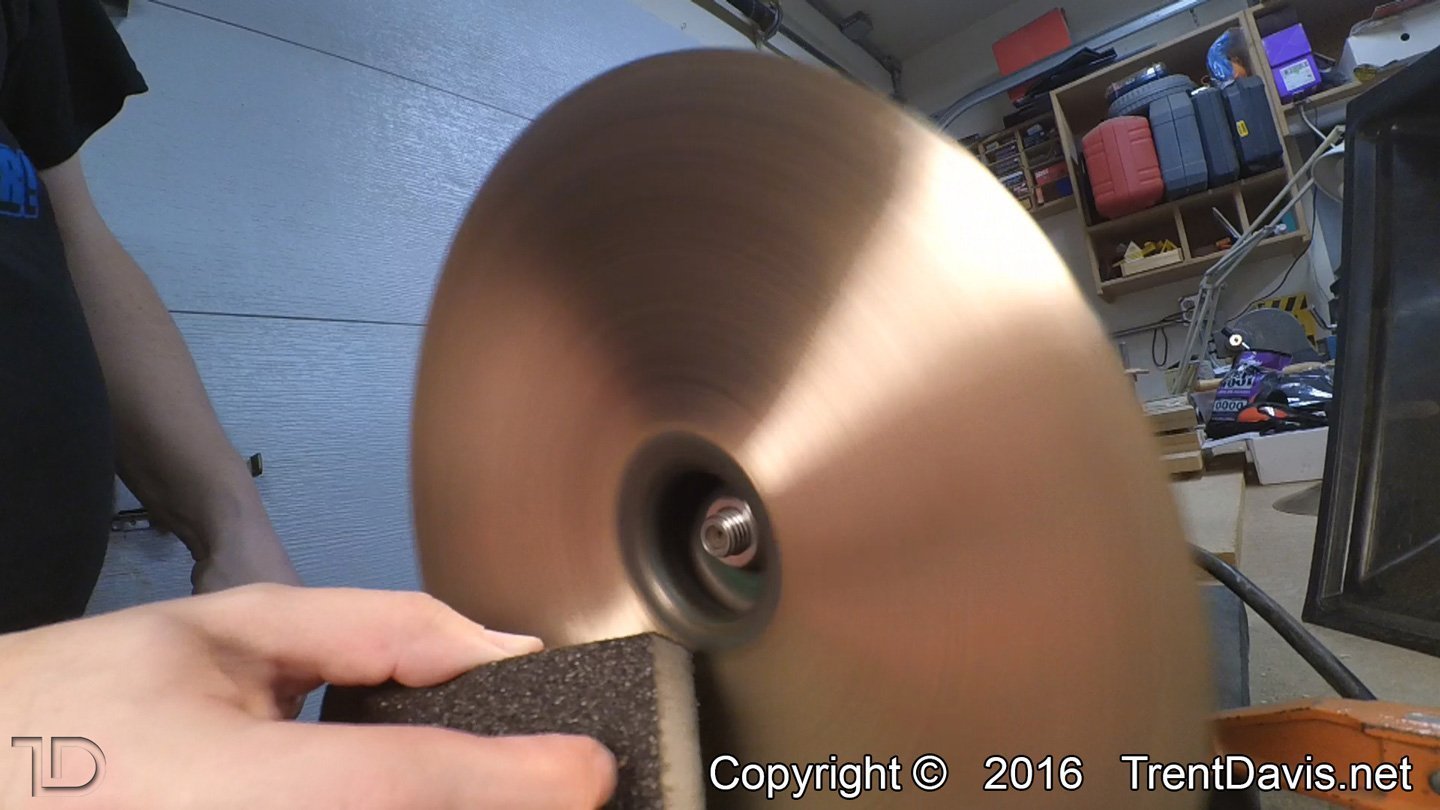
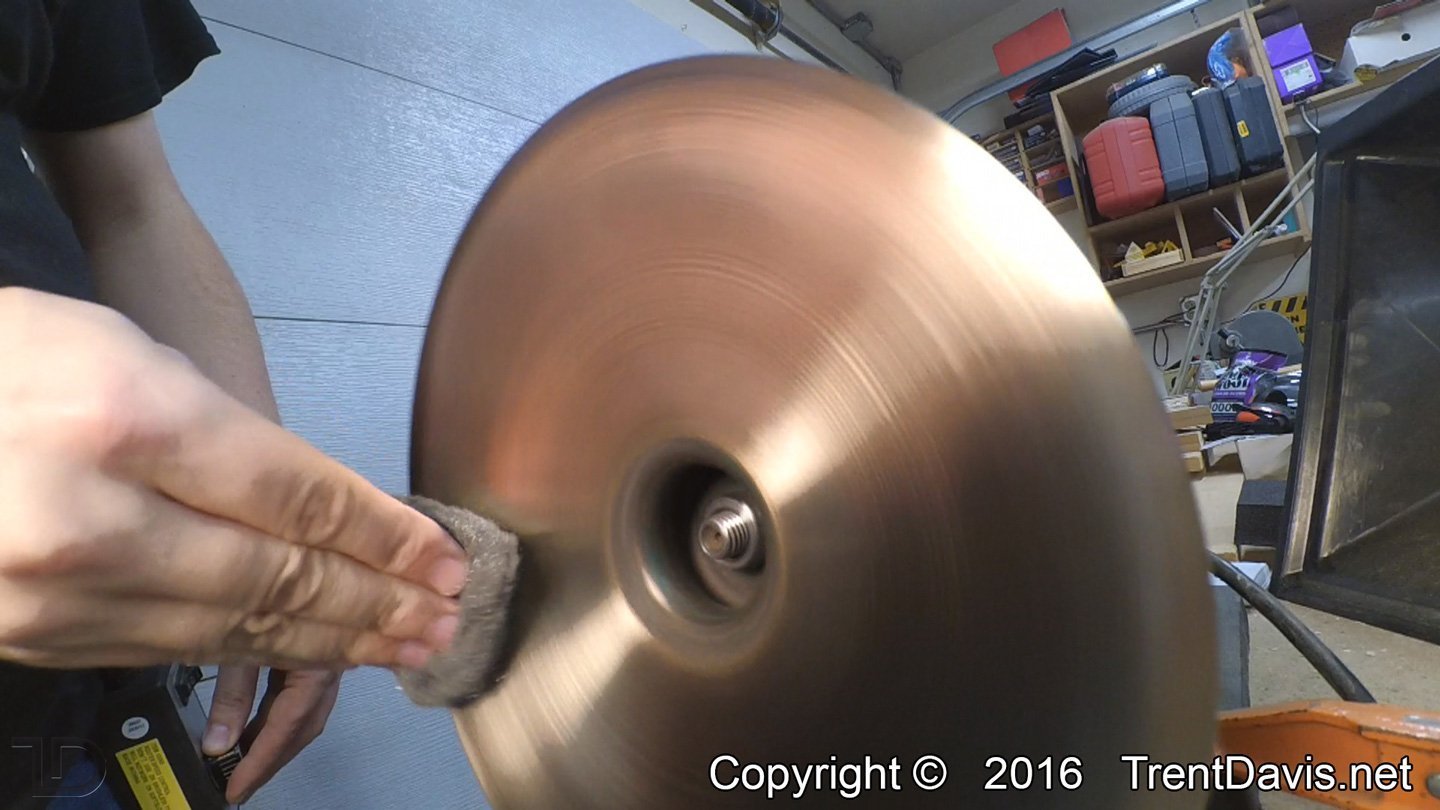
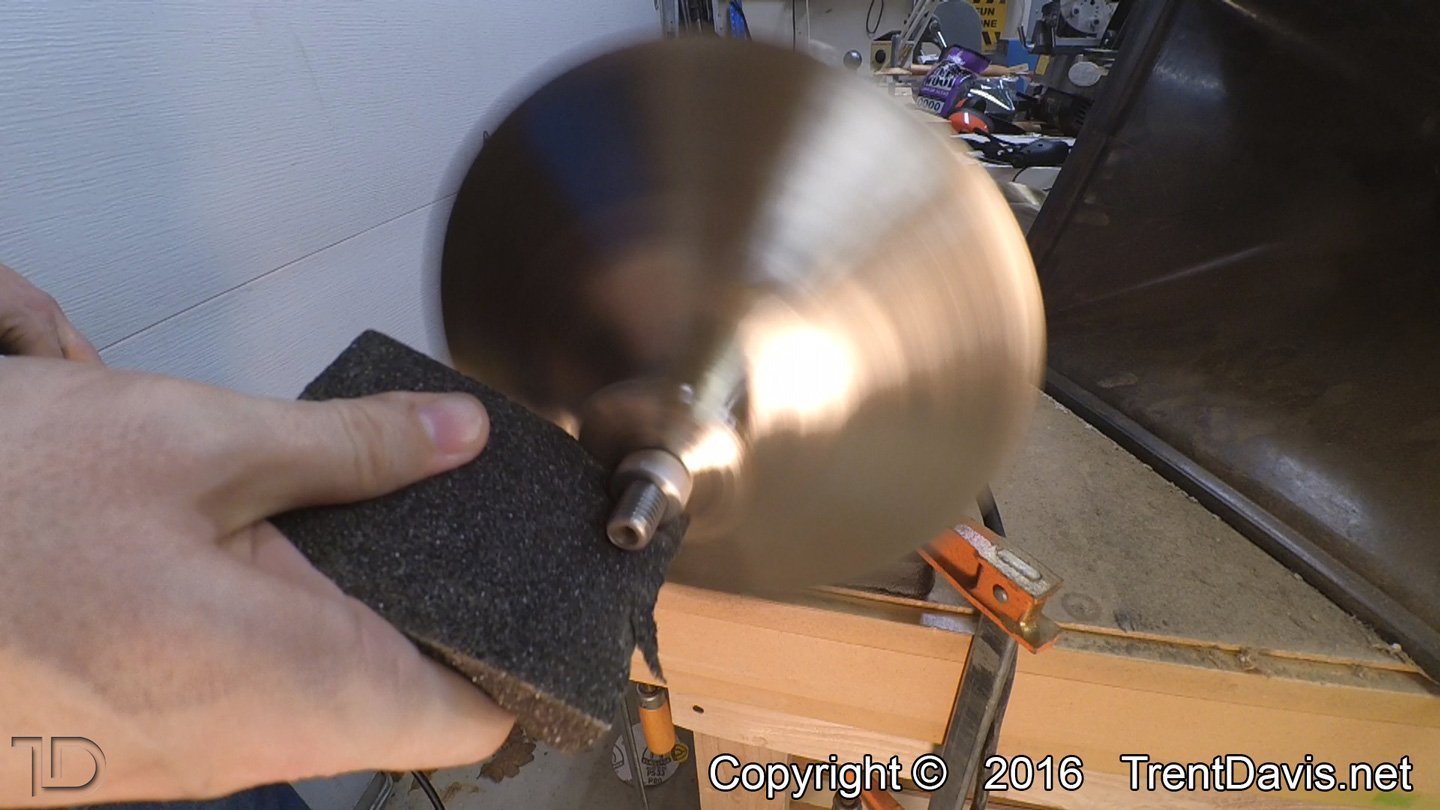
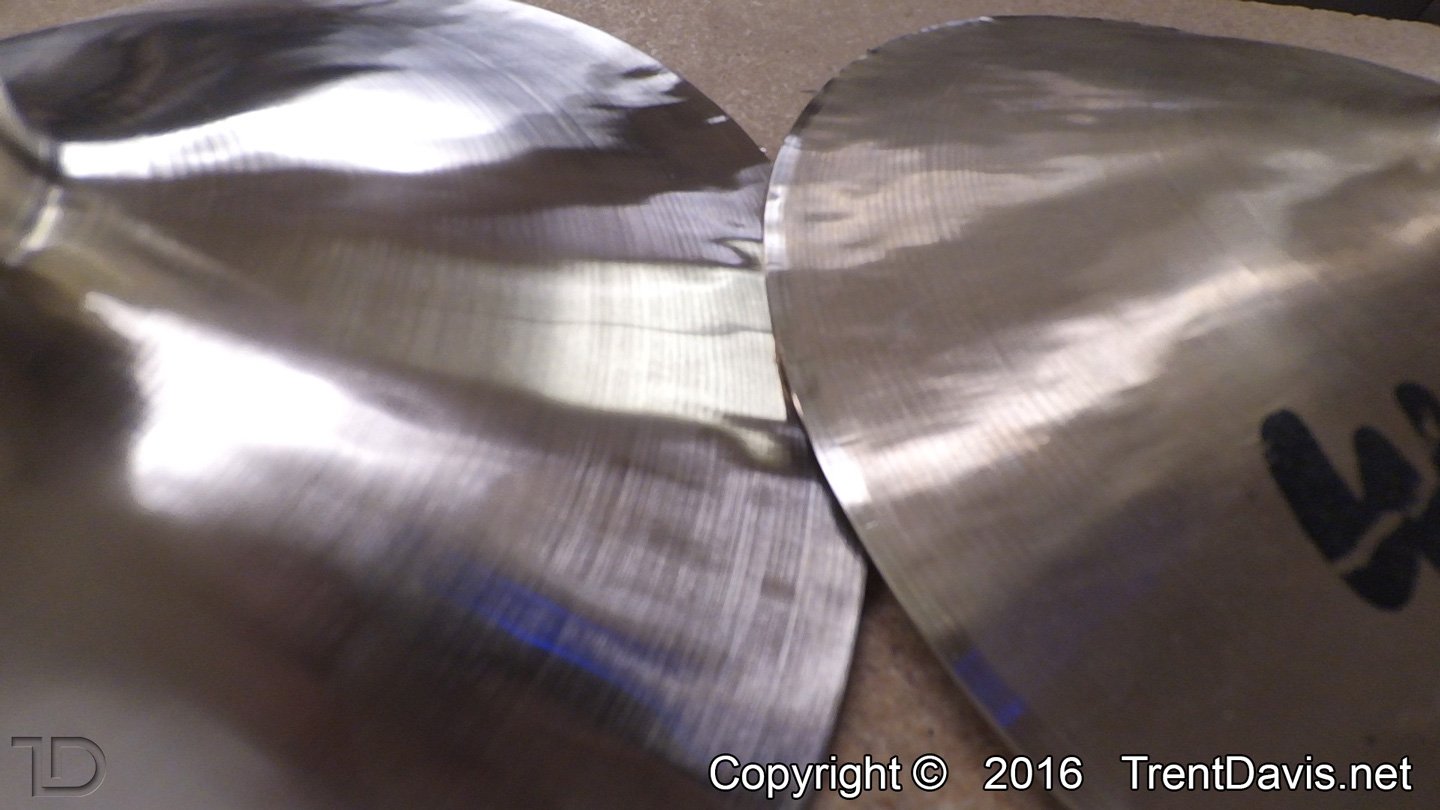
The cutting went pretty smoothly although the imperfect nature of Wuhan cymbals tends to affect how balanced the cut-down cymbal is.  For example, the mounting hole was off-center on each cymbal which really caused a lot of warping and vibration.  You can see this in some of the pictures.

Fig. 4 - Just finished cutting down the second cymbal.
Fig. 4 – Just finished cutting down the second cymbal.


After they were cut down I mounted them on my buffing wheel and de-burred the edges.  My friend also wanted me to polish them and remove the logos.  This was more trouble than it usually is since these cymbals are so out of balance.  I used both a coarse and fine grained sanding sponge then finished up with 0000 steel wool.  I finished that up with a thin coat of polyurethane to protect them and they are ready to go.

Fig. 5 - Taking the coarse sanding block to the underside of the first cymbal.
Fig. 5 – Taking the coarse sanding block to the underside of the first cymbal.
Fig. 6 - Finishing up the underside of the first cymbal with some 0000 steel wool.
Fig. 6 – Finishing up the underside of the first cymbal with some 0000 steel wool.
Fig. 7 - The top of the first cymbal ready to be polished.
Fig. 7 – The top of the first cymbal ready to be polished.
Fig. 8 - Taking a coarse sanding block to the top of the first cymbal.
Fig. 8 – Taking a coarse sanding block to the top of the first cymbal.
Fig. 9 - Following up with a fine-grit sanding sponge.
Fig. 9 – Following up with a fine-grit sanding sponge.
Fig. 10 - All done after finishing up with some 0000 steel wool.
Fig. 10 – All done after finishing up with some 0000 steel wool.
Fig. 11 - Time to start cleaning up the second cymbal.
Fig. 11 – Time to start cleaning up the second cymbal.
Fig. 12 - Cleaning up the top of the second cymbal with a coarse-grit sanding sponge.
Fig. 12 – Cleaning up the top of the second cymbal with a coarse-grit sanding sponge.
Fig. 13 - the underside of the second cymbal. Before...
Fig. 13 – the underside of the second cymbal. Before…
Fig. 14 - ... and after.
Fig. 14 – … and after.
Fig. 15 - This is a shot of both cymbals. The one on the left is halfway through cleaning up the top. This was problematic due to the imbalance in that cymbal which is caused by the mounting hole being so far off-center.
Fig. 15 – This is a shot of both cymbals. The one on the left is halfway through cleaning up the top. This was problematic due to the imbalance in that cymbal which is caused by the mounting hole being so far off-center.
Fig. 16 - A close-up of the two cymbals. The one on the left has been polished up a bit. The one on the right only has the edge de-burred which actually polishes up the area around the edge a bit.
Fig. 16 – A close-up of the two cymbals. The one on the left has been polished up a bit. The one on the right only has the edge de-burred which actually polishes up the area around the edge a bit.


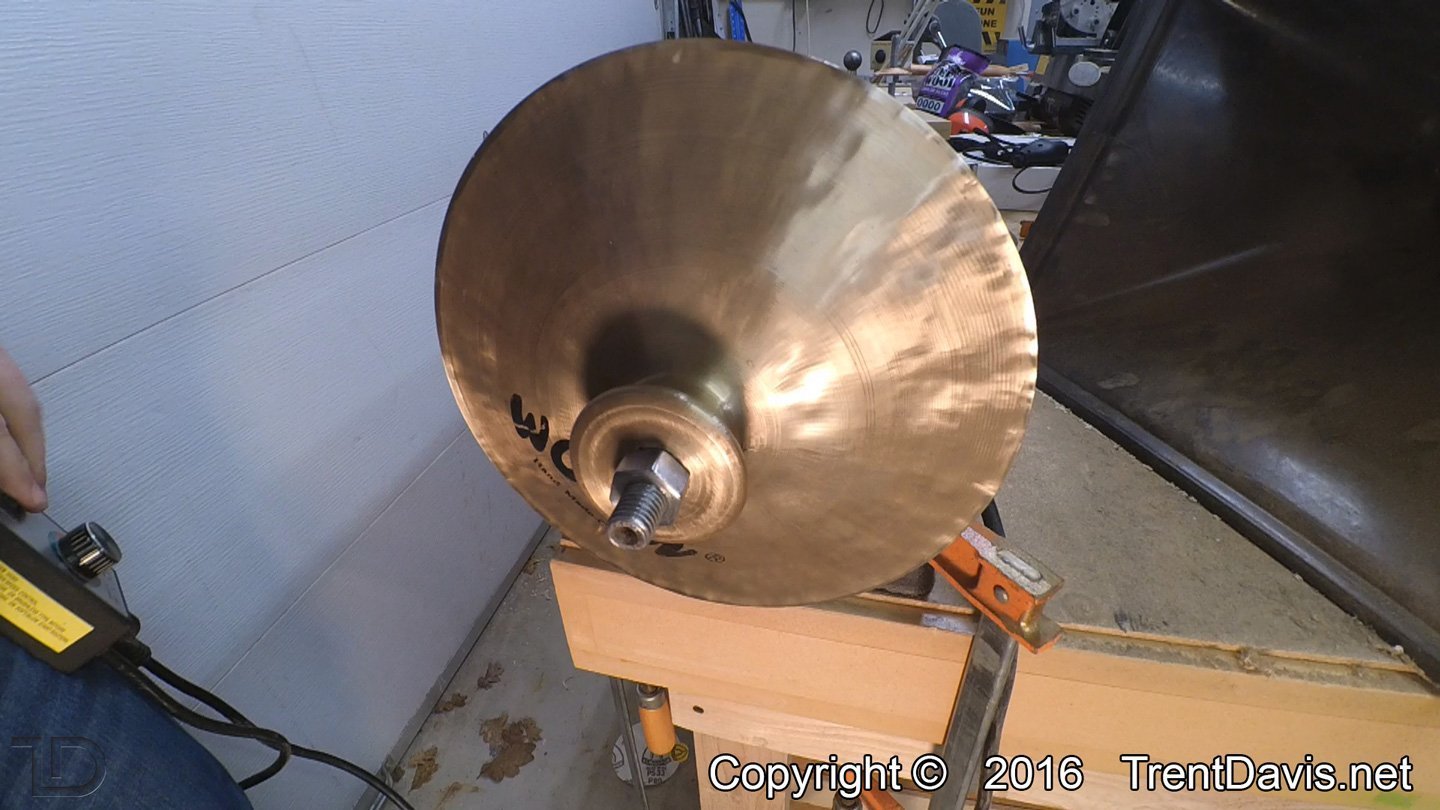
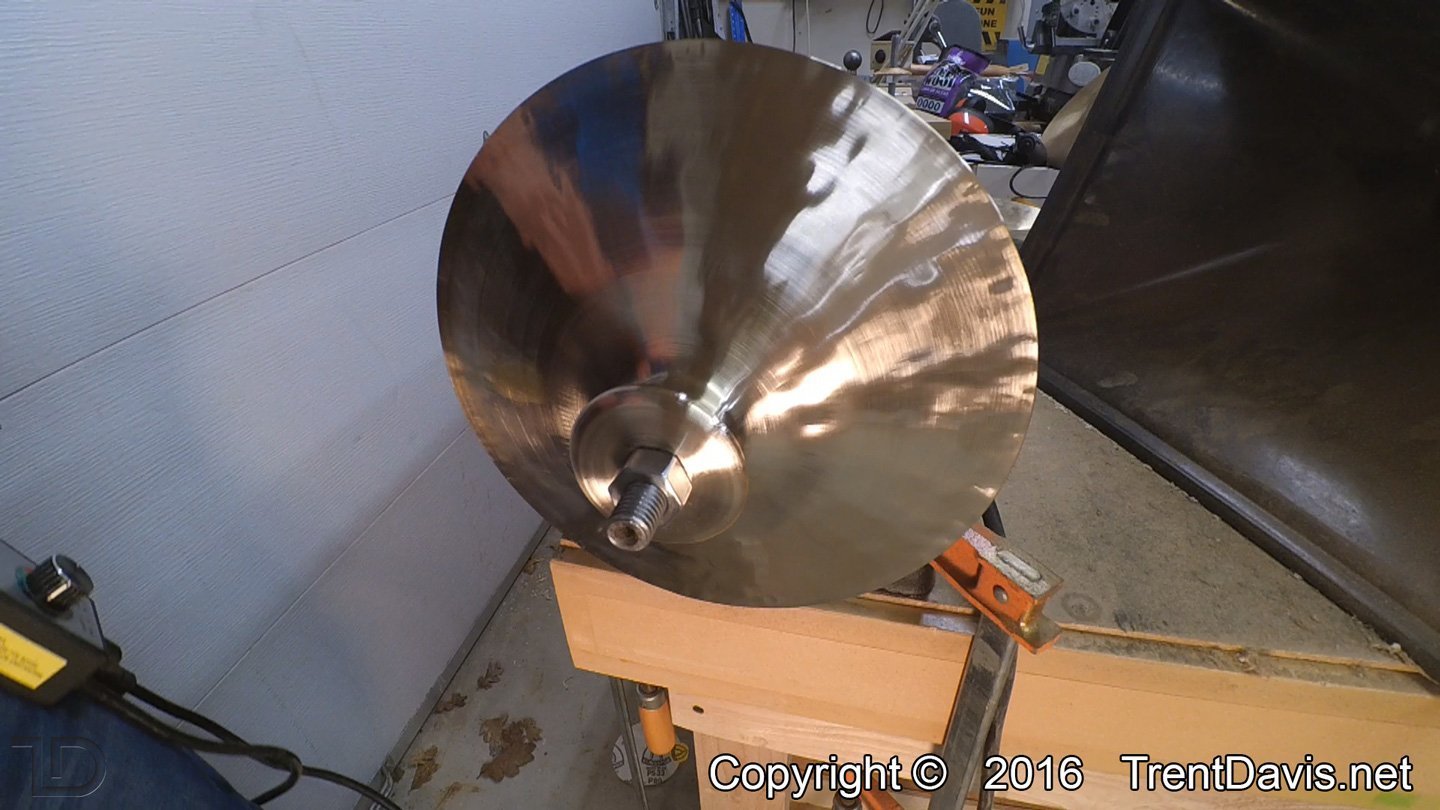
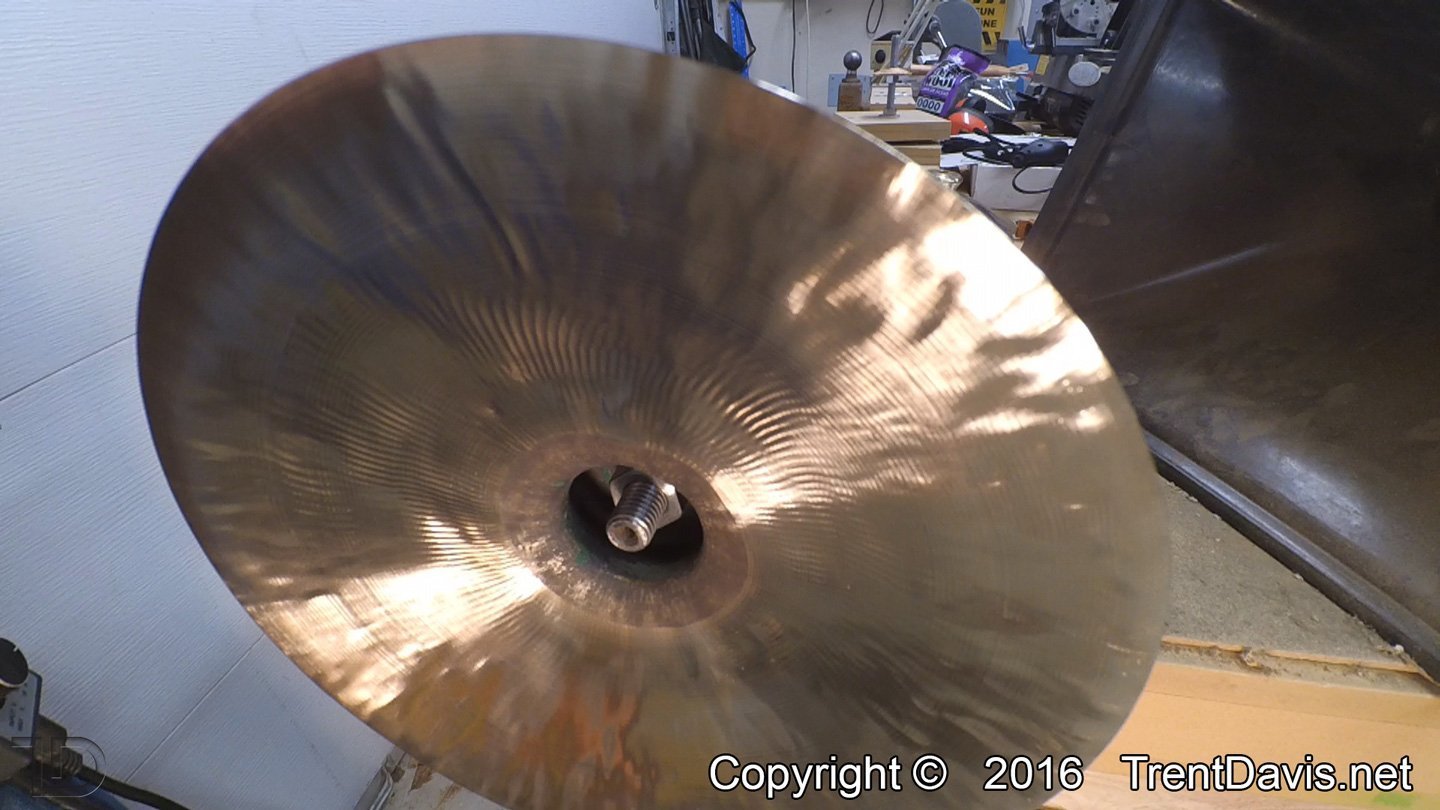
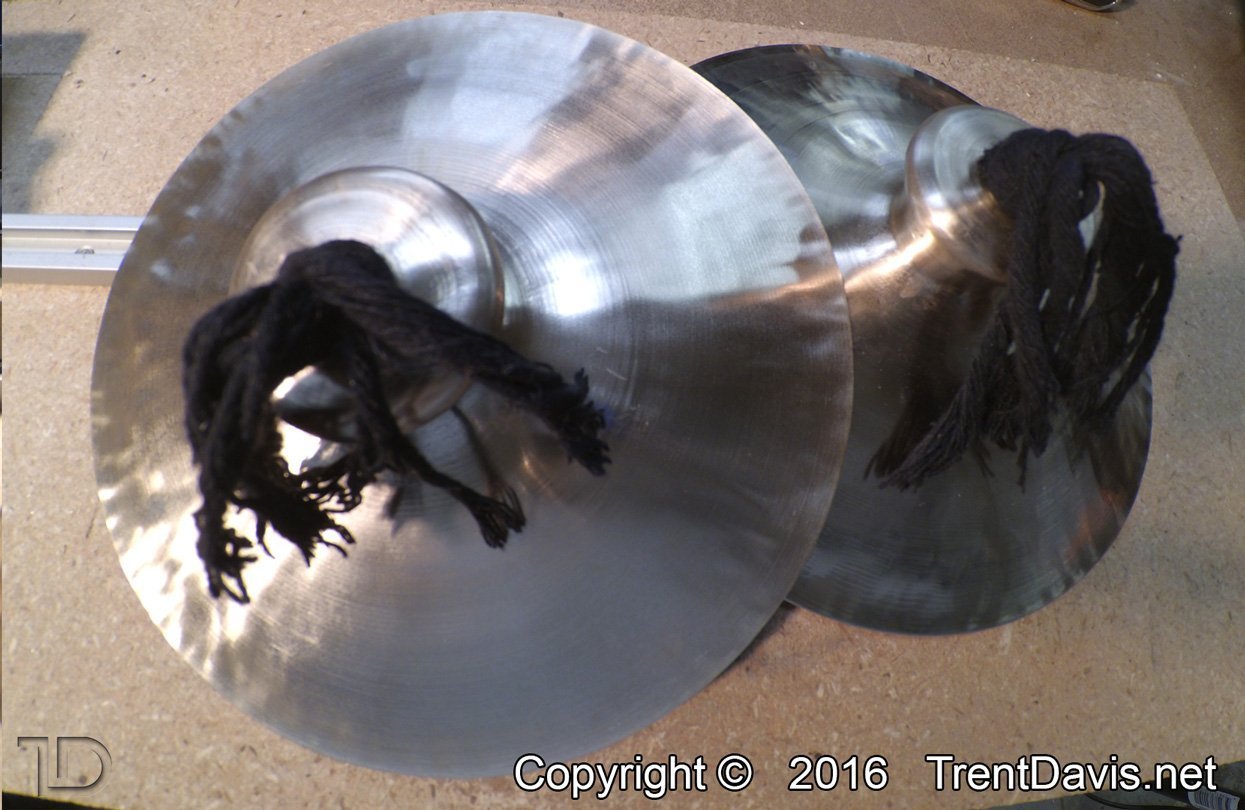
The finished product ended up being 8 1/4″ in diameter.  They look cool and they sound a lot better.

Fig. 17 - Top-down view of the finished product.
Fig. 17 – Top-down view of the finished product.
Fig. 18 - The finished product.
Fig. 18 – The finished product.


Let me know in the comment section below if this was helpful and if you have any questions.  Also, if you cut down your own cymbals, feel free to share your techniques.


2 thoughts on “Cutting down a pair of Wuhans”

  1. Pingback: News – September 4th, 2018 – Live Performance and Woodturning - TrentDavis.net

Leave a Comment

Your email address will not be published. Required fields are marked *

Scroll to Top