This is a continuation of Studio Desk – Part 3: Assembling the Racks
Now that the components are built, they’re ready to be stained and finished.
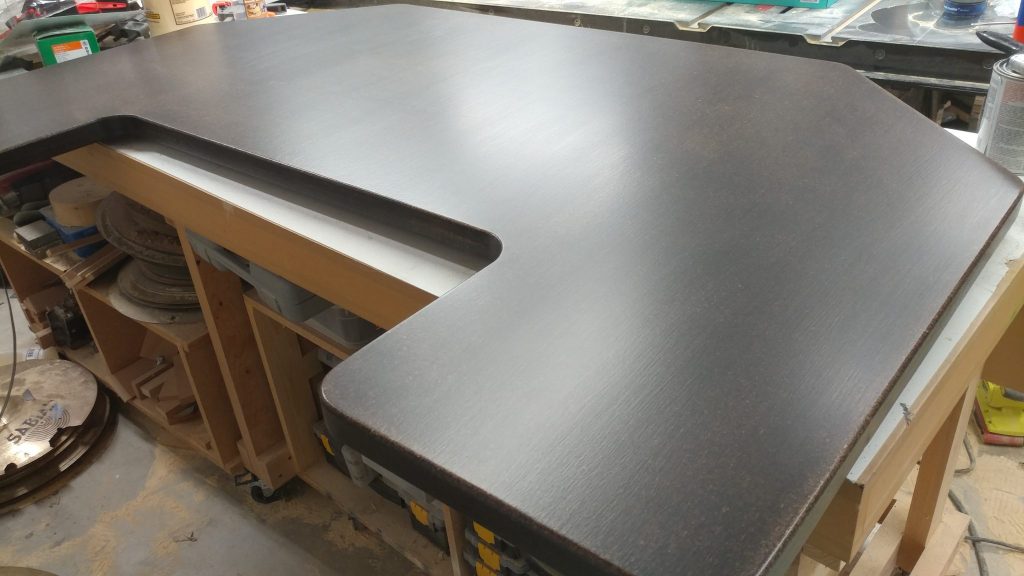
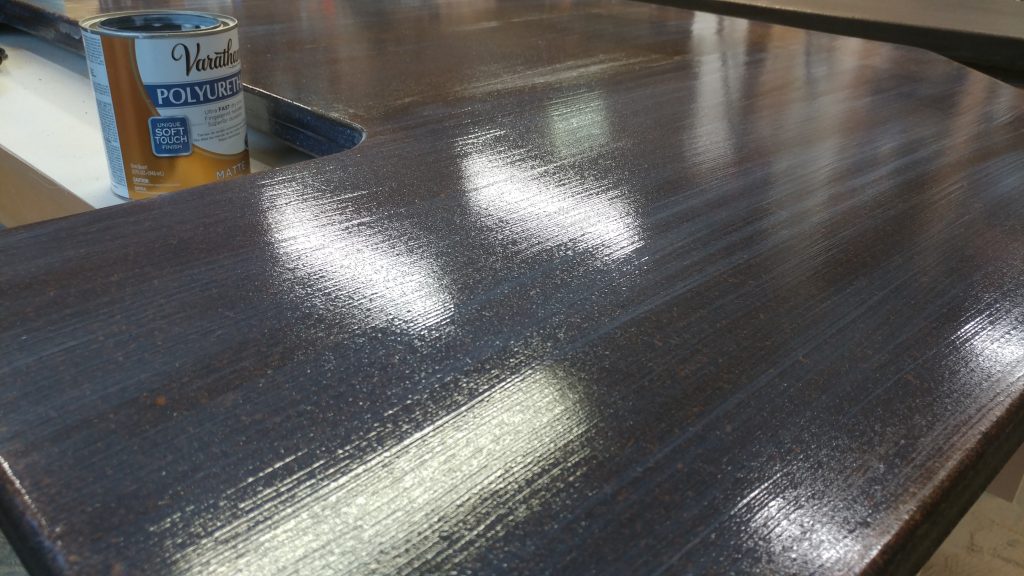
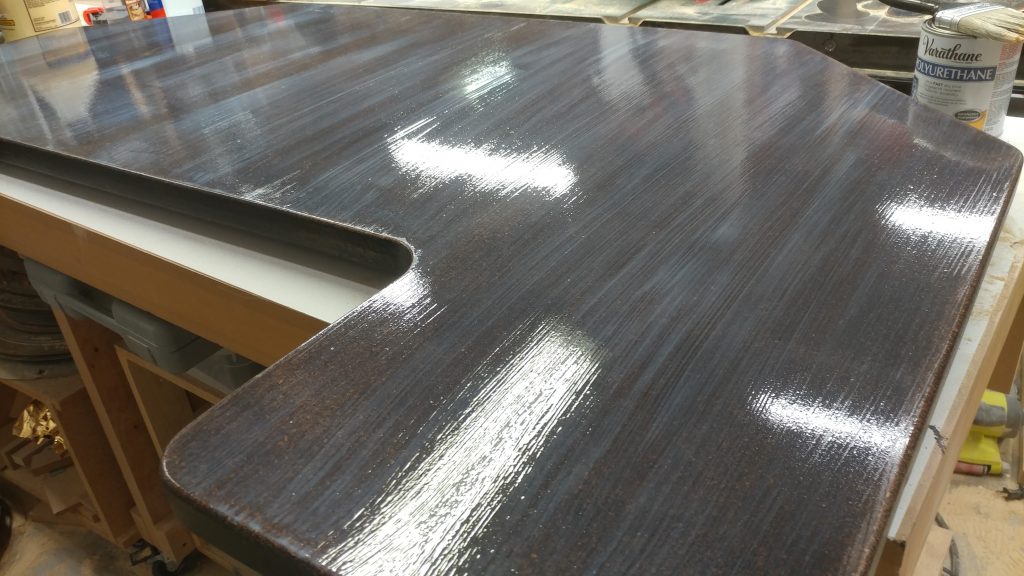
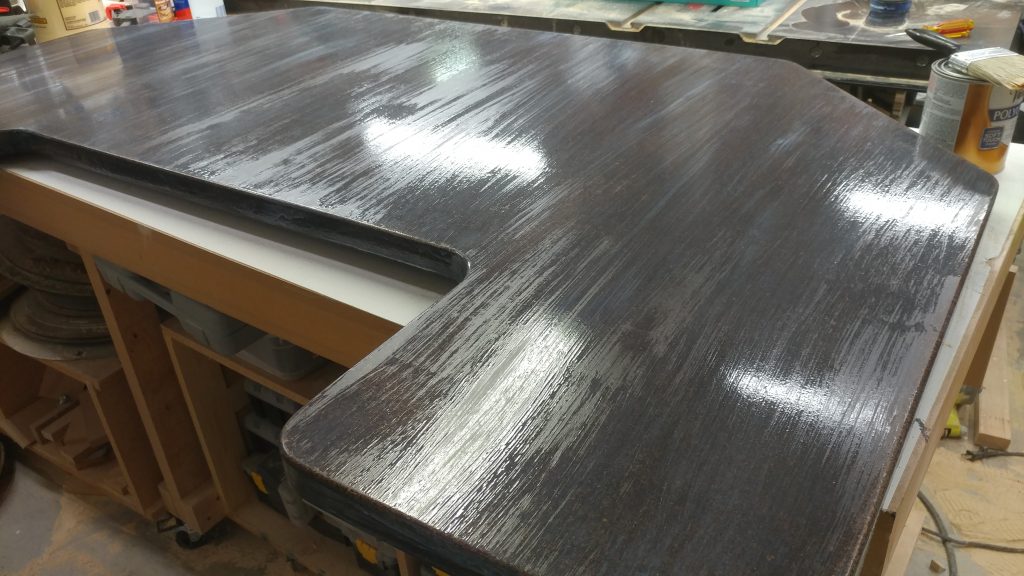
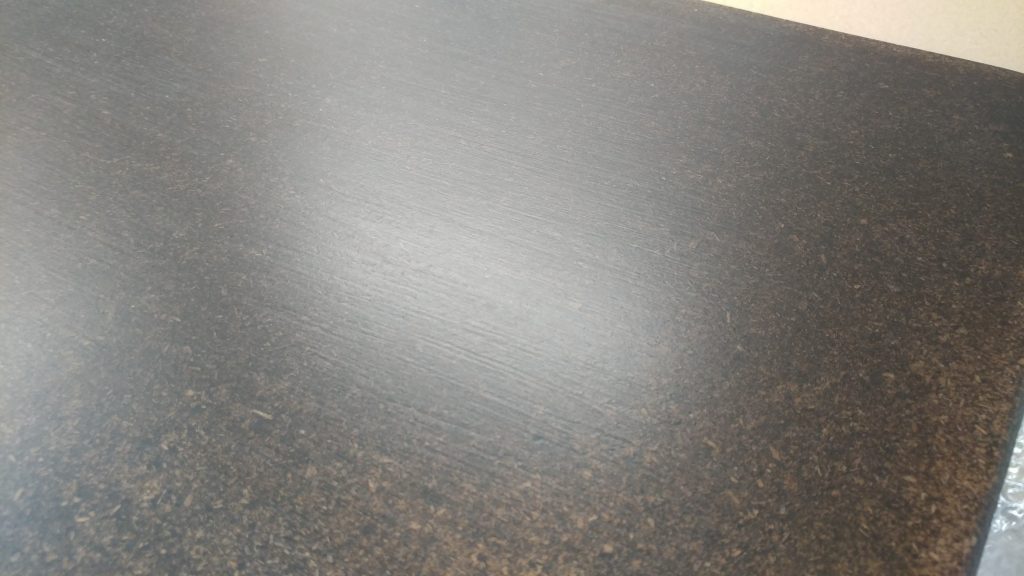
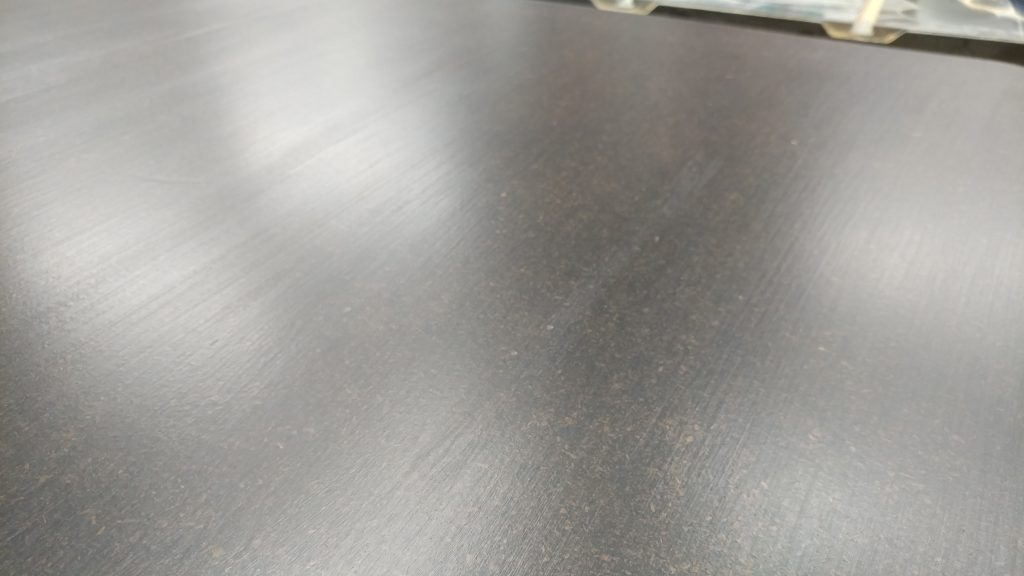
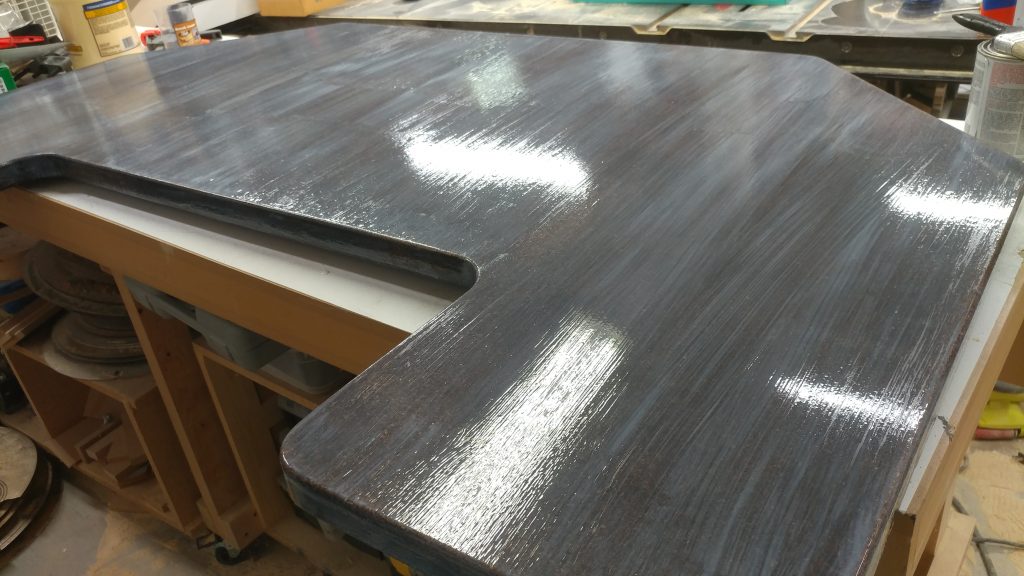
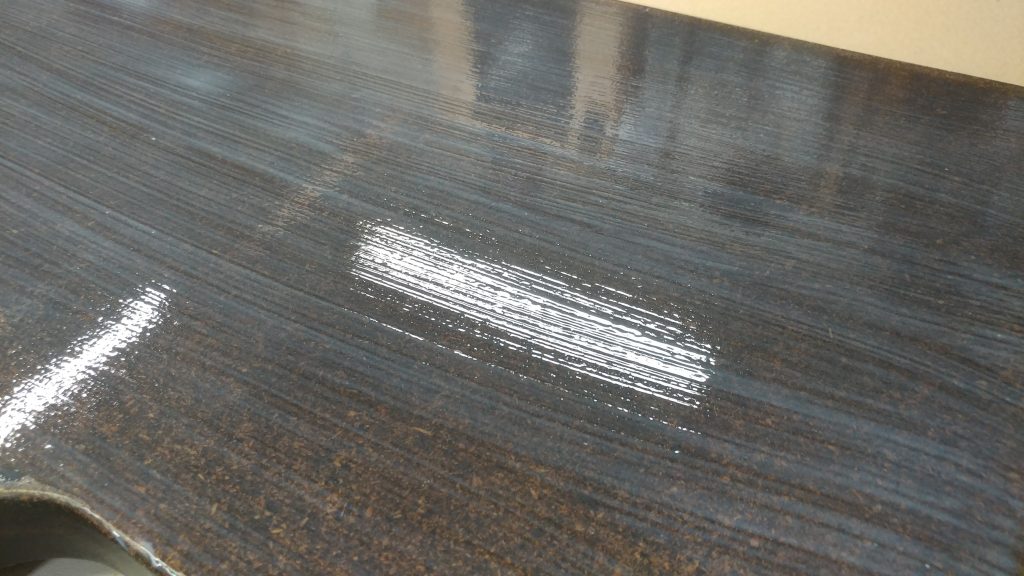
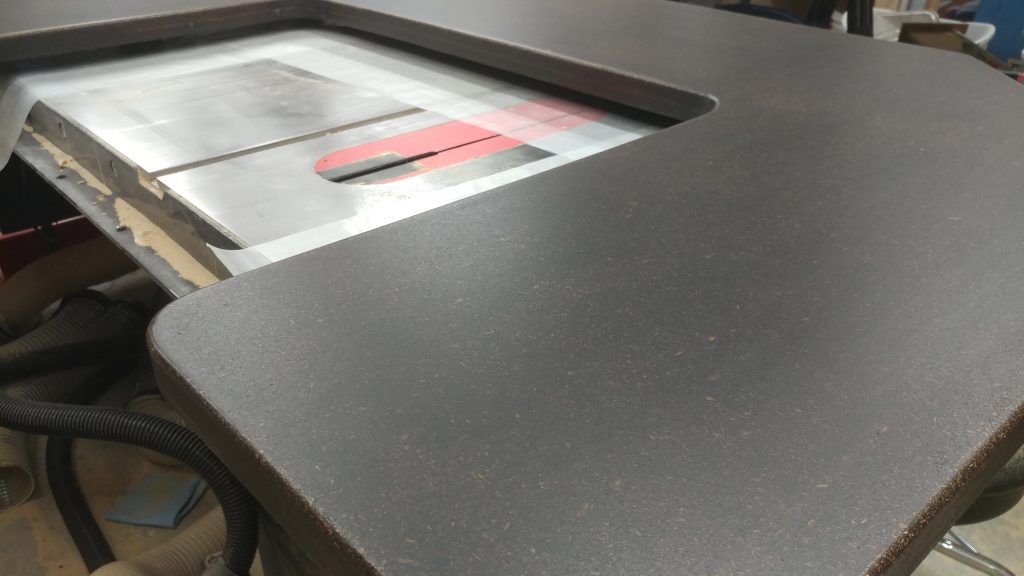
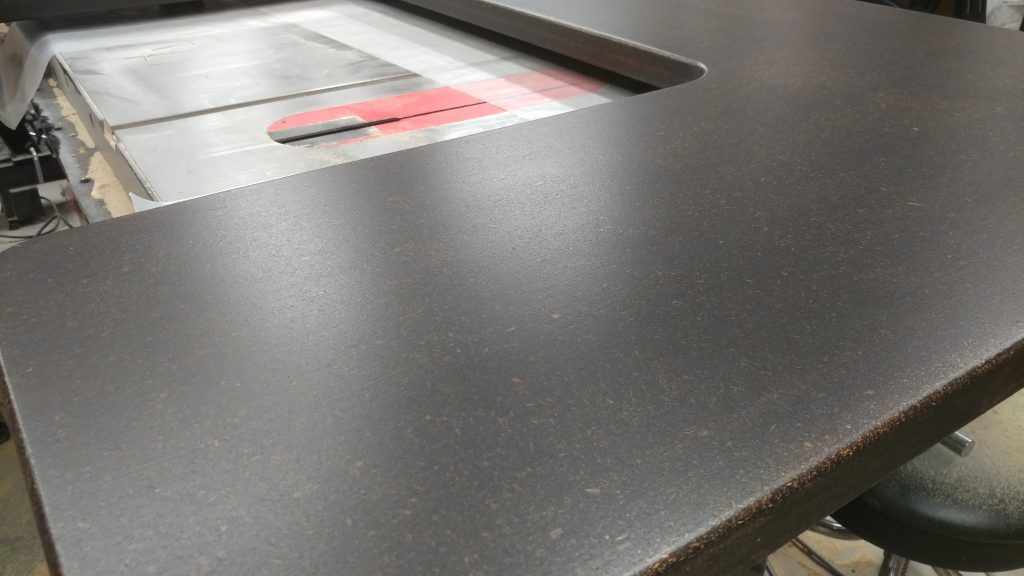
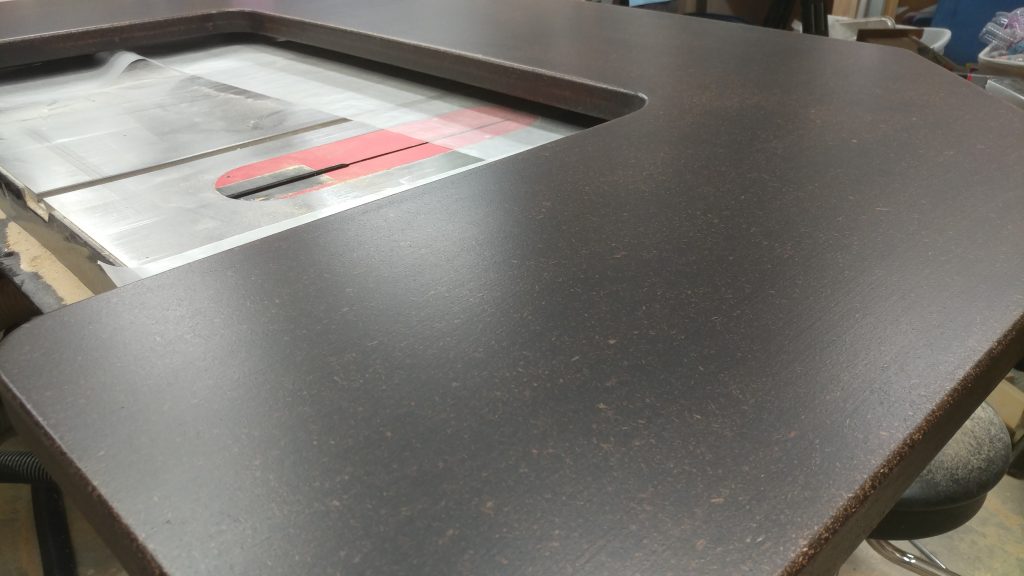
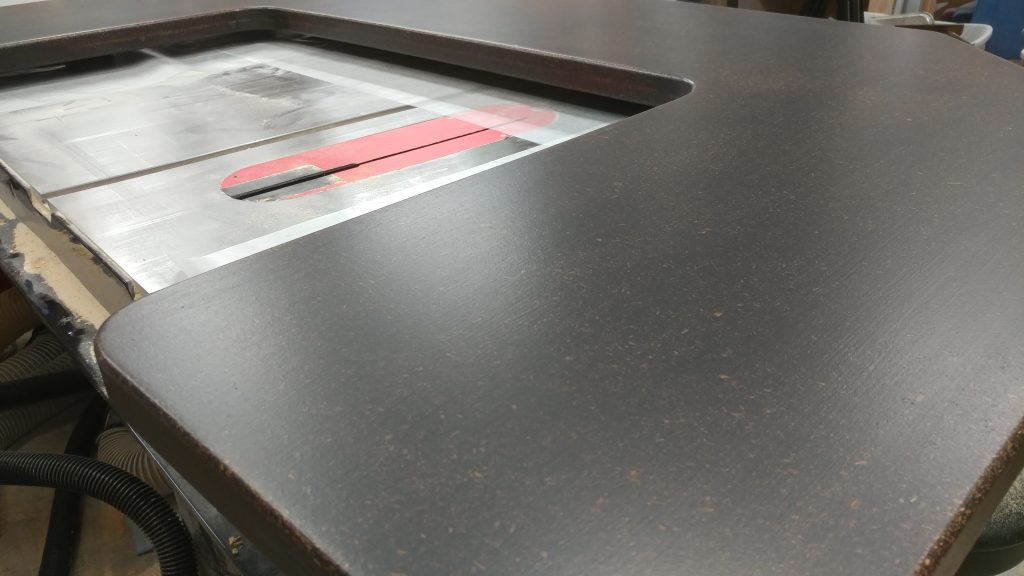
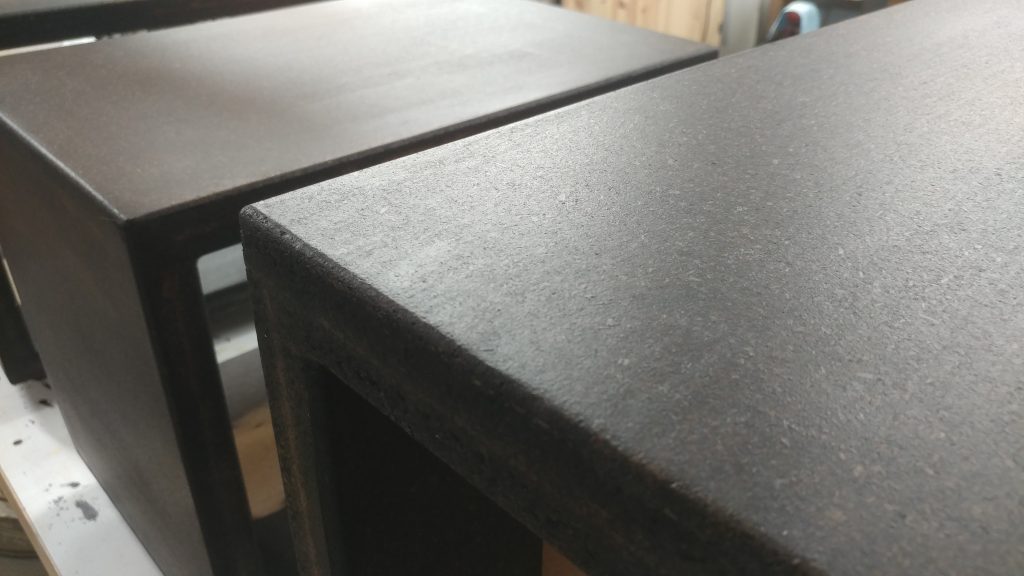
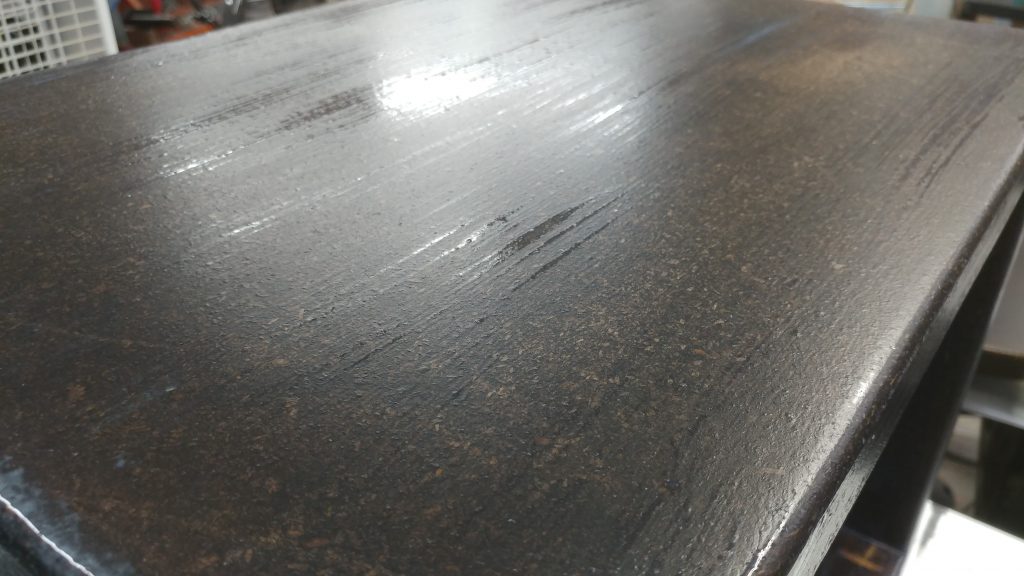
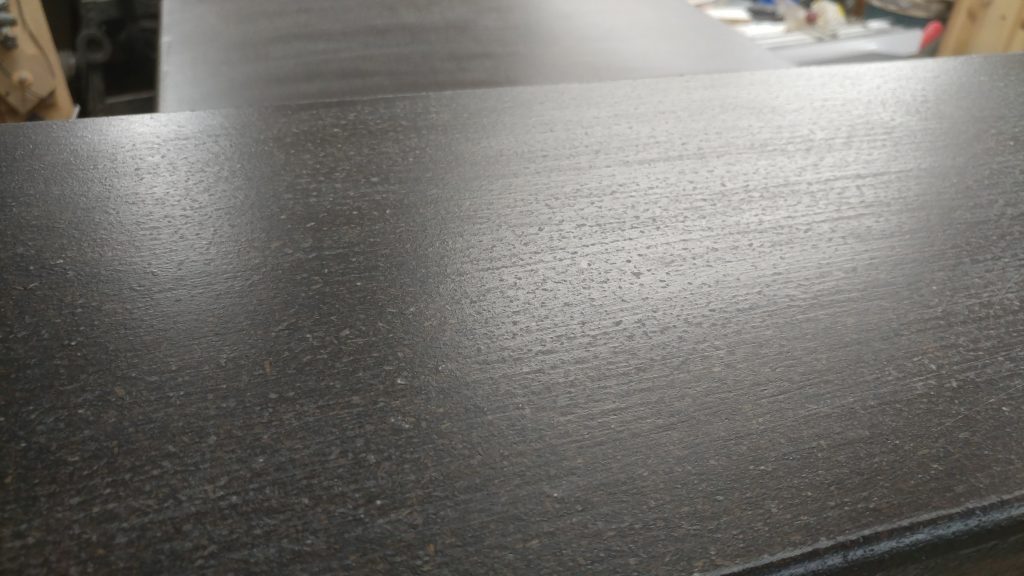
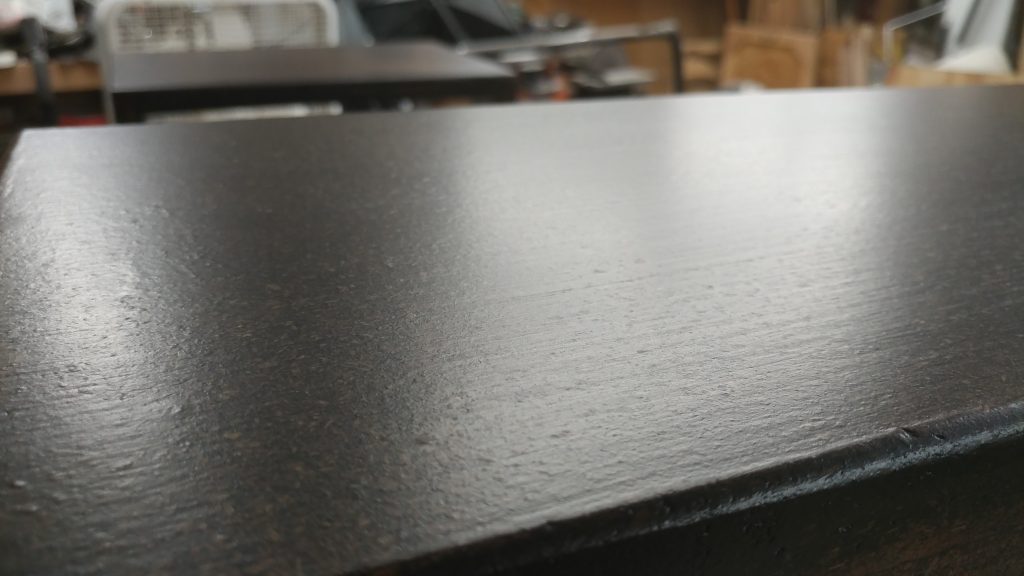
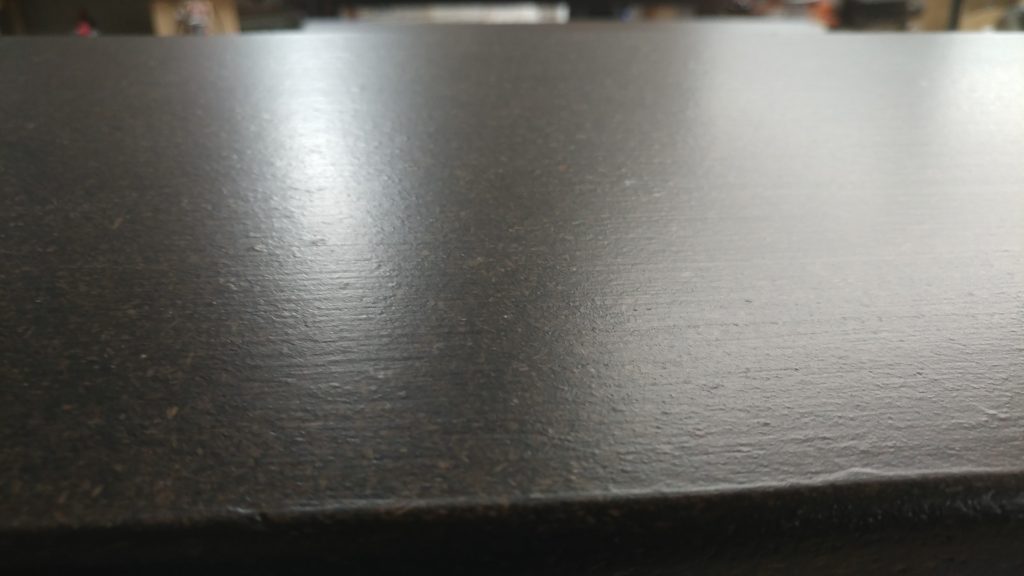
I was going for a specific look that I think worked but I’m having my doubts that I’ll be happy with it in the long run. I was inspired by a piece that I saw at a restaurant a while ago. They used plywood where I used particleboard but what I was drawn to was the feel of the piece. The best way I could describe it was “too much poly with no sanding between coats”. You couldn’t feel any wood grain through the finish but you could feel the brush marks.
I figured that for this piece, I might as well try to replicate that since I liked it so much. I think I succeeded but now I’m not sure how much I like it.
Staining the wood
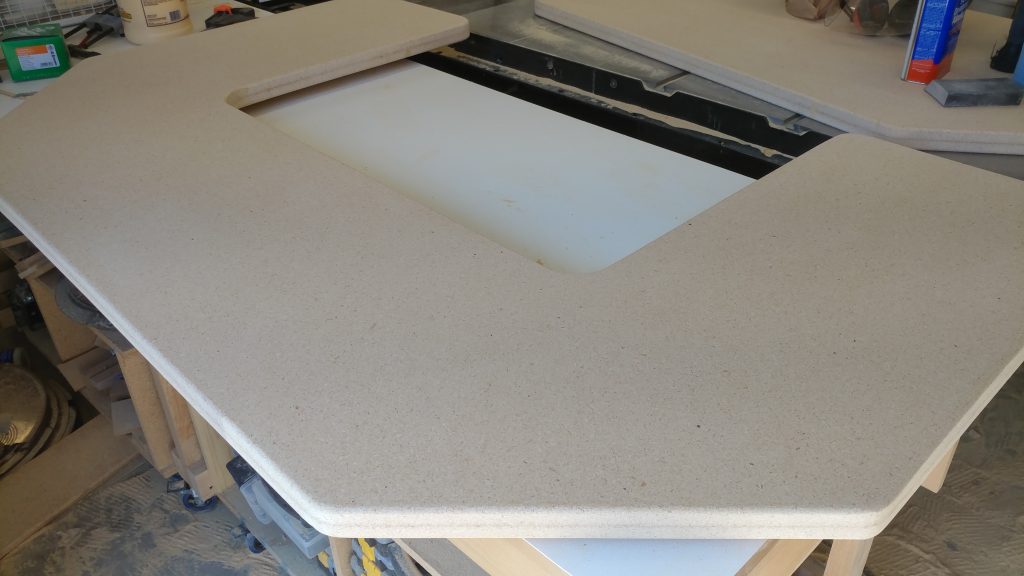
I started with the parts all sanded and ready for stain.
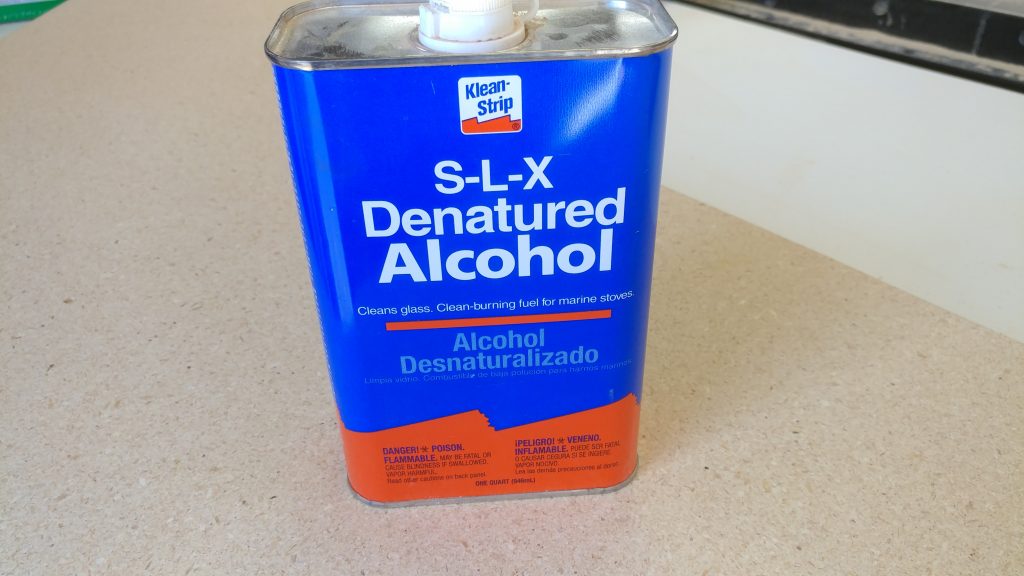
Before applying stain or finish, I like to wipe down the material with denatured alcohol. This helps remove loose dust particles.
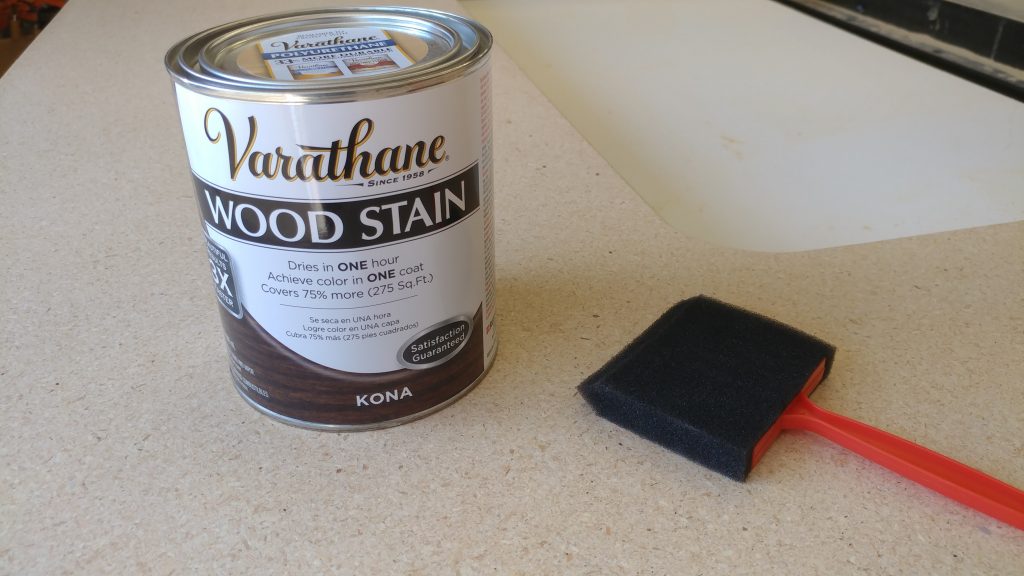
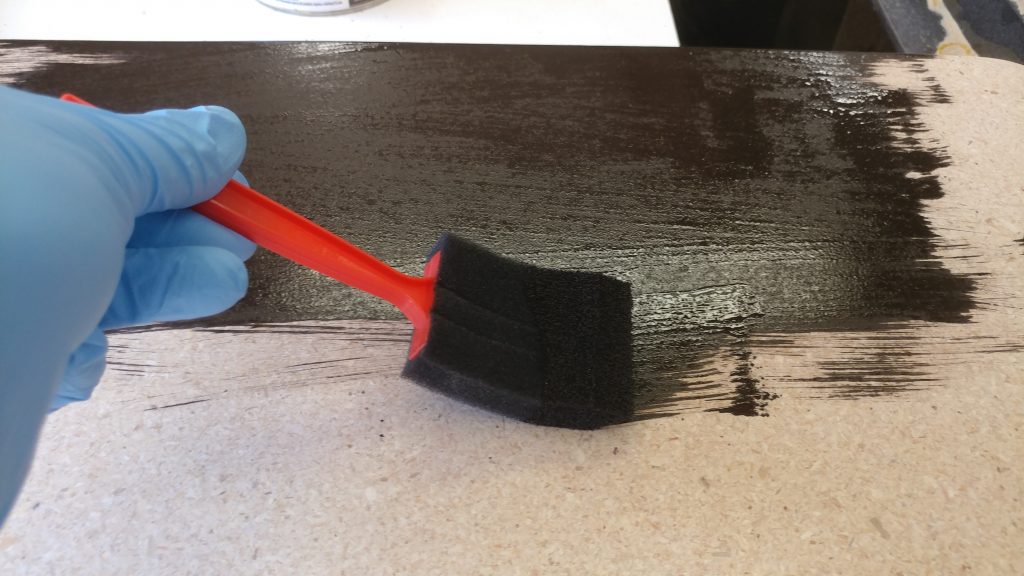
I’m applying Varathane brand Kona wood stain using a cheap foam brush.
I recommend having someone help when staining something this big. One person can apply the stain and the other can follow up with a towel to remove the excess after letting it sit for a few minutes. Since it was just me working on this, I had to apply the stain in sections and then wipe it off before moving on to the next section. This can be tricky since the stain can overlap and make for darker sections.
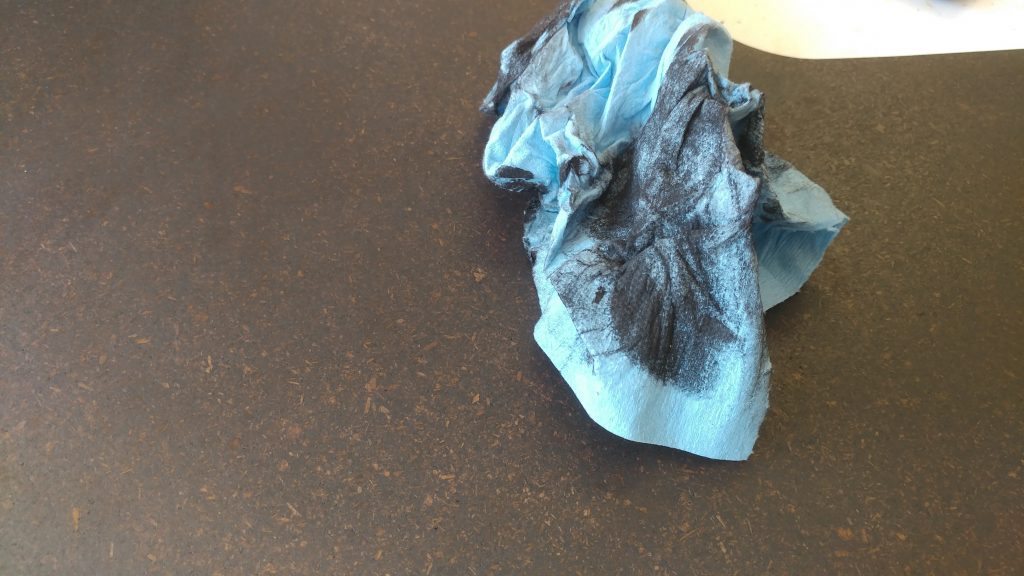
I used blue shop towels to wipe up the excess stain.
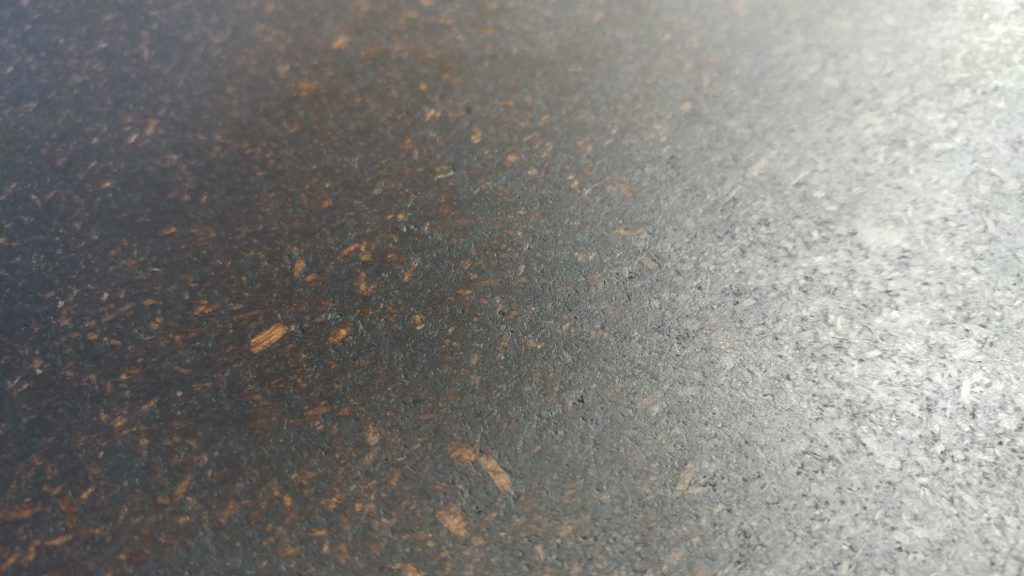
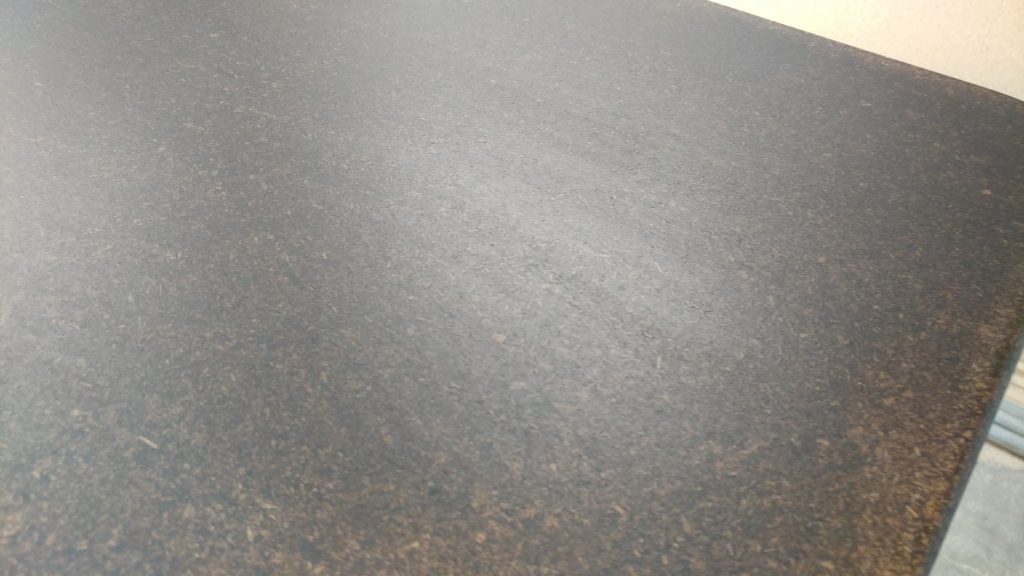
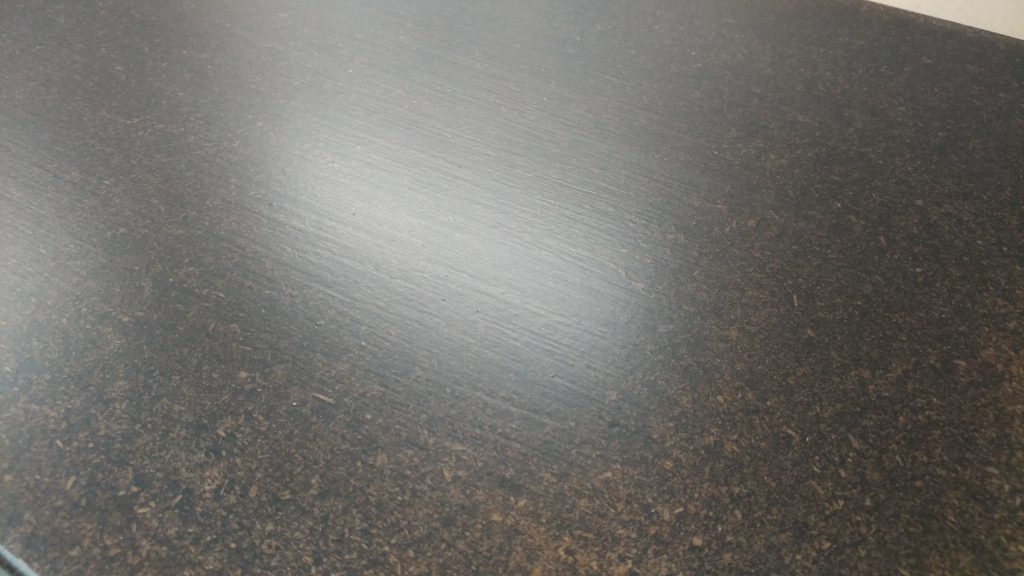
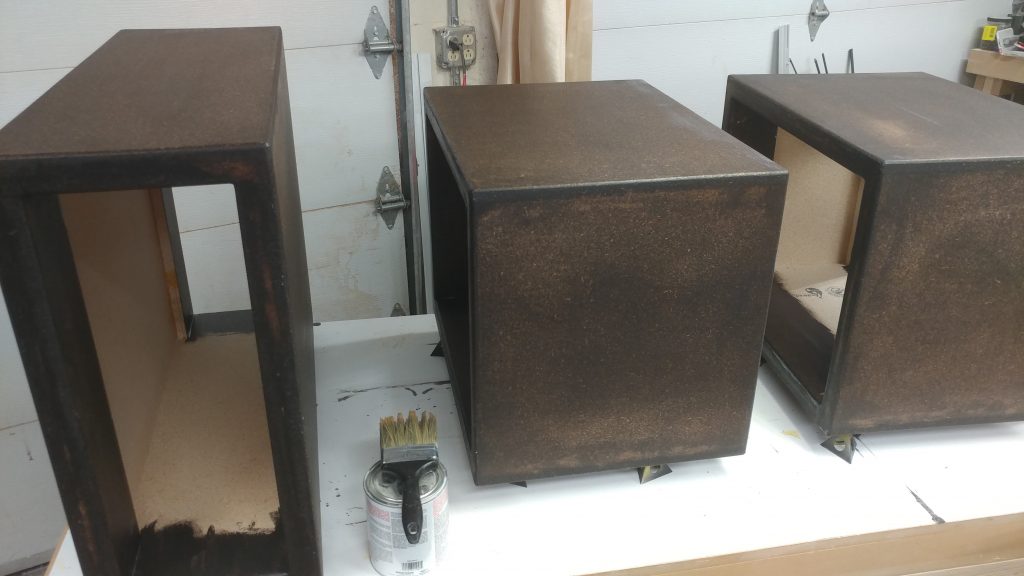
I really like the look of the particleboard with the Kona stain applied.
I applied the stain to one side and let it sit overnight, then applied to the opposite side.
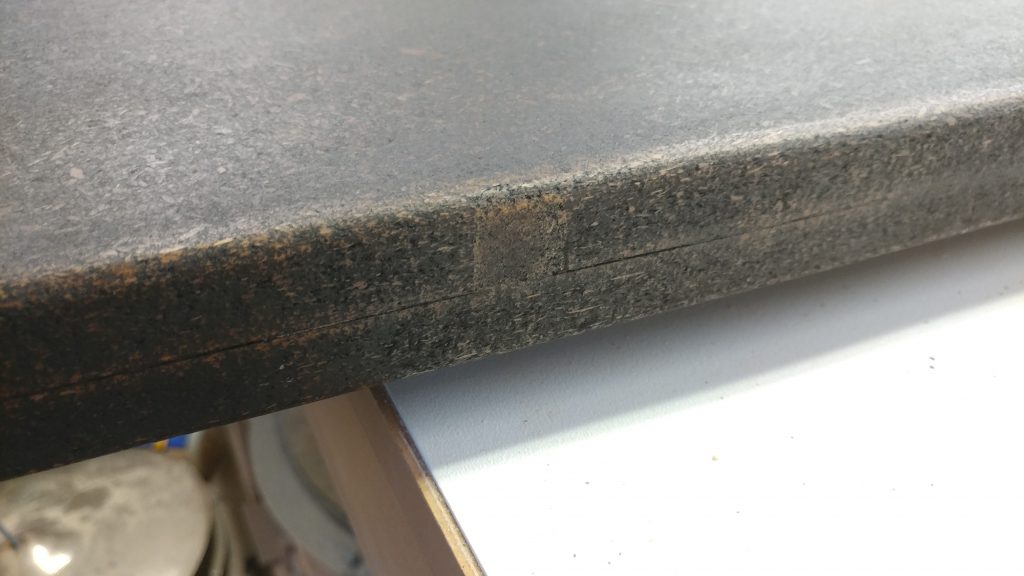
The areas that I patched up take the stain differently, as expected.
Applying polyurethane to the upper section
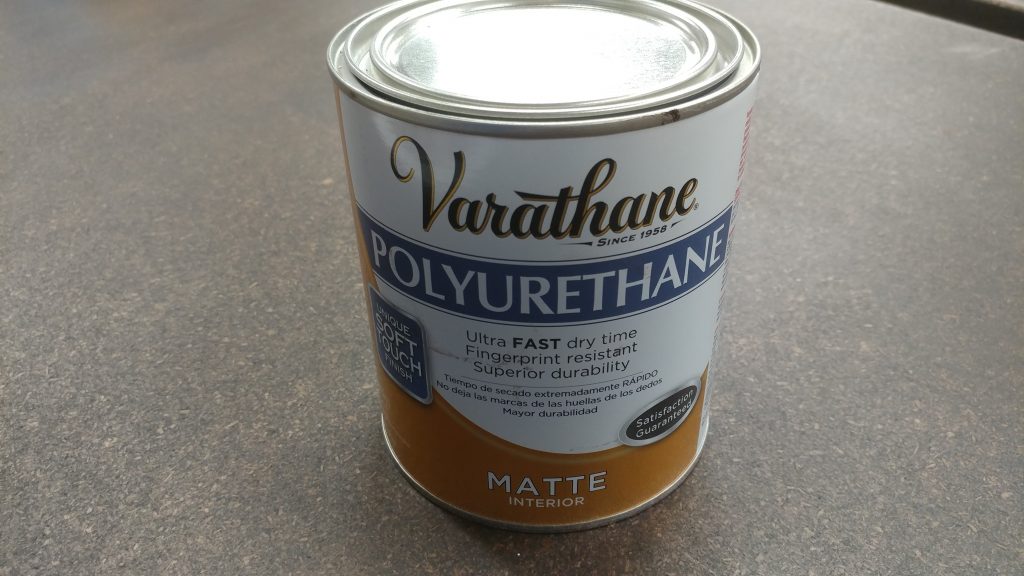
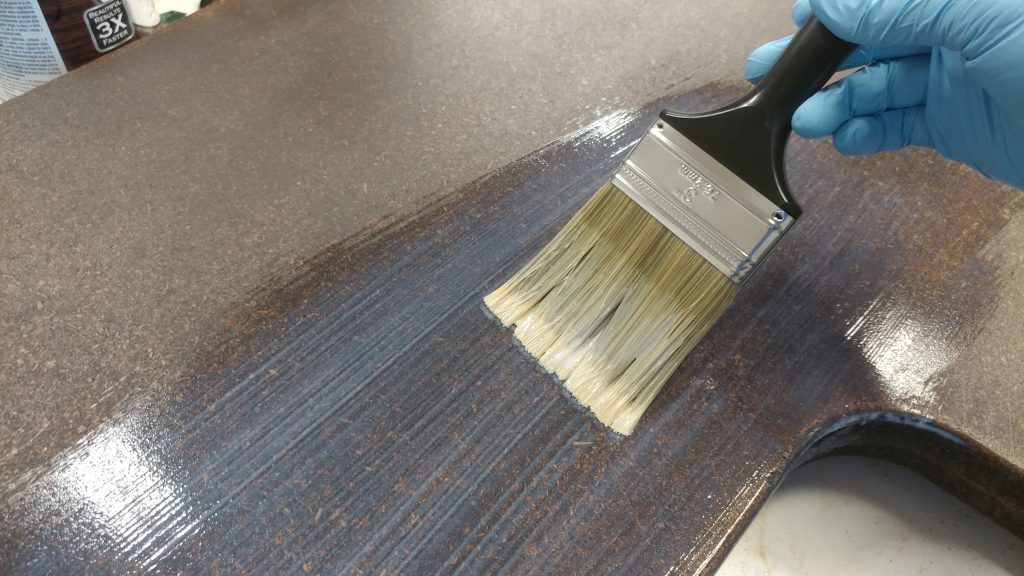
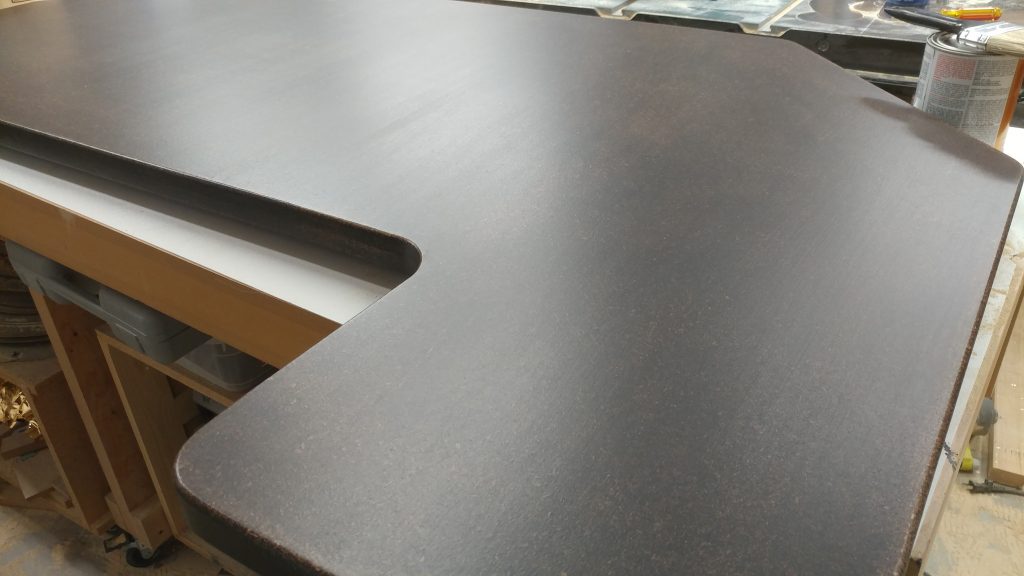
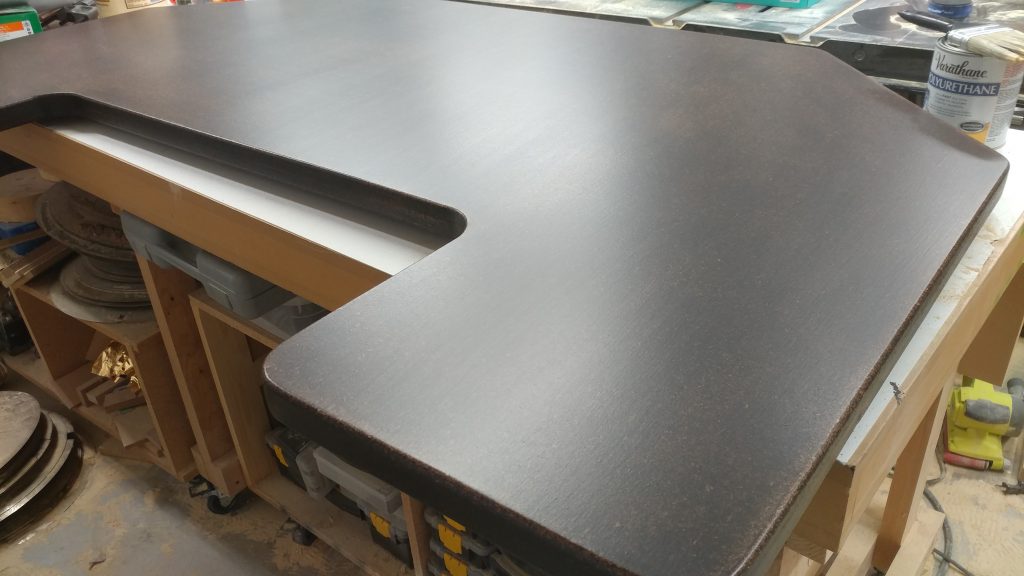
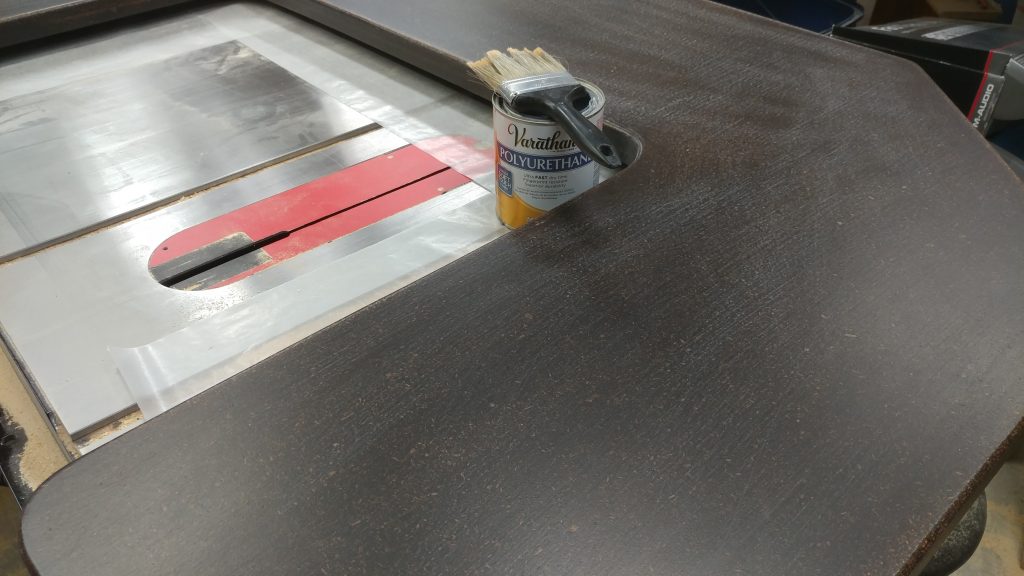
Once the stain set up, I started applying Varathane brand polyurethane matte finish.
Foam brushes cause bubbles in polyurethane so you’ll want to use a decent synthetic brush.
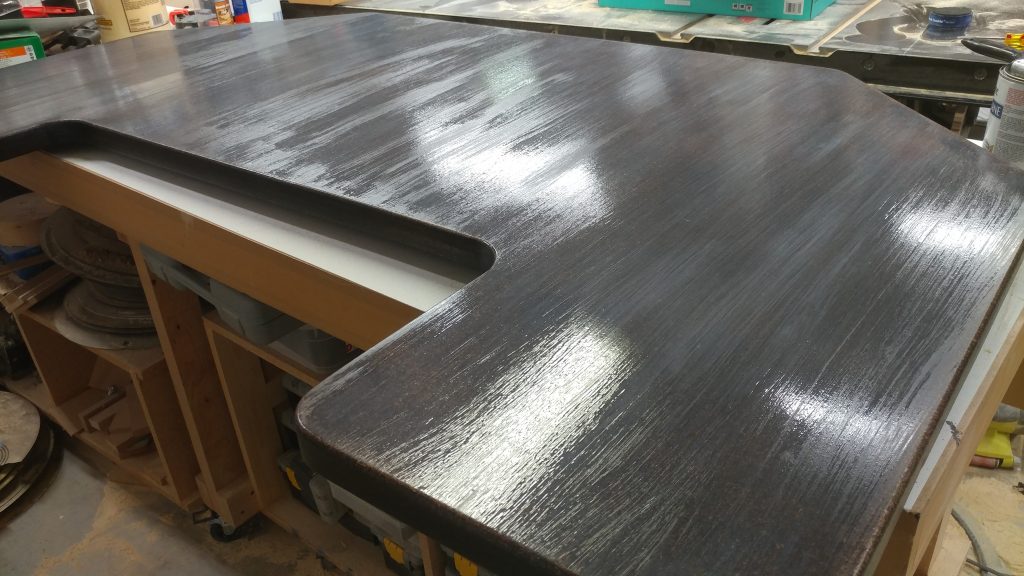
It goes on milky but dries clear.
This is how I did the top surface of the upper section of the desk. The underside of the upper section just had three coats of polyurethane applied.
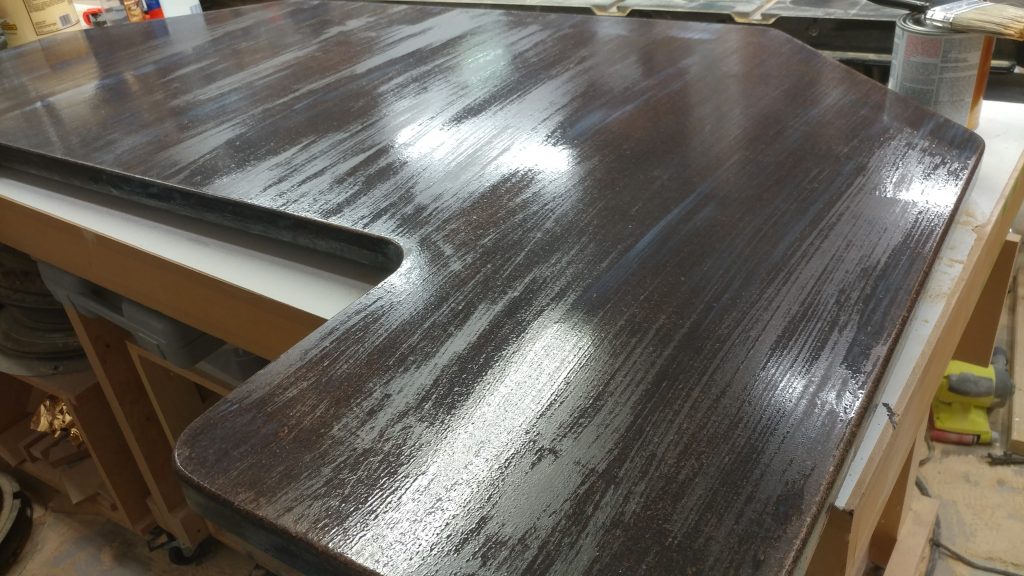
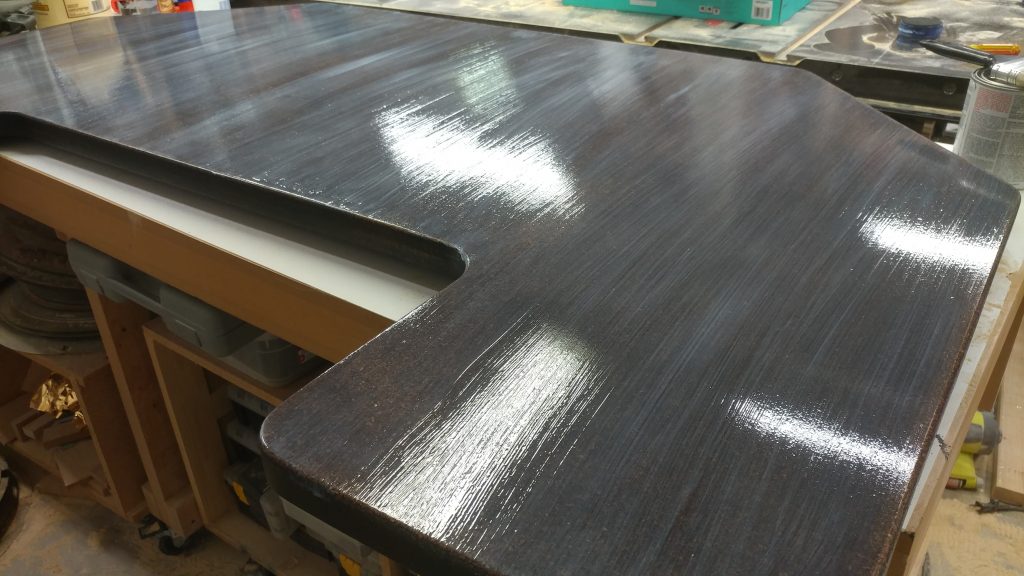
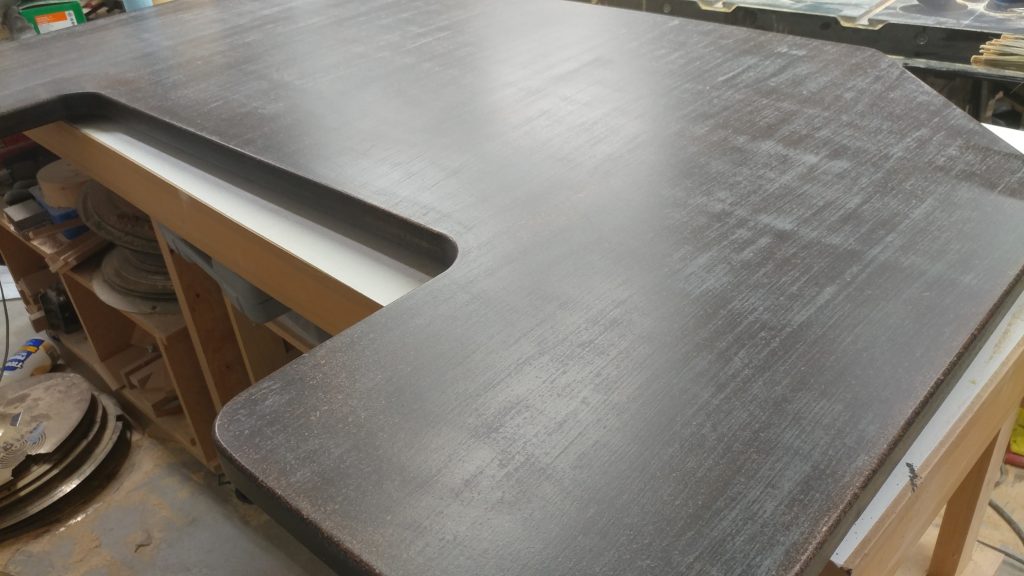
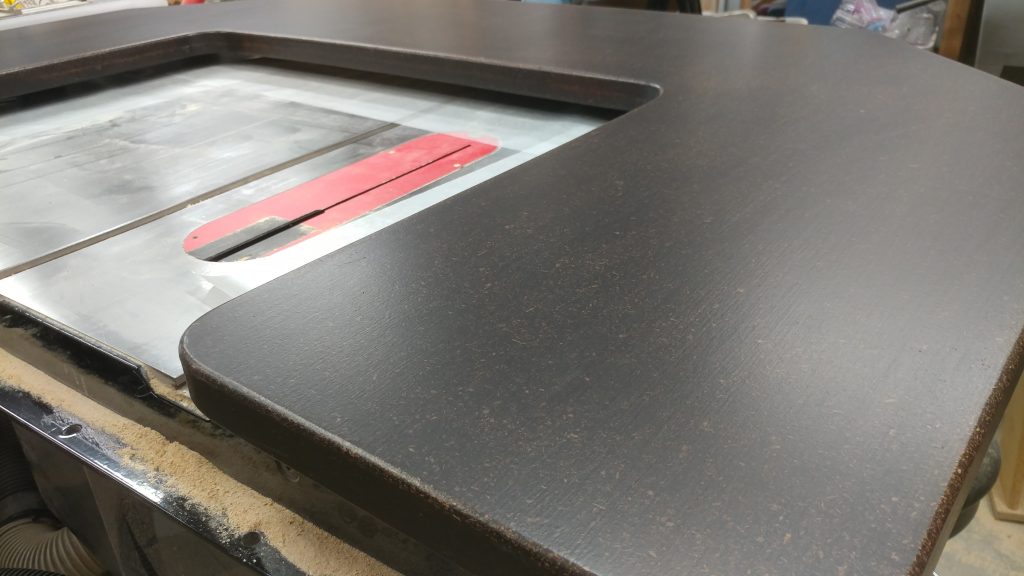
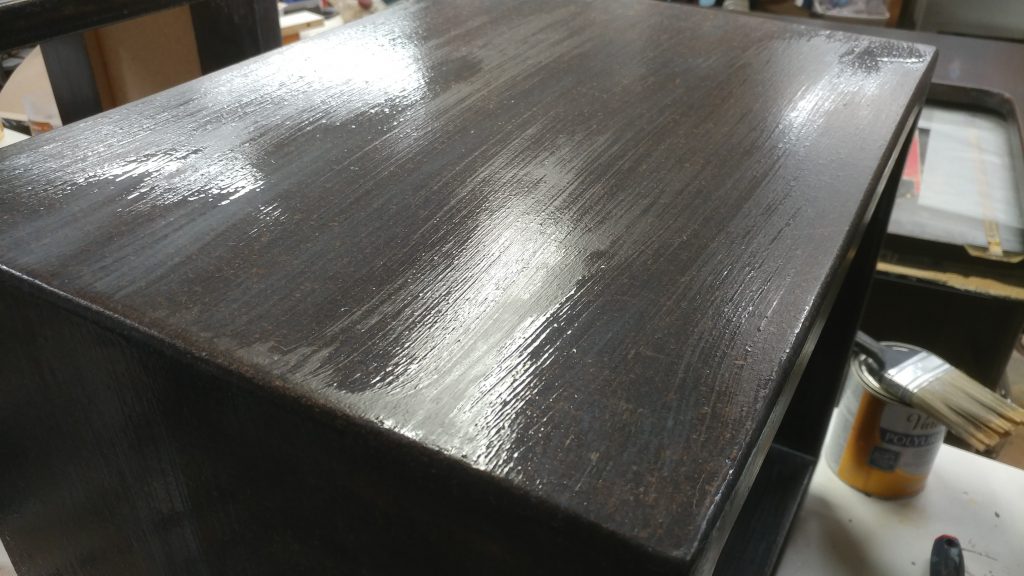
I let the first coat dry for a few hours. You can see on closer inspection that the wood still has a bit of a rough texture that you can feel through the polyurethane. Normally, I would lightly sand between coats, regardless what the instructions say. I chose not to in an effort to add a subtle texture to the finish. My goal is to apply enough finish so it has more of a plasticy feel to it.
The second coat was applied.
I let that cure for a few hours.
The third coat was applied without any sanding.
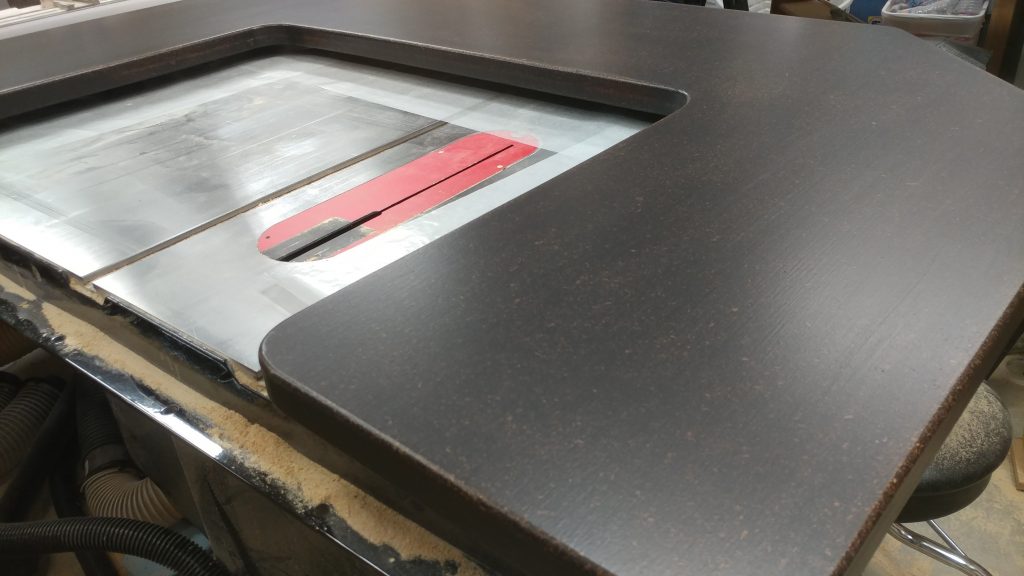
After letting it dry, I really liked the look and I could have stopped here but I wanted to add several more layers to give it the look and feel I was after.
I added a fourth coat.
And let it dry.
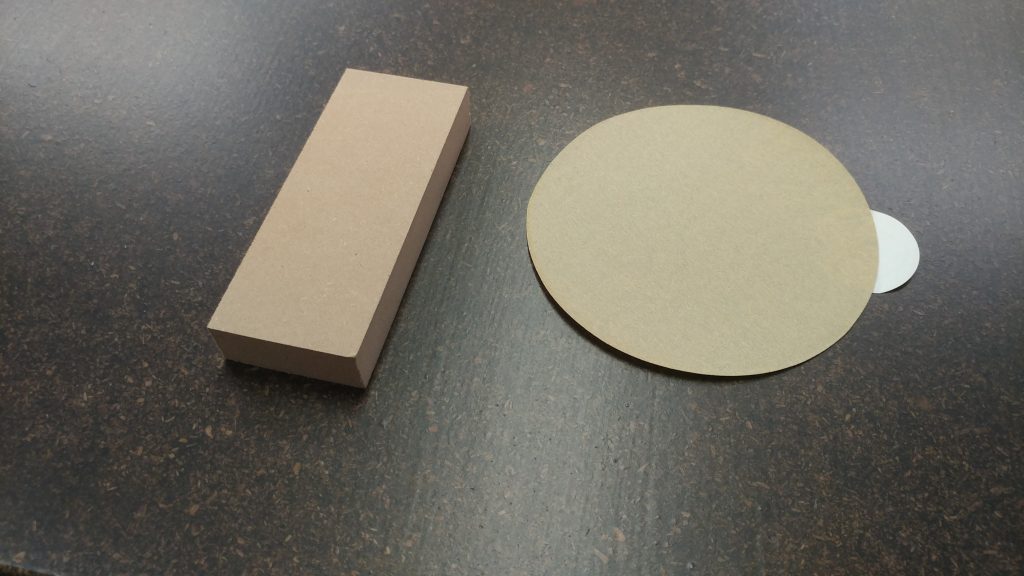
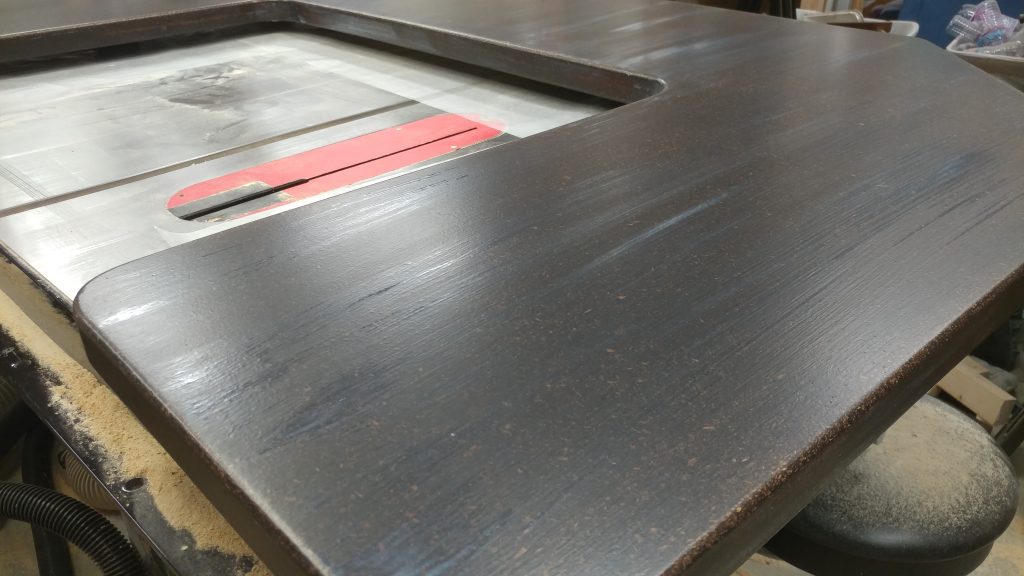
It’s starting to get that “too much poly” look that I’m after but there are a few high spots that I wanted to knock back. I decided that I would sand the surface with a 220-grit adhesive-backed sanding disc.
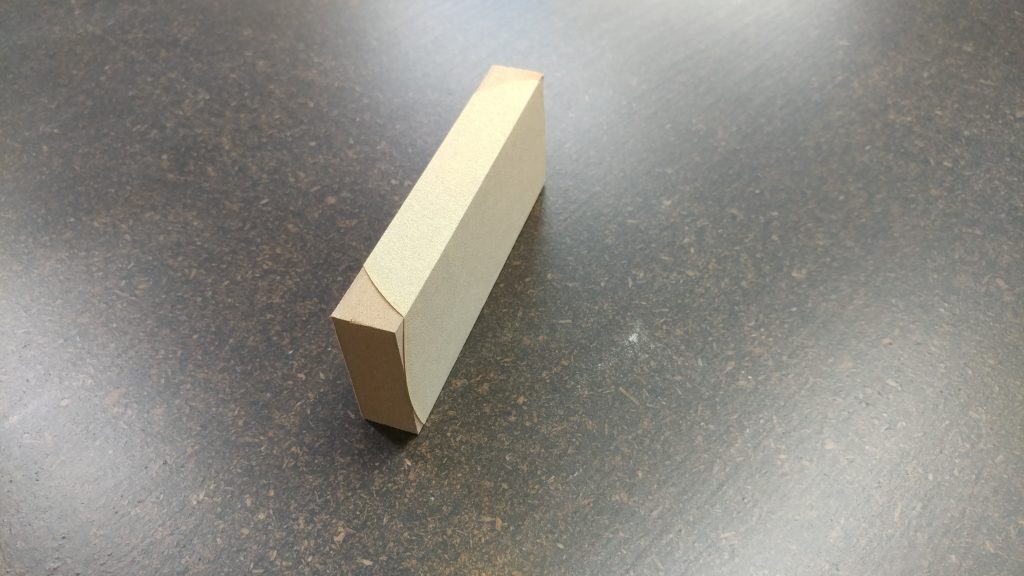
I grabbed a scrap piece of MDF to use as a sanding block and stuck the disc to it.
This resulted in a nice flat sanding block.
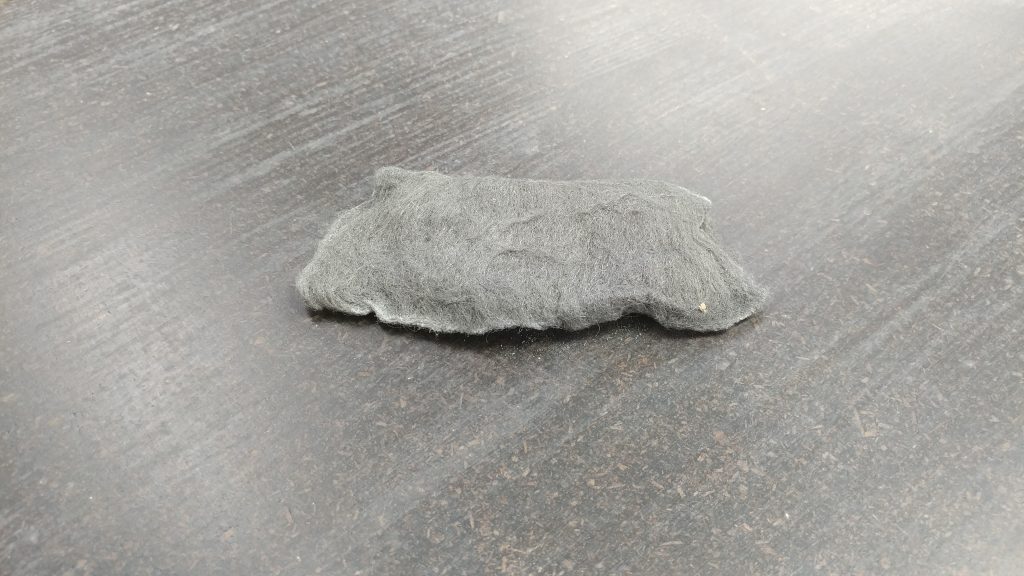
I sanded the high spots off then went over it again with a piece of 0000 steel wool.
I made sure to wipe all the sanding dust off. I didn’t want to introduce a chemical to the finish at this point so I just went over it a few times with blue shop towels.
Then I applied a fifth coat of polyurethane.
After letting it dry for a few hours I could still see some of the sanded areas through the finish.
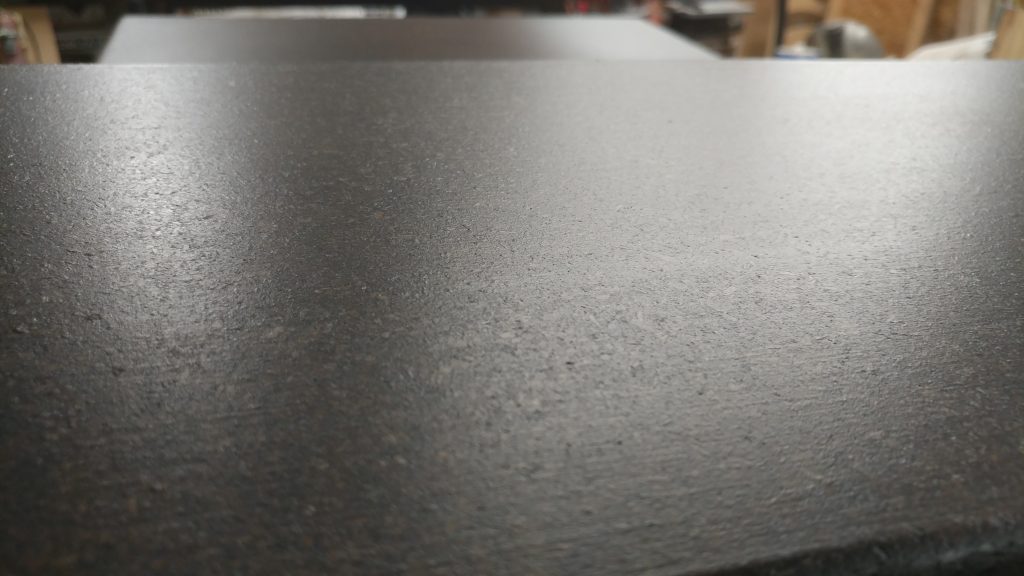
A close up shows that the finish still has a texture to it but the gritty bumps have been removed.
This is really starting to feel ridiculous, but I added a sixth layer of polyurethane.
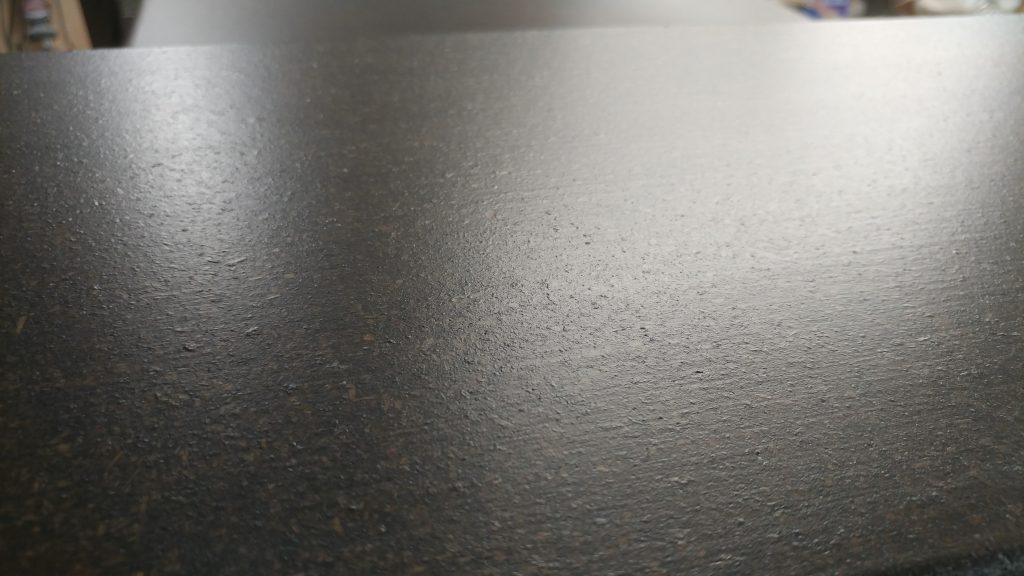
I can still see a few dull spots form the sanding.
A closer look shows the slightly duller areas left over from the sanding. I am actually pretty happy with the texture at this point but I figured one more coat should hide the rough spots.
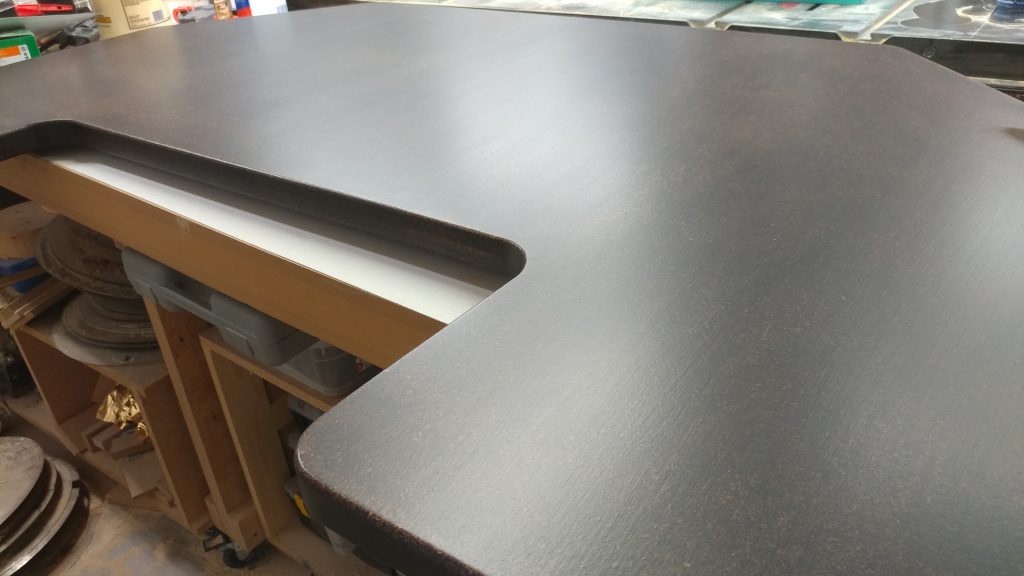
I applied the seventh and final coat.
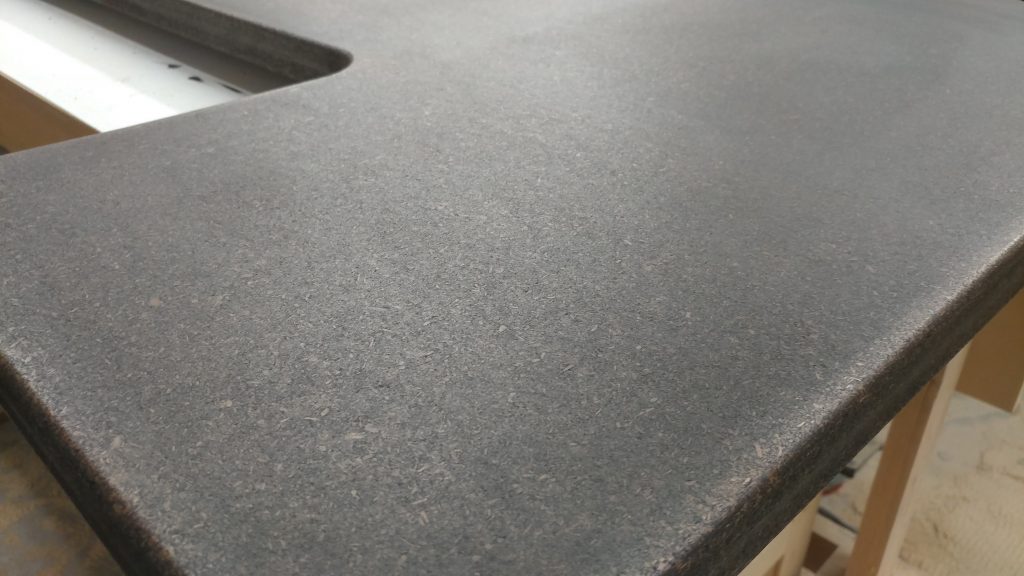
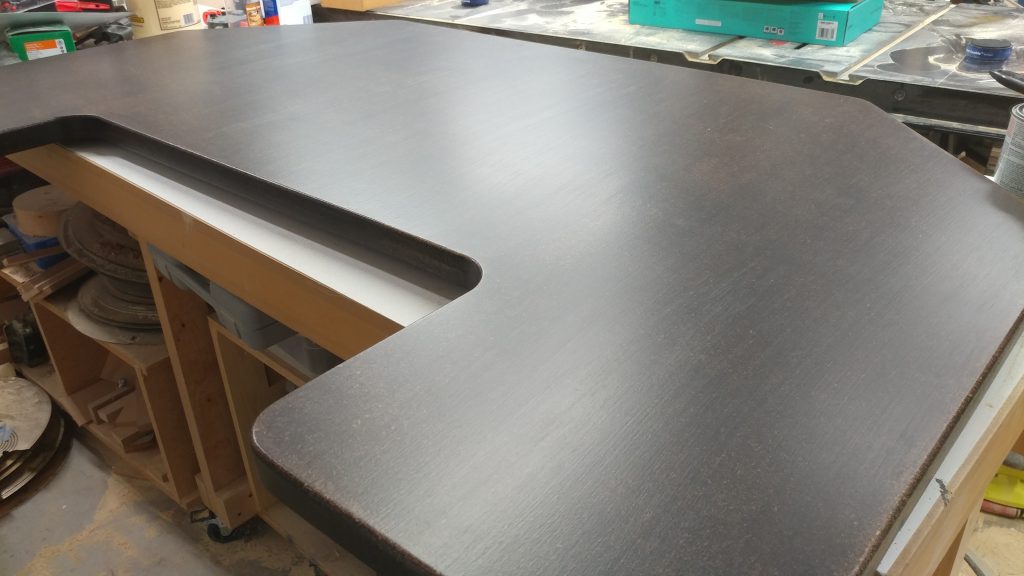
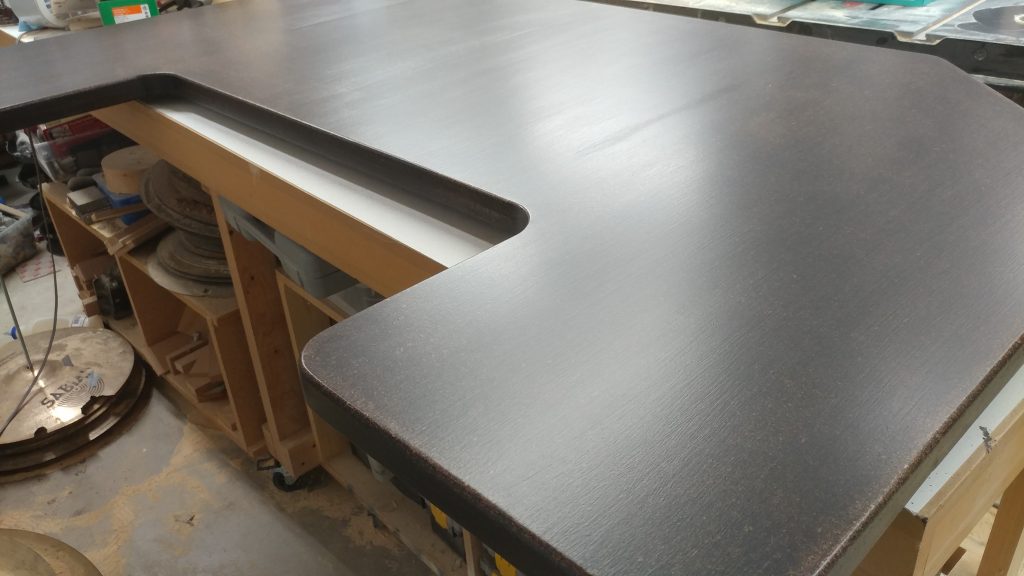
All done. Now I just need to let it cure for a week.
Applying polyurethane to the lower section
I applied the polyurethane to the lower section in the exact same manner as I did on the upper section.
I first tackled the underside of the lower section. As with the upper section, I put three coats of polyurethane on the underside.
I flipped it over and applied the polyurethane to the underside.
The first coat.
The second coat.
The third coat.
The fourth coat.
Like the upper section, I sanded the high spots after the fourth coat.
The fifth coat.
The sixth coat.
I didn’t get a photo of the seventh coat after it had dried but here it is shortly after applying the final coat.
Applying polyurethane to the racks
Again, I applied three coats to the undersides of the racks and seven coats to the sides that will be seen.
I wanted to try something different with the racks. Instead of using glue and sawdust, I tried Elmer’s Wood Filler. I applied some to all of the seams then sanded it flat. This stuff doesn’t accept stain very well and I wanted to see how it would look since I’m going for a rough industrial look. You can see some applied near the edges of the racks. It shows up as lighter spots. Personally, I think they add some texture and character. Elmer’s makes a stainable wood filler but I wanted a rough look here so I went with the regular kind.
I added the first coat.
Then the second.
And the third.
Then the fourth.
I lightly sanded the racks after the fourth coat.
Then I applied the fifth coat.
And the sixth.
Then finally the seventh.
This concludes part 4.
Closing remarks
I think I succeeded in getting the finish how I originally wanted it, but I’m not so sure how much I like it now that it’s complete. I guess I’ll grow accustomed to it over time. Also, I can just remake them if I don’t like it.
The next step is to attach the hardware then install and configure the electrical components.
If you have any suggestions, please leave them in the comments below. I’d love to see any desk builds you’ve done. Also, if you haven’t already, please consider signing up for my mailing list so you get e-mail notifications when I post new articles.

