Update: I created a follow-up post with a few things I did differently. You can find that here.
I started with the remnant from a cut-down cymbal. I chose a cut-off from a Zildjian A Custom 10″ Splash because of how thin it was and how it didn’t have much of a bow to it.
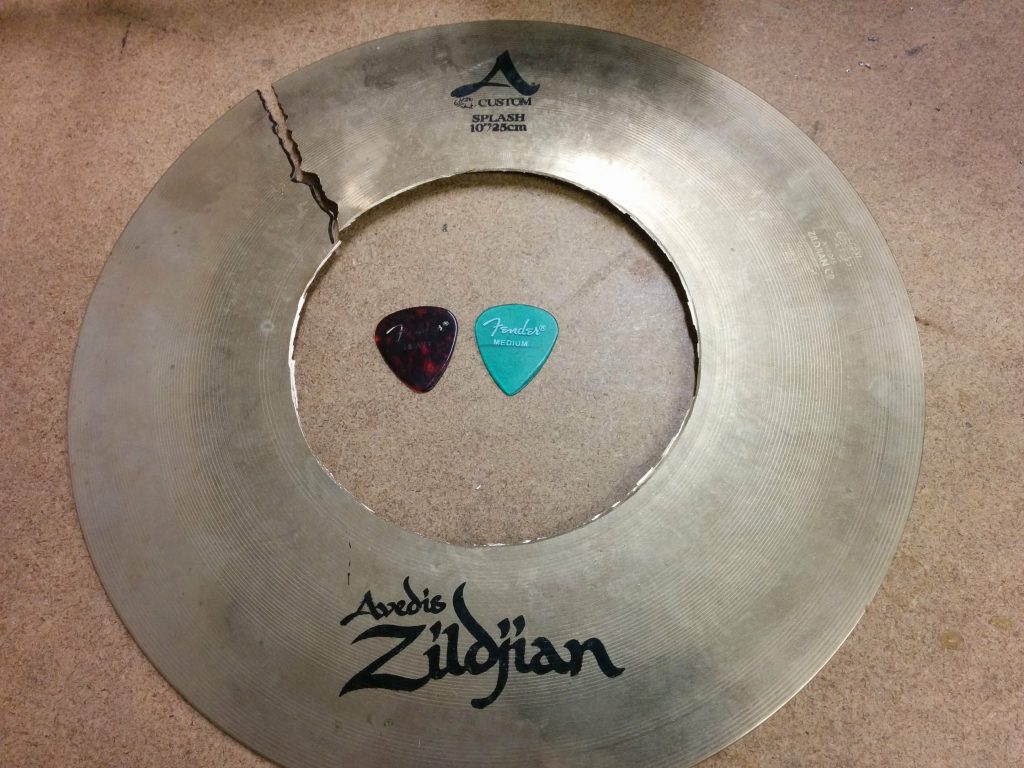
Using a red extra fine point Sharpie, I traced the outline of one of my existing guitar picks.
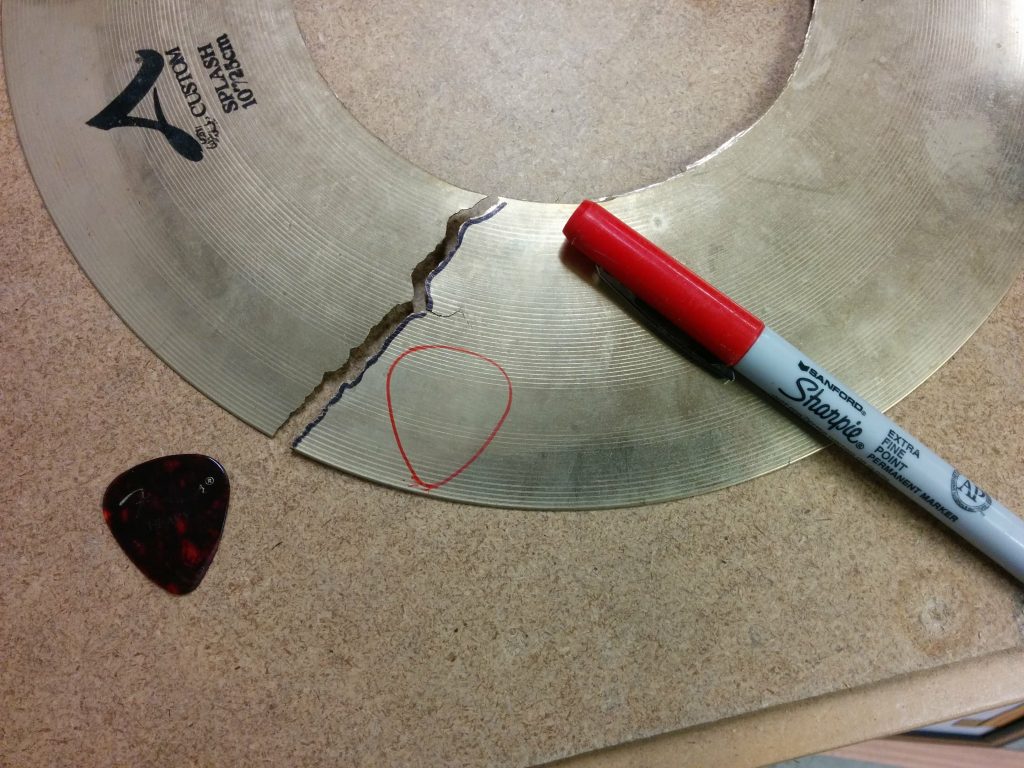
This worked out okay but the red ink started to come off pretty quickly. I think for future picks I will carefully scratch the outline with an awl.
Once the outline was traced, I took the cymbal to my Rockwell BladeRunner equipped with a metal cutting blade.
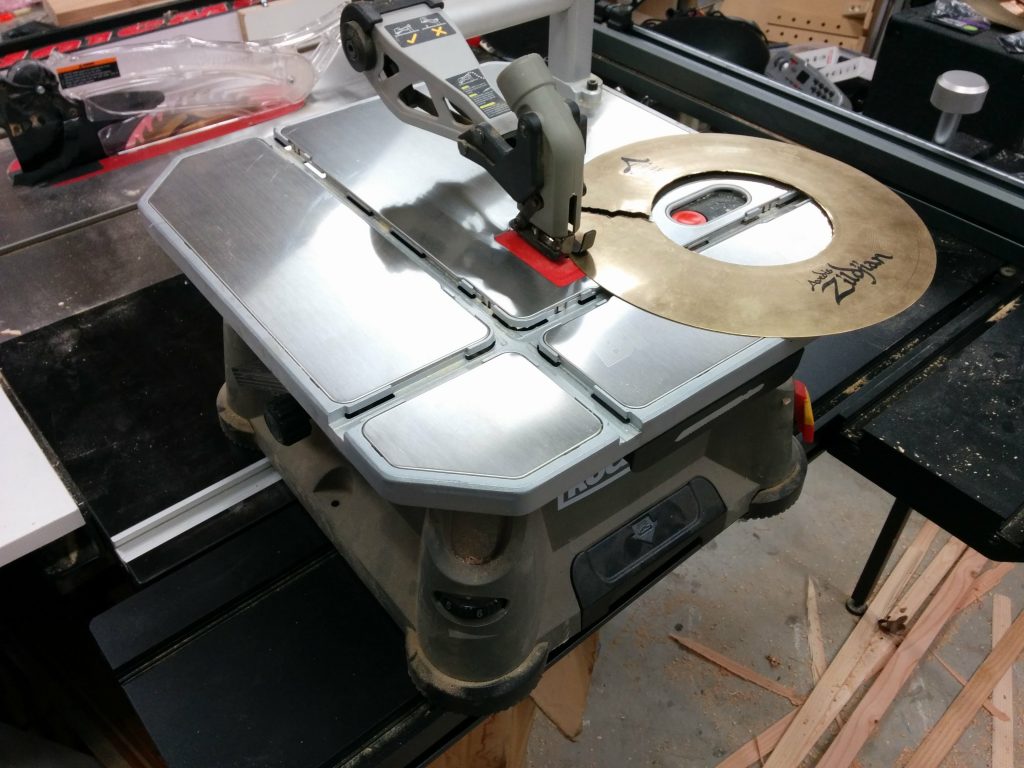
I didn’t need to cut it exactly on the lines. In fact, it wouldn’t be possible with this type of tool.
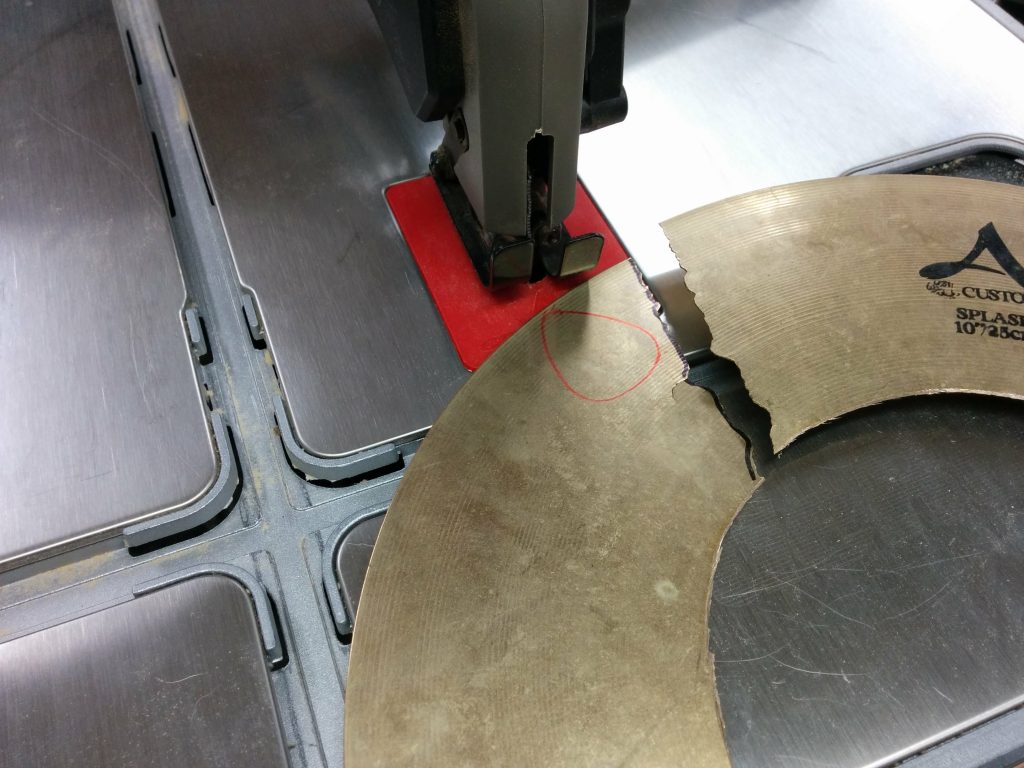
All I was going for was a smaller section that I can take to my sanding tools for the final shaping. When cutting something like a small cymbal remnant, it’s difficult to safely get it down to it’s final size using larger tools. This was definitely an exercise in finding the right tool for the job, as you’ll see…
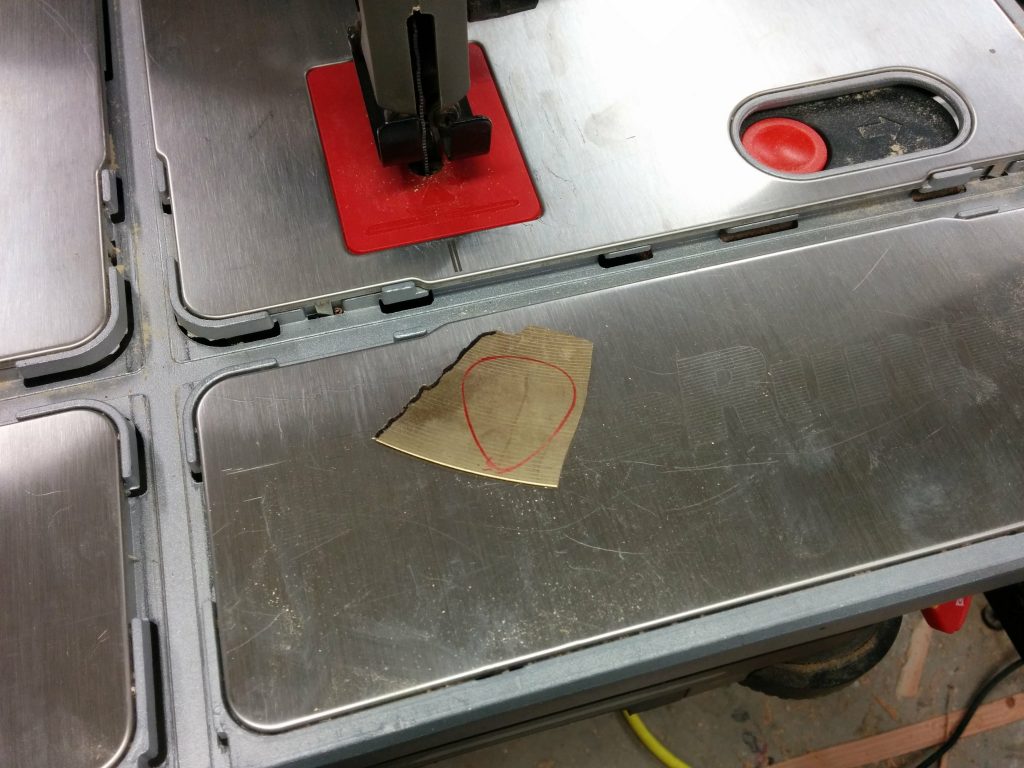
After getting it cut to a manageable size, I took it to my Ridgid oscillating belt sander. My plan was to use this to get it to it’s final shape.
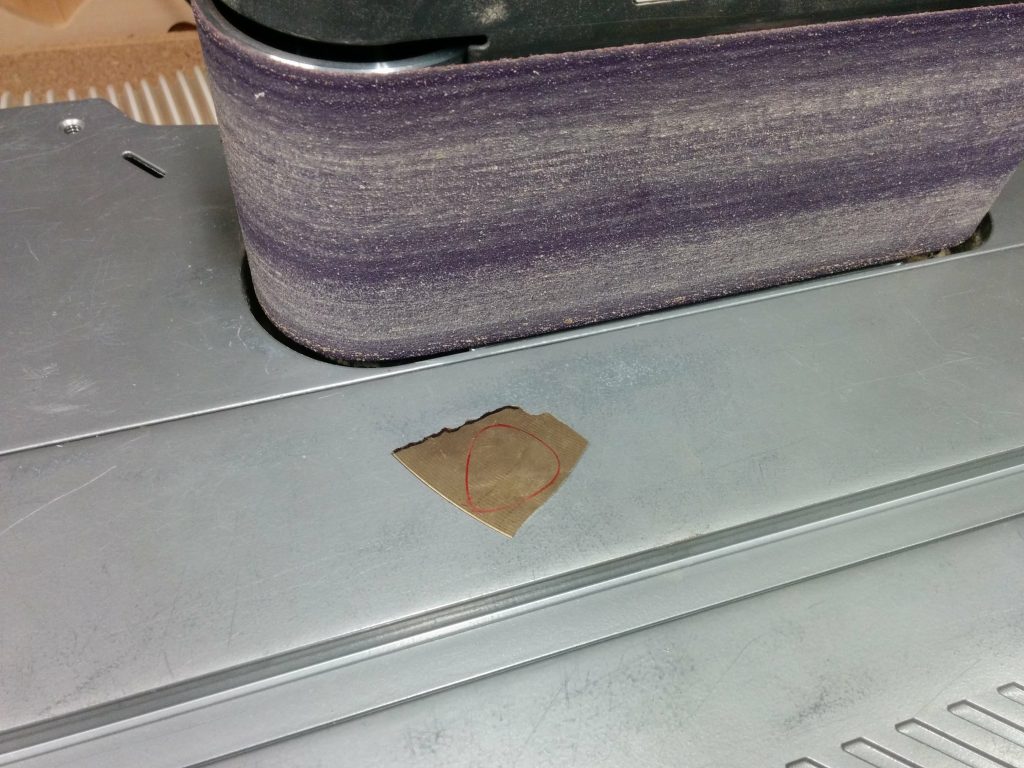
This proved to be too slow so I tried taking it to my disc sander instead.
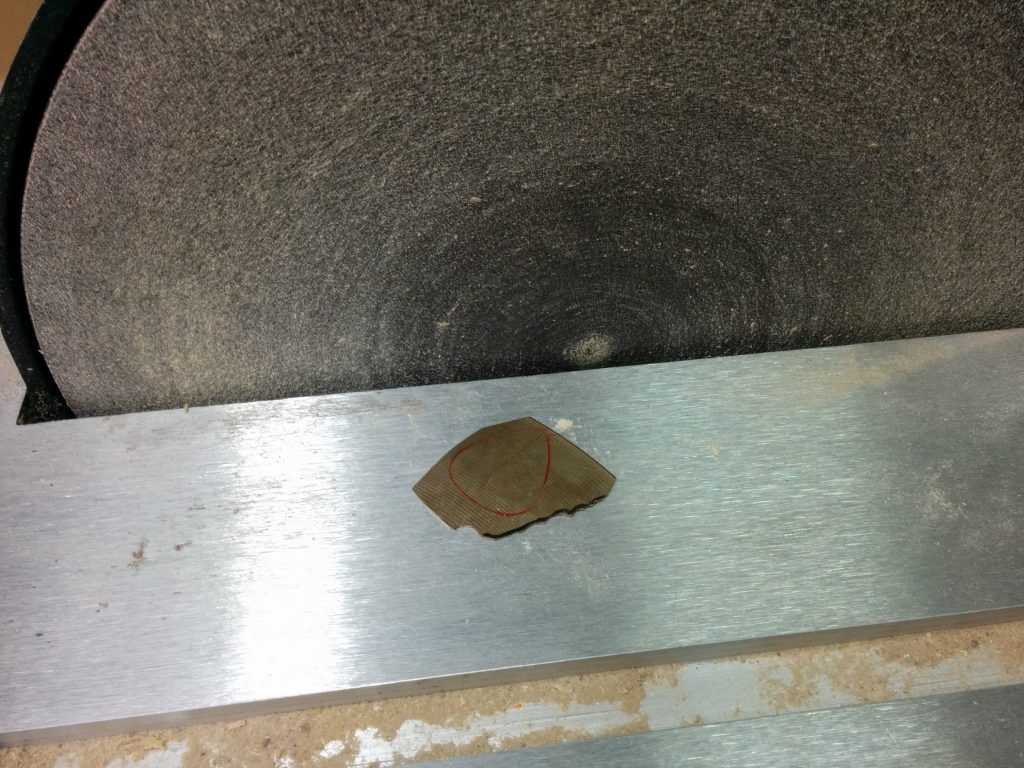
The disc sander was too aggressive and not quite precise enough so I took it back to the oscillating belt sander.
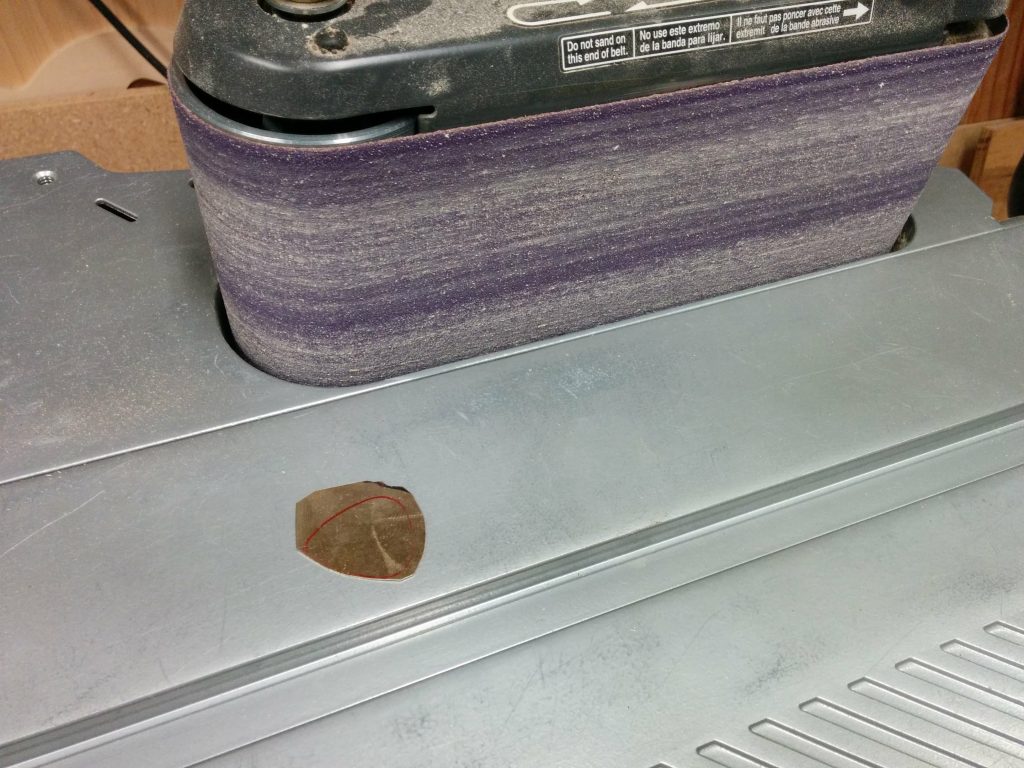
I found the trick to getting it just right. I would hold the pick in my hands a few inches off the table, rather than right on the table top. This gave me more control but I needed to stop every few seconds to let the pick cool off since the friction would make it get extremely hot pretty quickly.
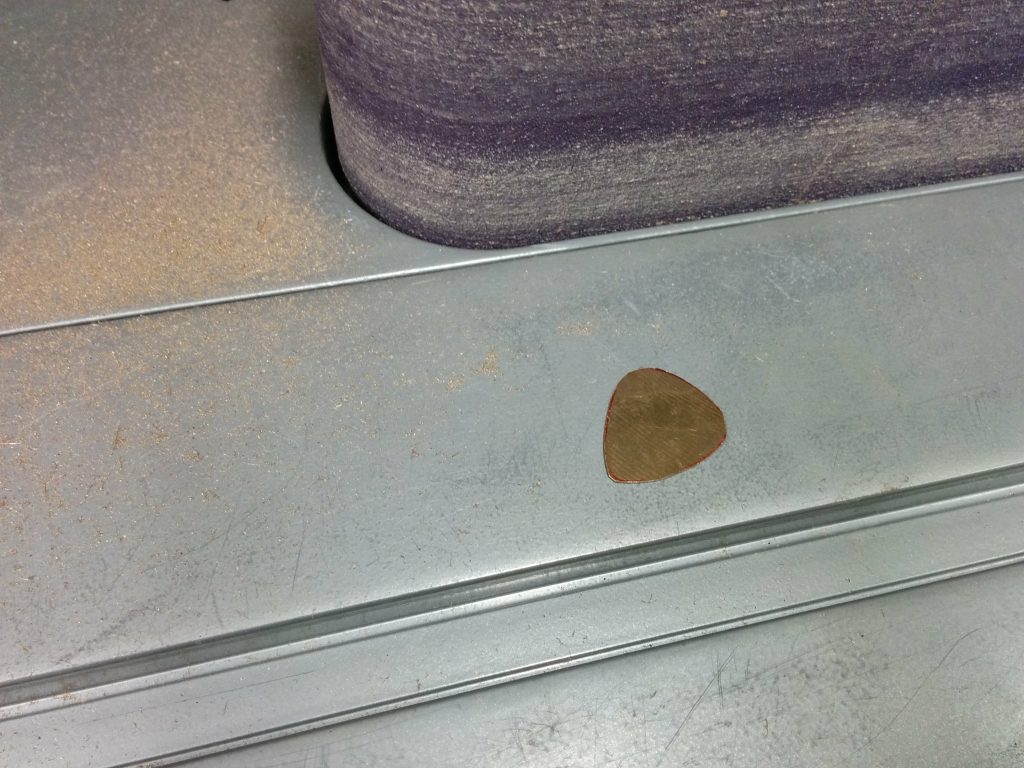
This got the pick to be pretty much the right shape, but the edges weren’t all that smooth. I decided to do the final shaping by hand so I would have more control. For this I used a sanding block. I believe this block had 220 grit on it but I’m not entirely sure.
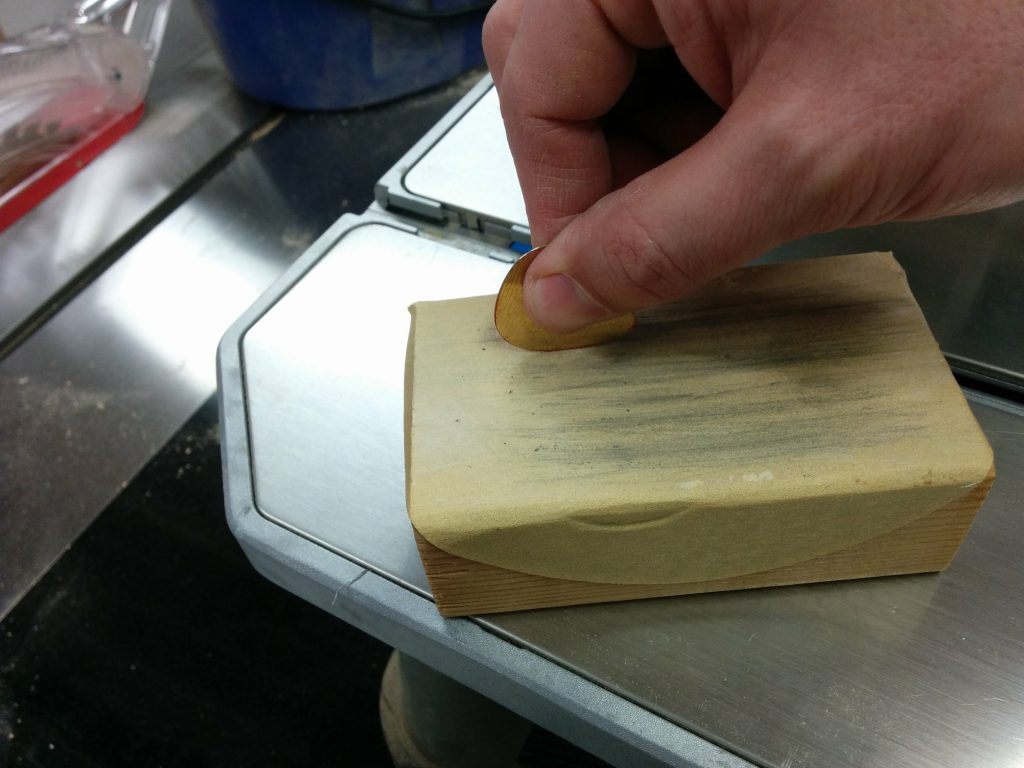
After getting the edges nice and smooth, they were left with a slight burr that was fairly jagged. For this I just angled the pick so I could break down those burrs and get a smooth edge.
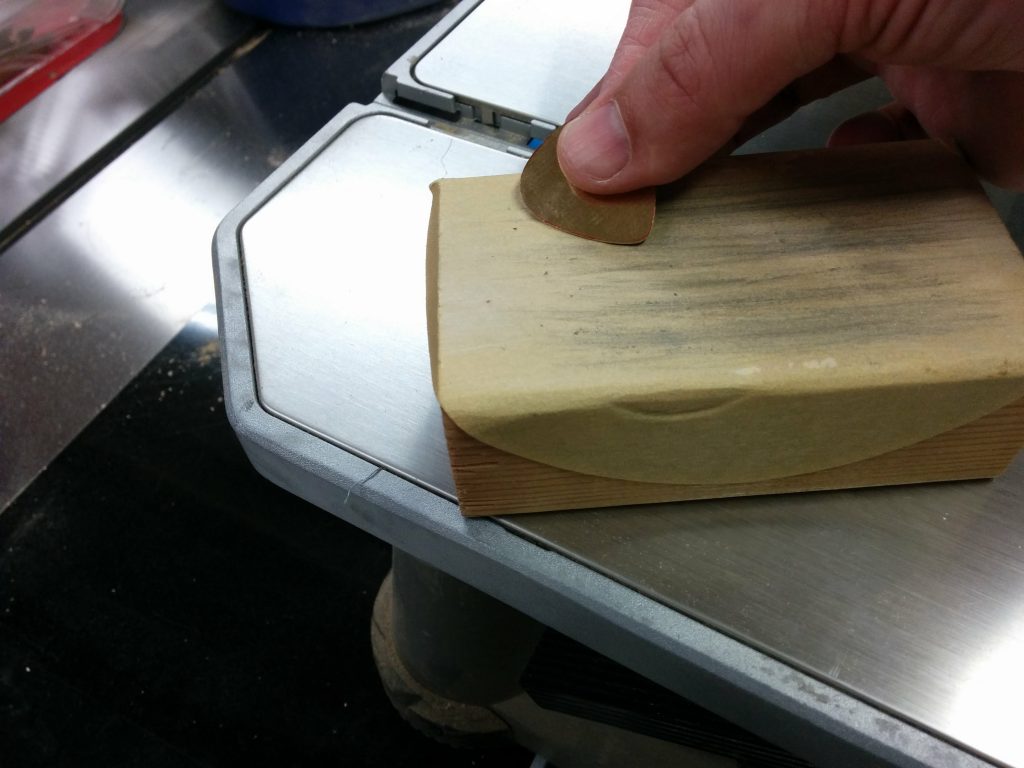
The final result was nice and smooth. Now it just needed to be polished.
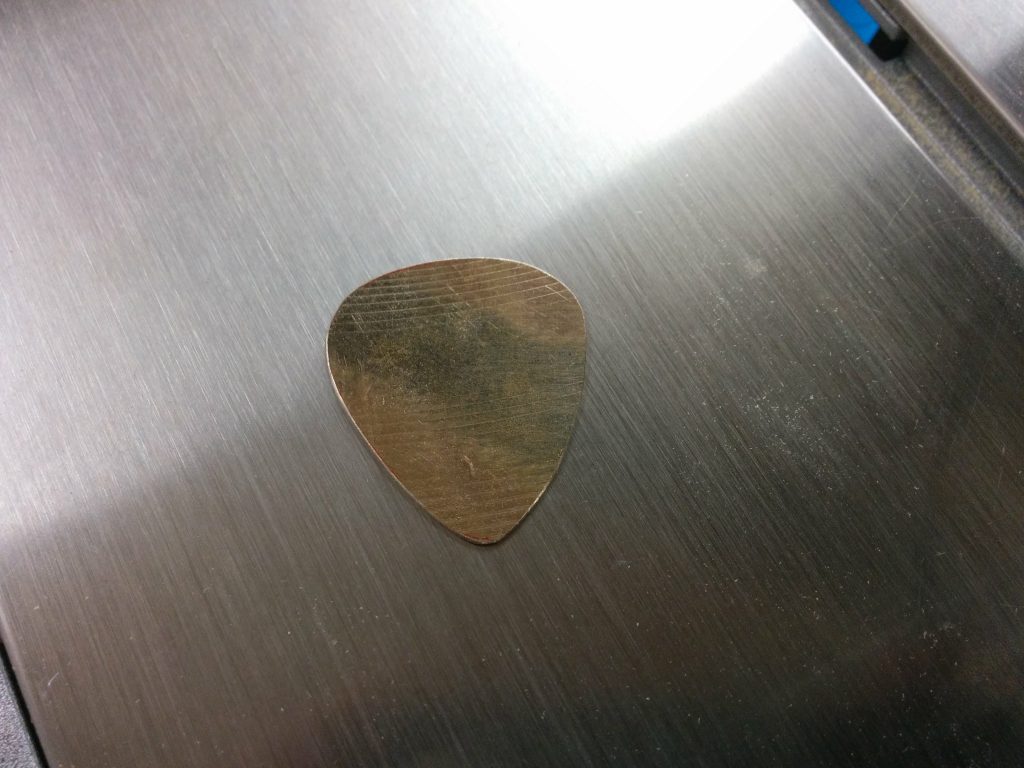
I equipped my drill press with a buffing wheel.
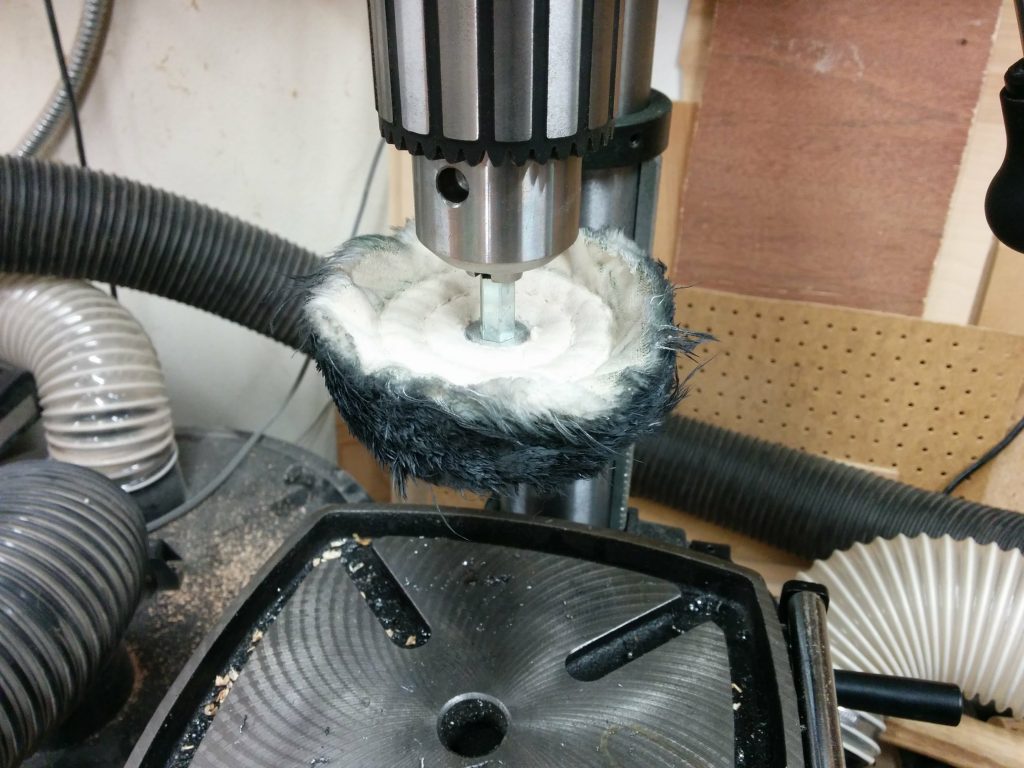
I started with the edges. I did this in case I found any jagged spots that I missed. If I did, I would take it back to the sanding block before finishing the pick on the buffing wheel. After the edges were polished, I did the same thing to the front and back faces.
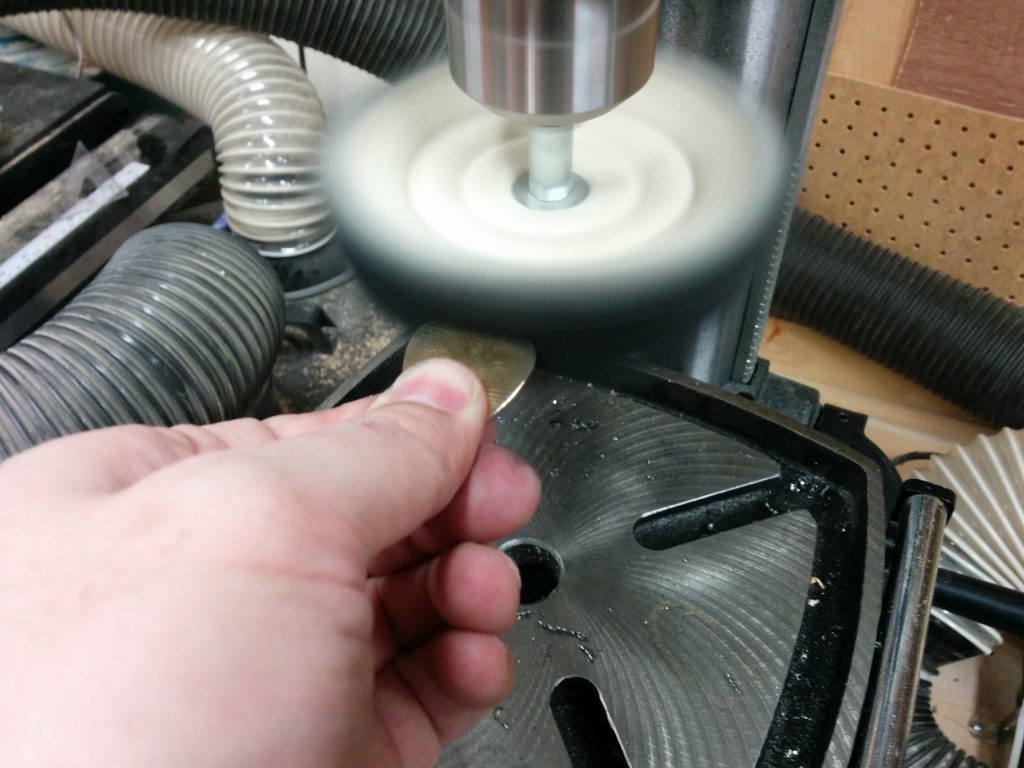
All done.
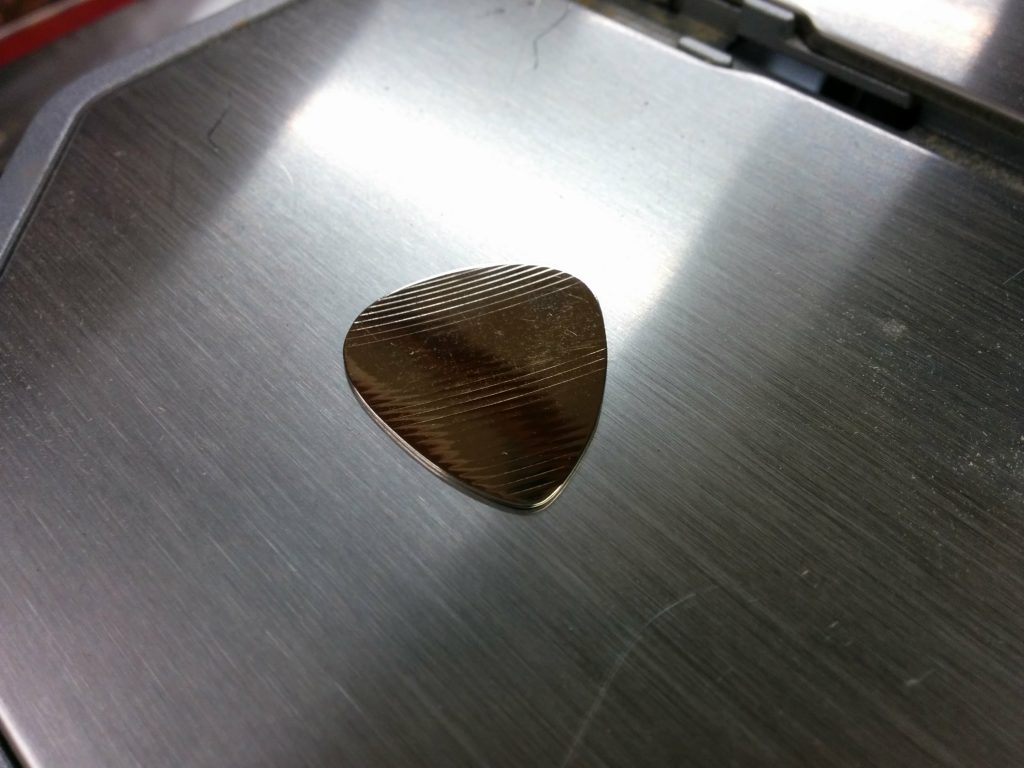
All in all, this worked out better than I expected. Now it’s time to get into production mode and crank out a bunch more.
I’m going to test these out but I don’t have a lot of experience playing with metal picks. They almost feel too slick so I may need to experiment with adding some texture somehow.. Have any of you made these before? If so, how did they work as actual guitar picks? Let me know in the comments below.
Update: I created a follow-up post with a few things I did differently. You can find that here.


Pingback: Making a guitar pick from a cracked cymbal – Part 2 – TrentDavis.net